Showing posts with label Allied. Show all posts

Sunday, June 17, 2012

Group build idea.

So thinking about the Hawker Weather Build in May and how much fun it was, I'm thinking that it'd be fun to do another one and I might even get something useful done on this project again. A bit of thinking and rejecting kits and subjects, I came to a conclusion. What's the one kit that everyone has or can get? What's that one kit that everyone has built in the past? What's the one kit that everyone seems to hate?

The Airfix Sherman.

So here's the general idea: July will be "Pimp my Sherman" month. Everyone grab an Airfix Sherman and build it however they wish. Any nation, any era, any amount of modding, scratch building parts and greebling you can manage without using a part from another kit except for crew figures and stowage.

To make it interesting it's going to be a competition. At the end of July I will collect all entries, post a blog with links to the final pictures and collect votes by email. The prize will be the winner's choice of the new Airfix Cromwell or the re-released Chi-Ha medium tank posted to wherever the hell you happen to be. Obviously I will be disqualified from winning, but I'm going to build a damn tank anyway and there's nothing you can do to stop me.

If this sounds interesting then post below.

In other news, the Typhoon has finally been located and it's almost in the state I left it. Sadly there appear to be lots of small dots of yellow wall paint on it and a few scratches, so it's going to need some TLC before I can finish it off.

Tuesday, June 5, 2012

Day... whatever.

Well May has well and truly ended and I have not finished the Typhoon. I feel shame. On the other hand I got to pet a wallaby in Florida so I'm pretty happy with my decision. Sadly, due to room renovation in my absence, I have no idea where the Typhoon actually is at the moment, and my tools have likewise been scattered to the winds. I'll have to get back to work now that I'm starting to get over the jetlag and feel human again.

In other news, The Assault Group have a "free mini for facebook likes" campaign on, and they've got some interesting stuff on offer. There's a variety of scales and periods in their range, so go take a look and spread the word.

Sunday, May 13, 2012

Day 6

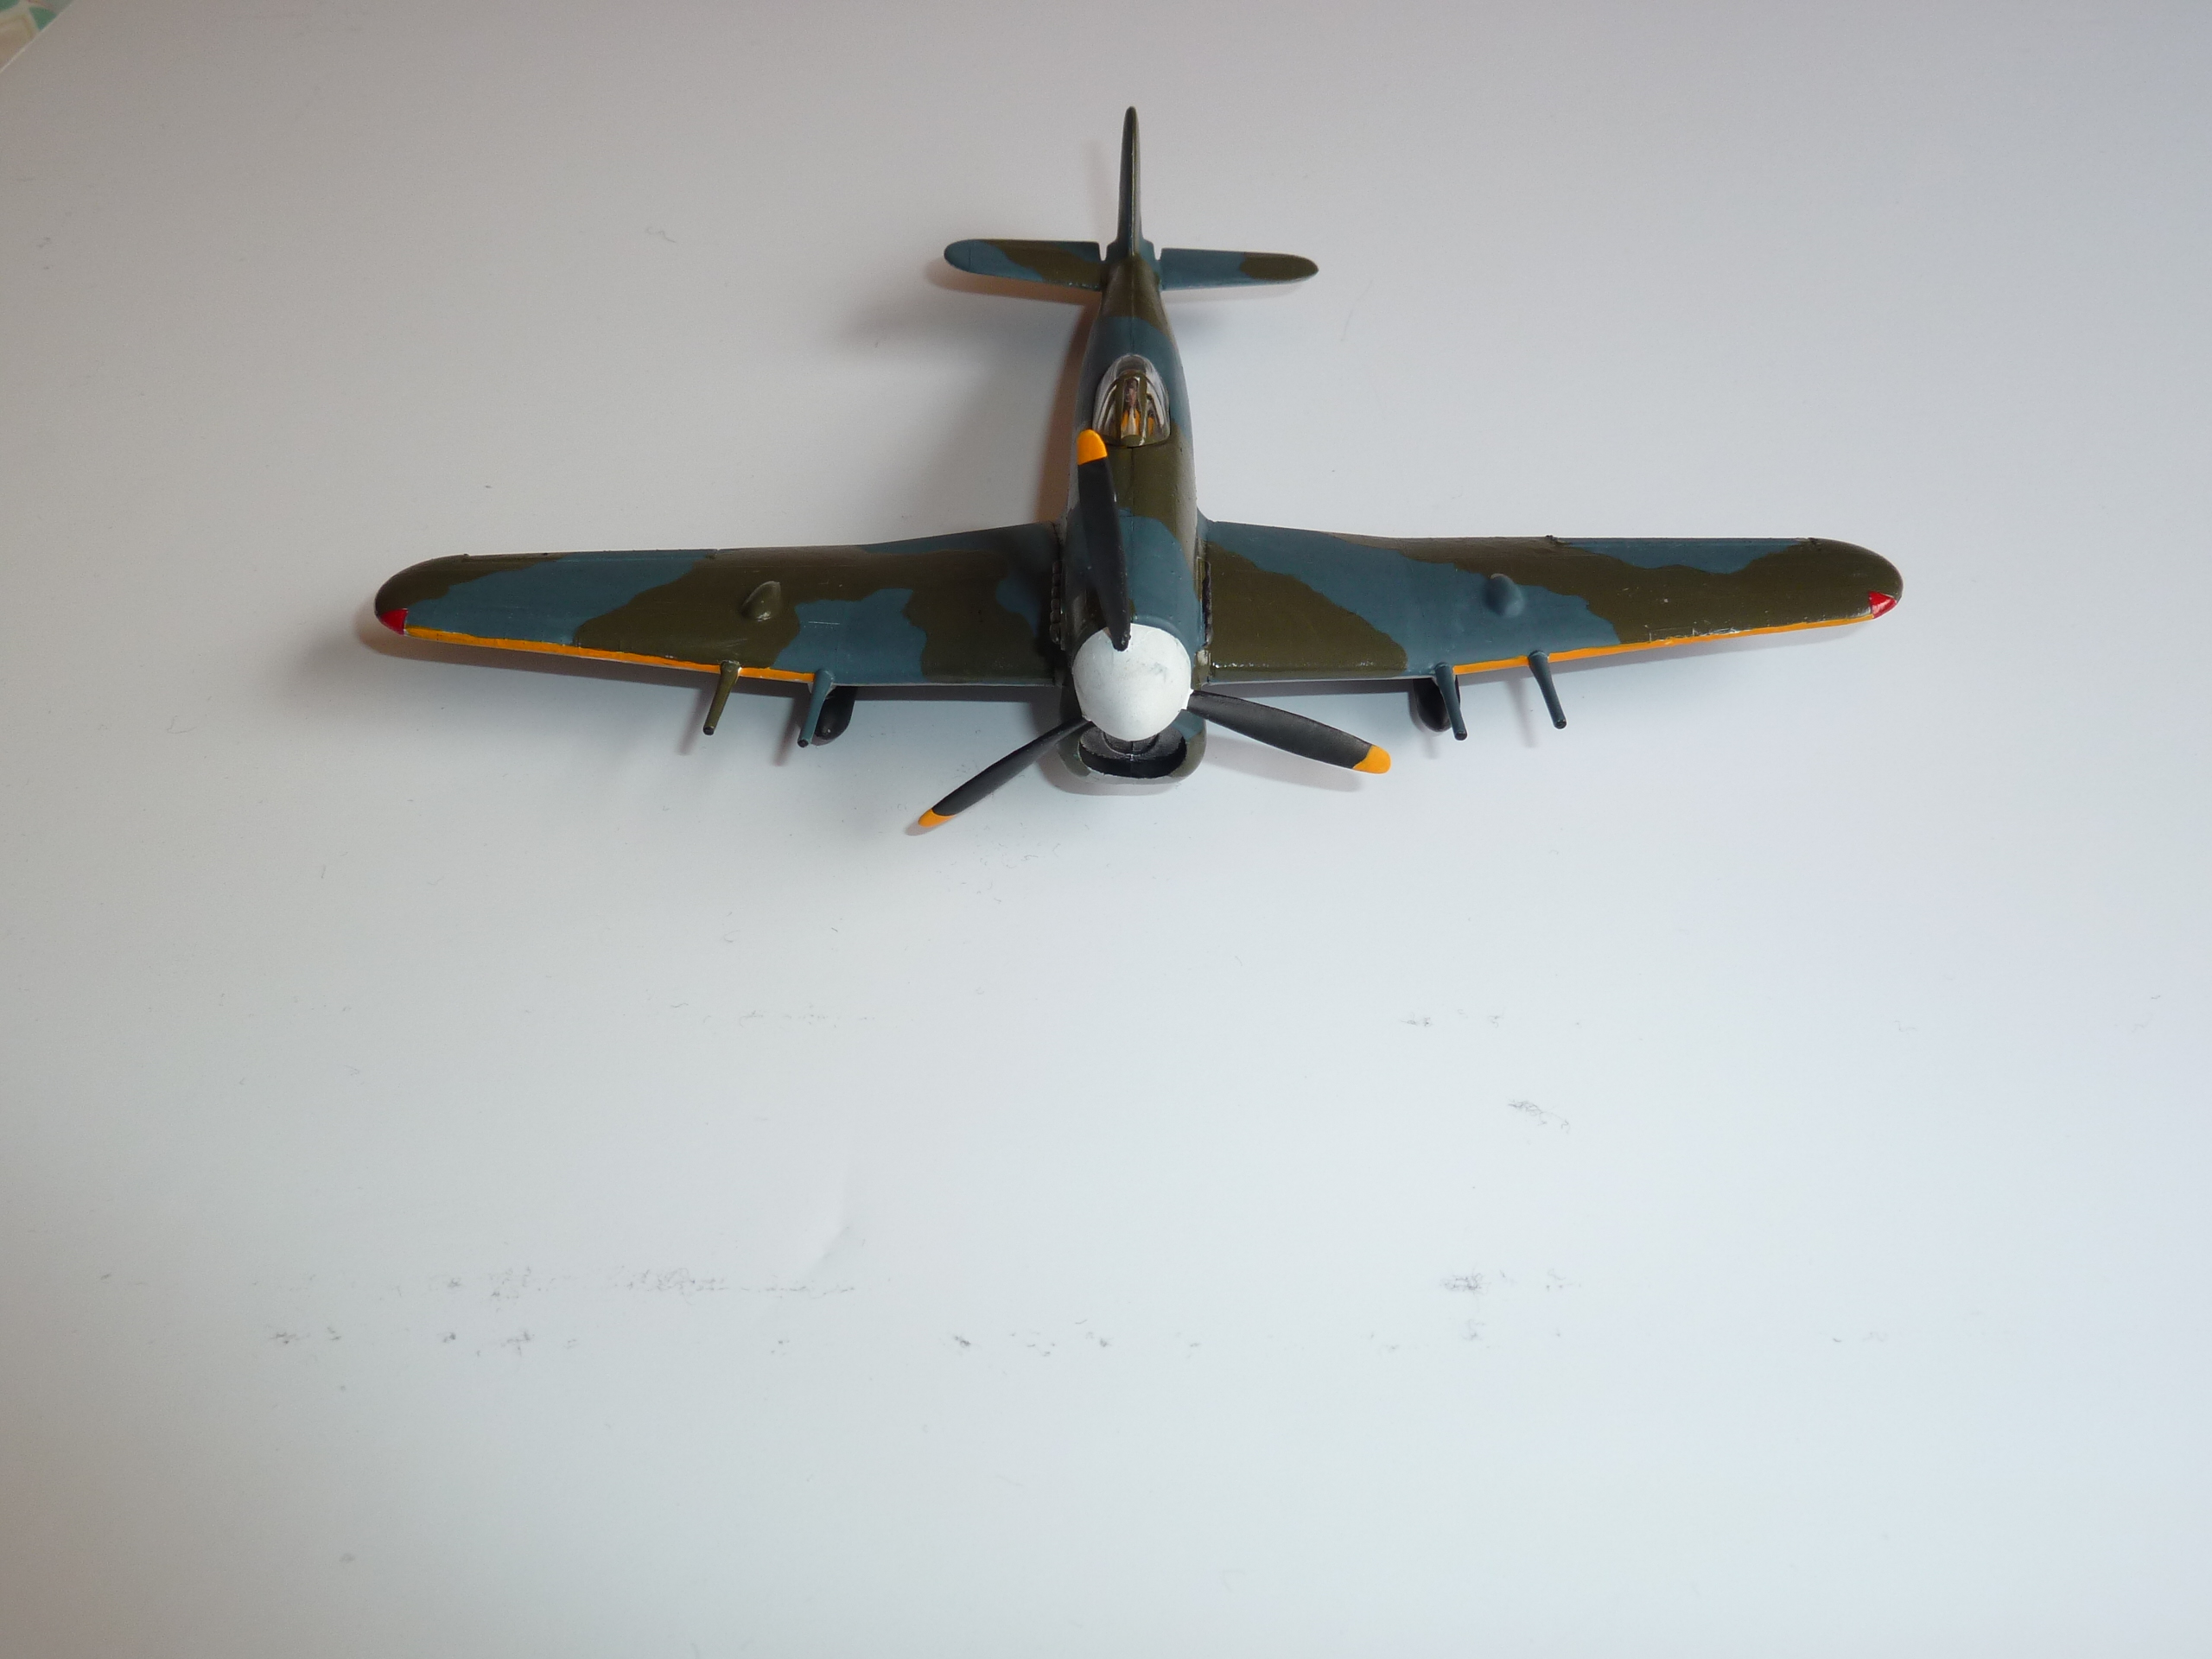
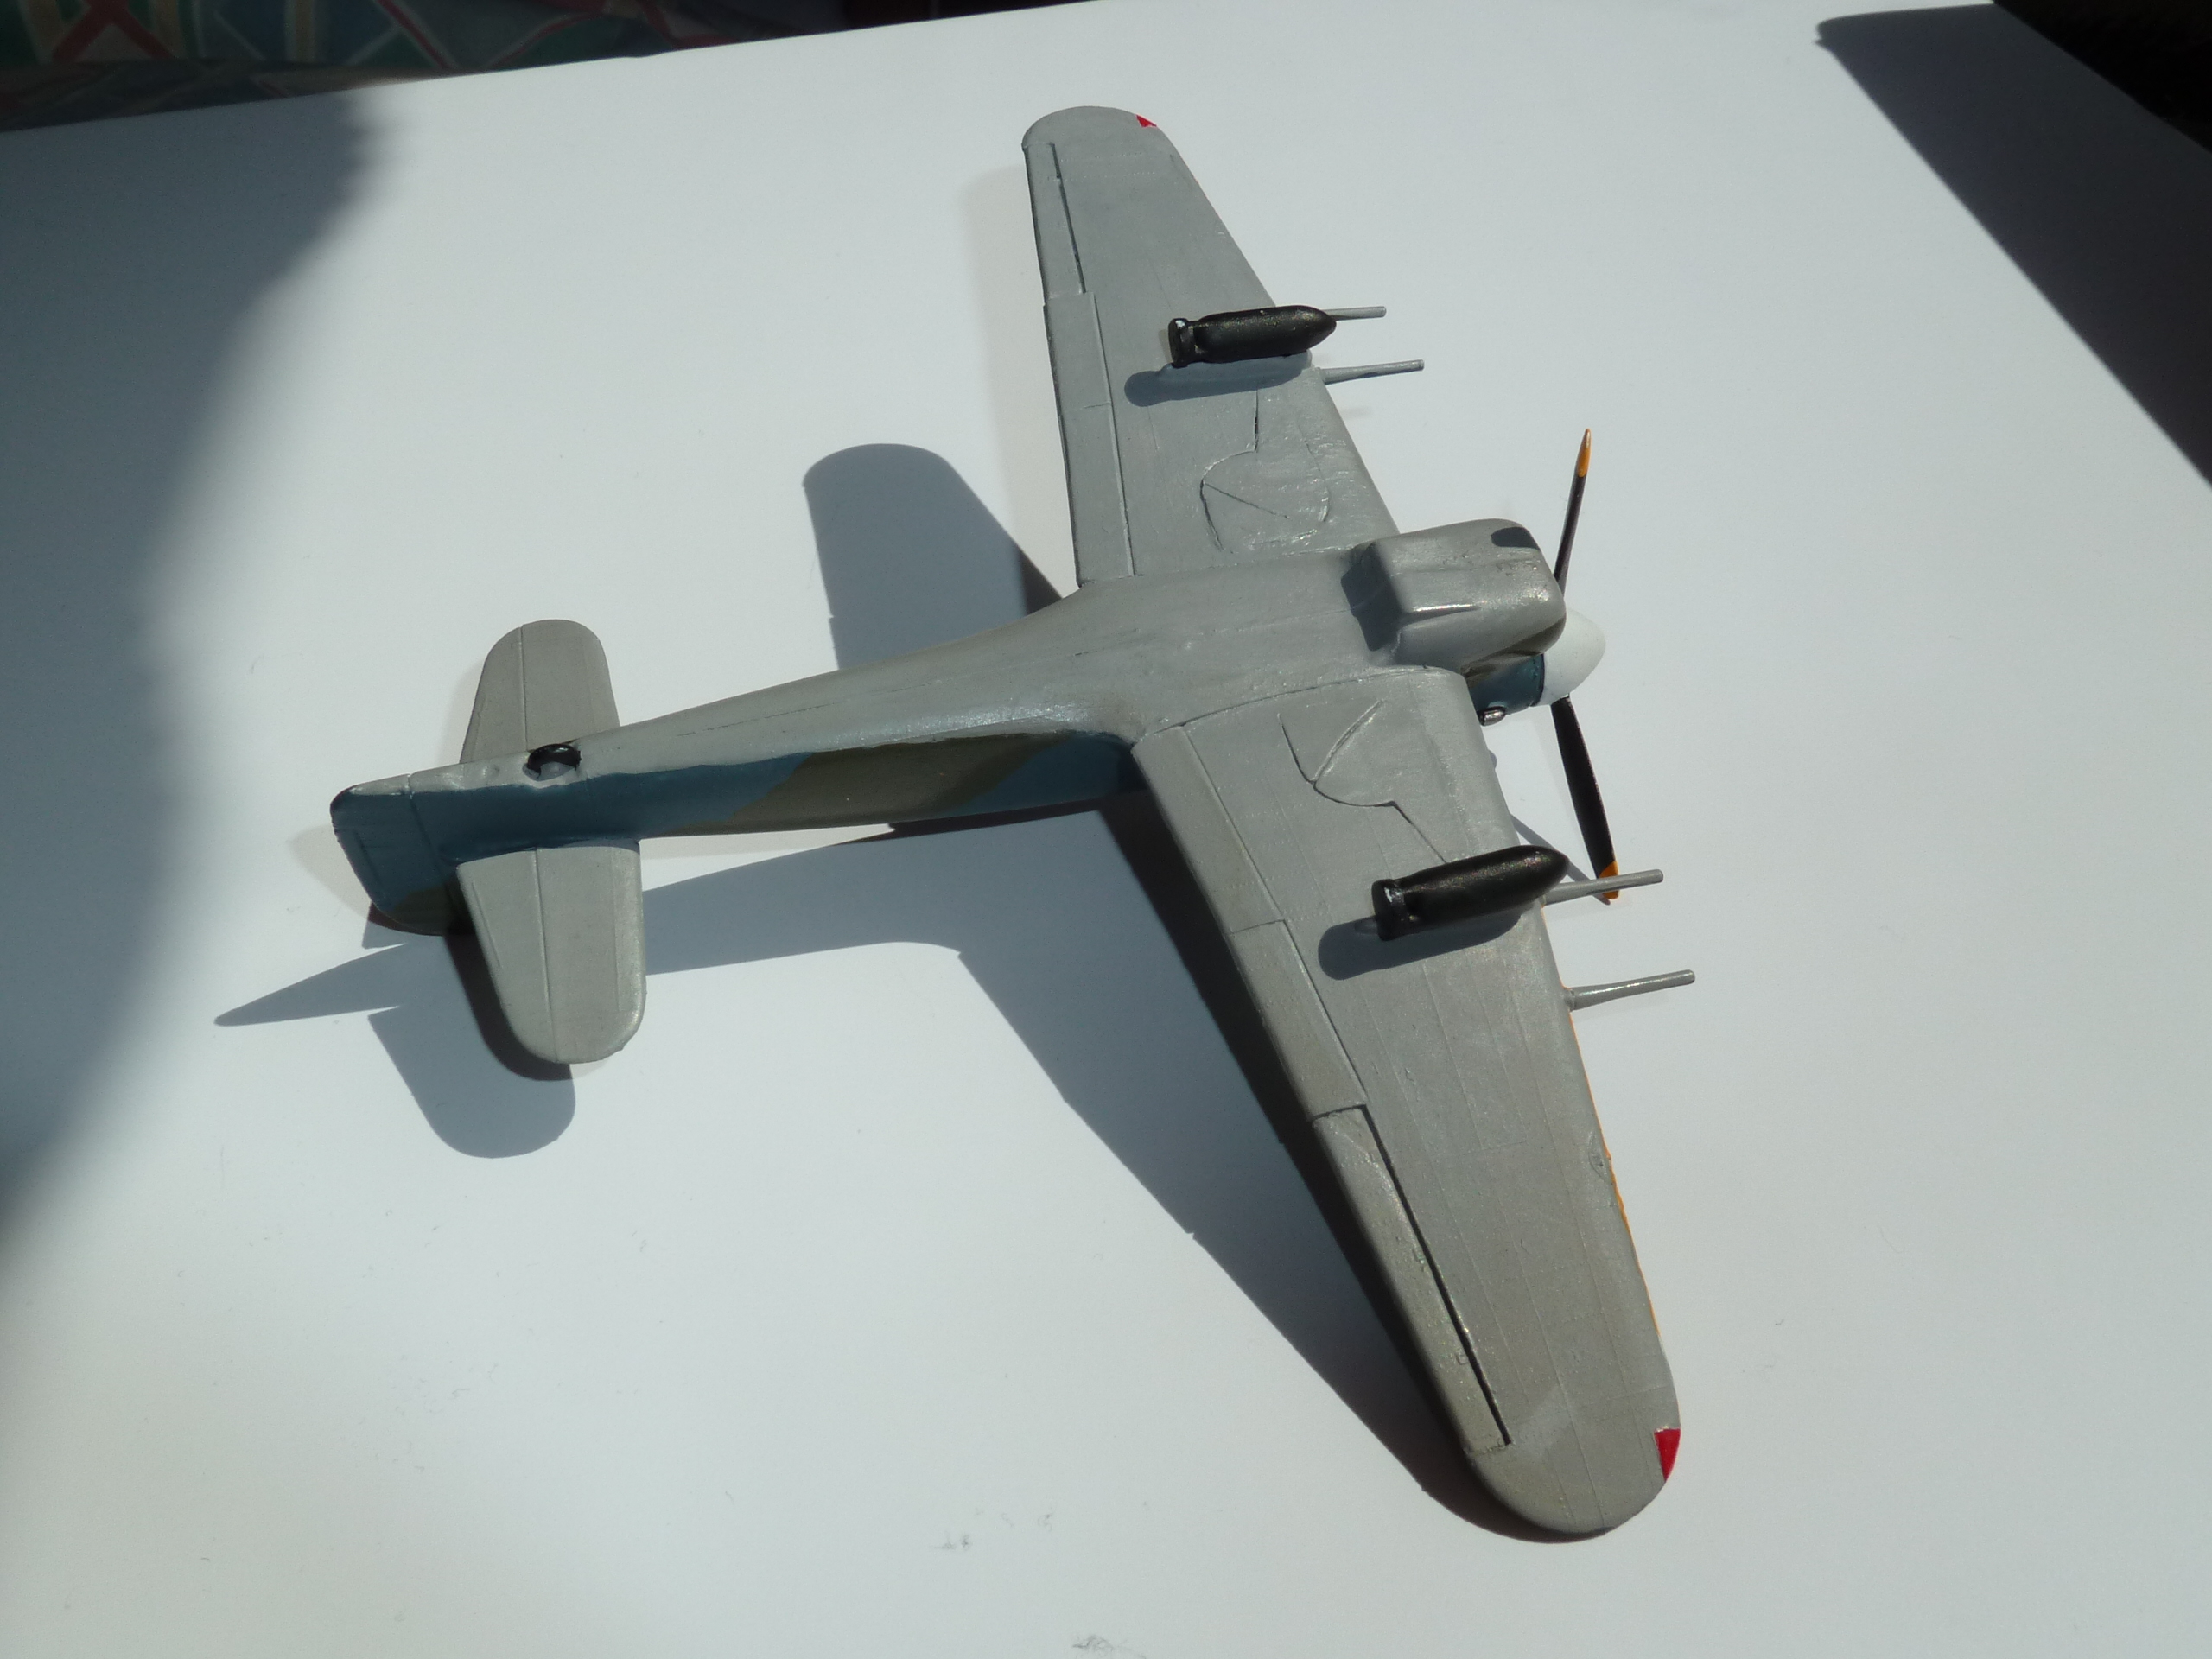
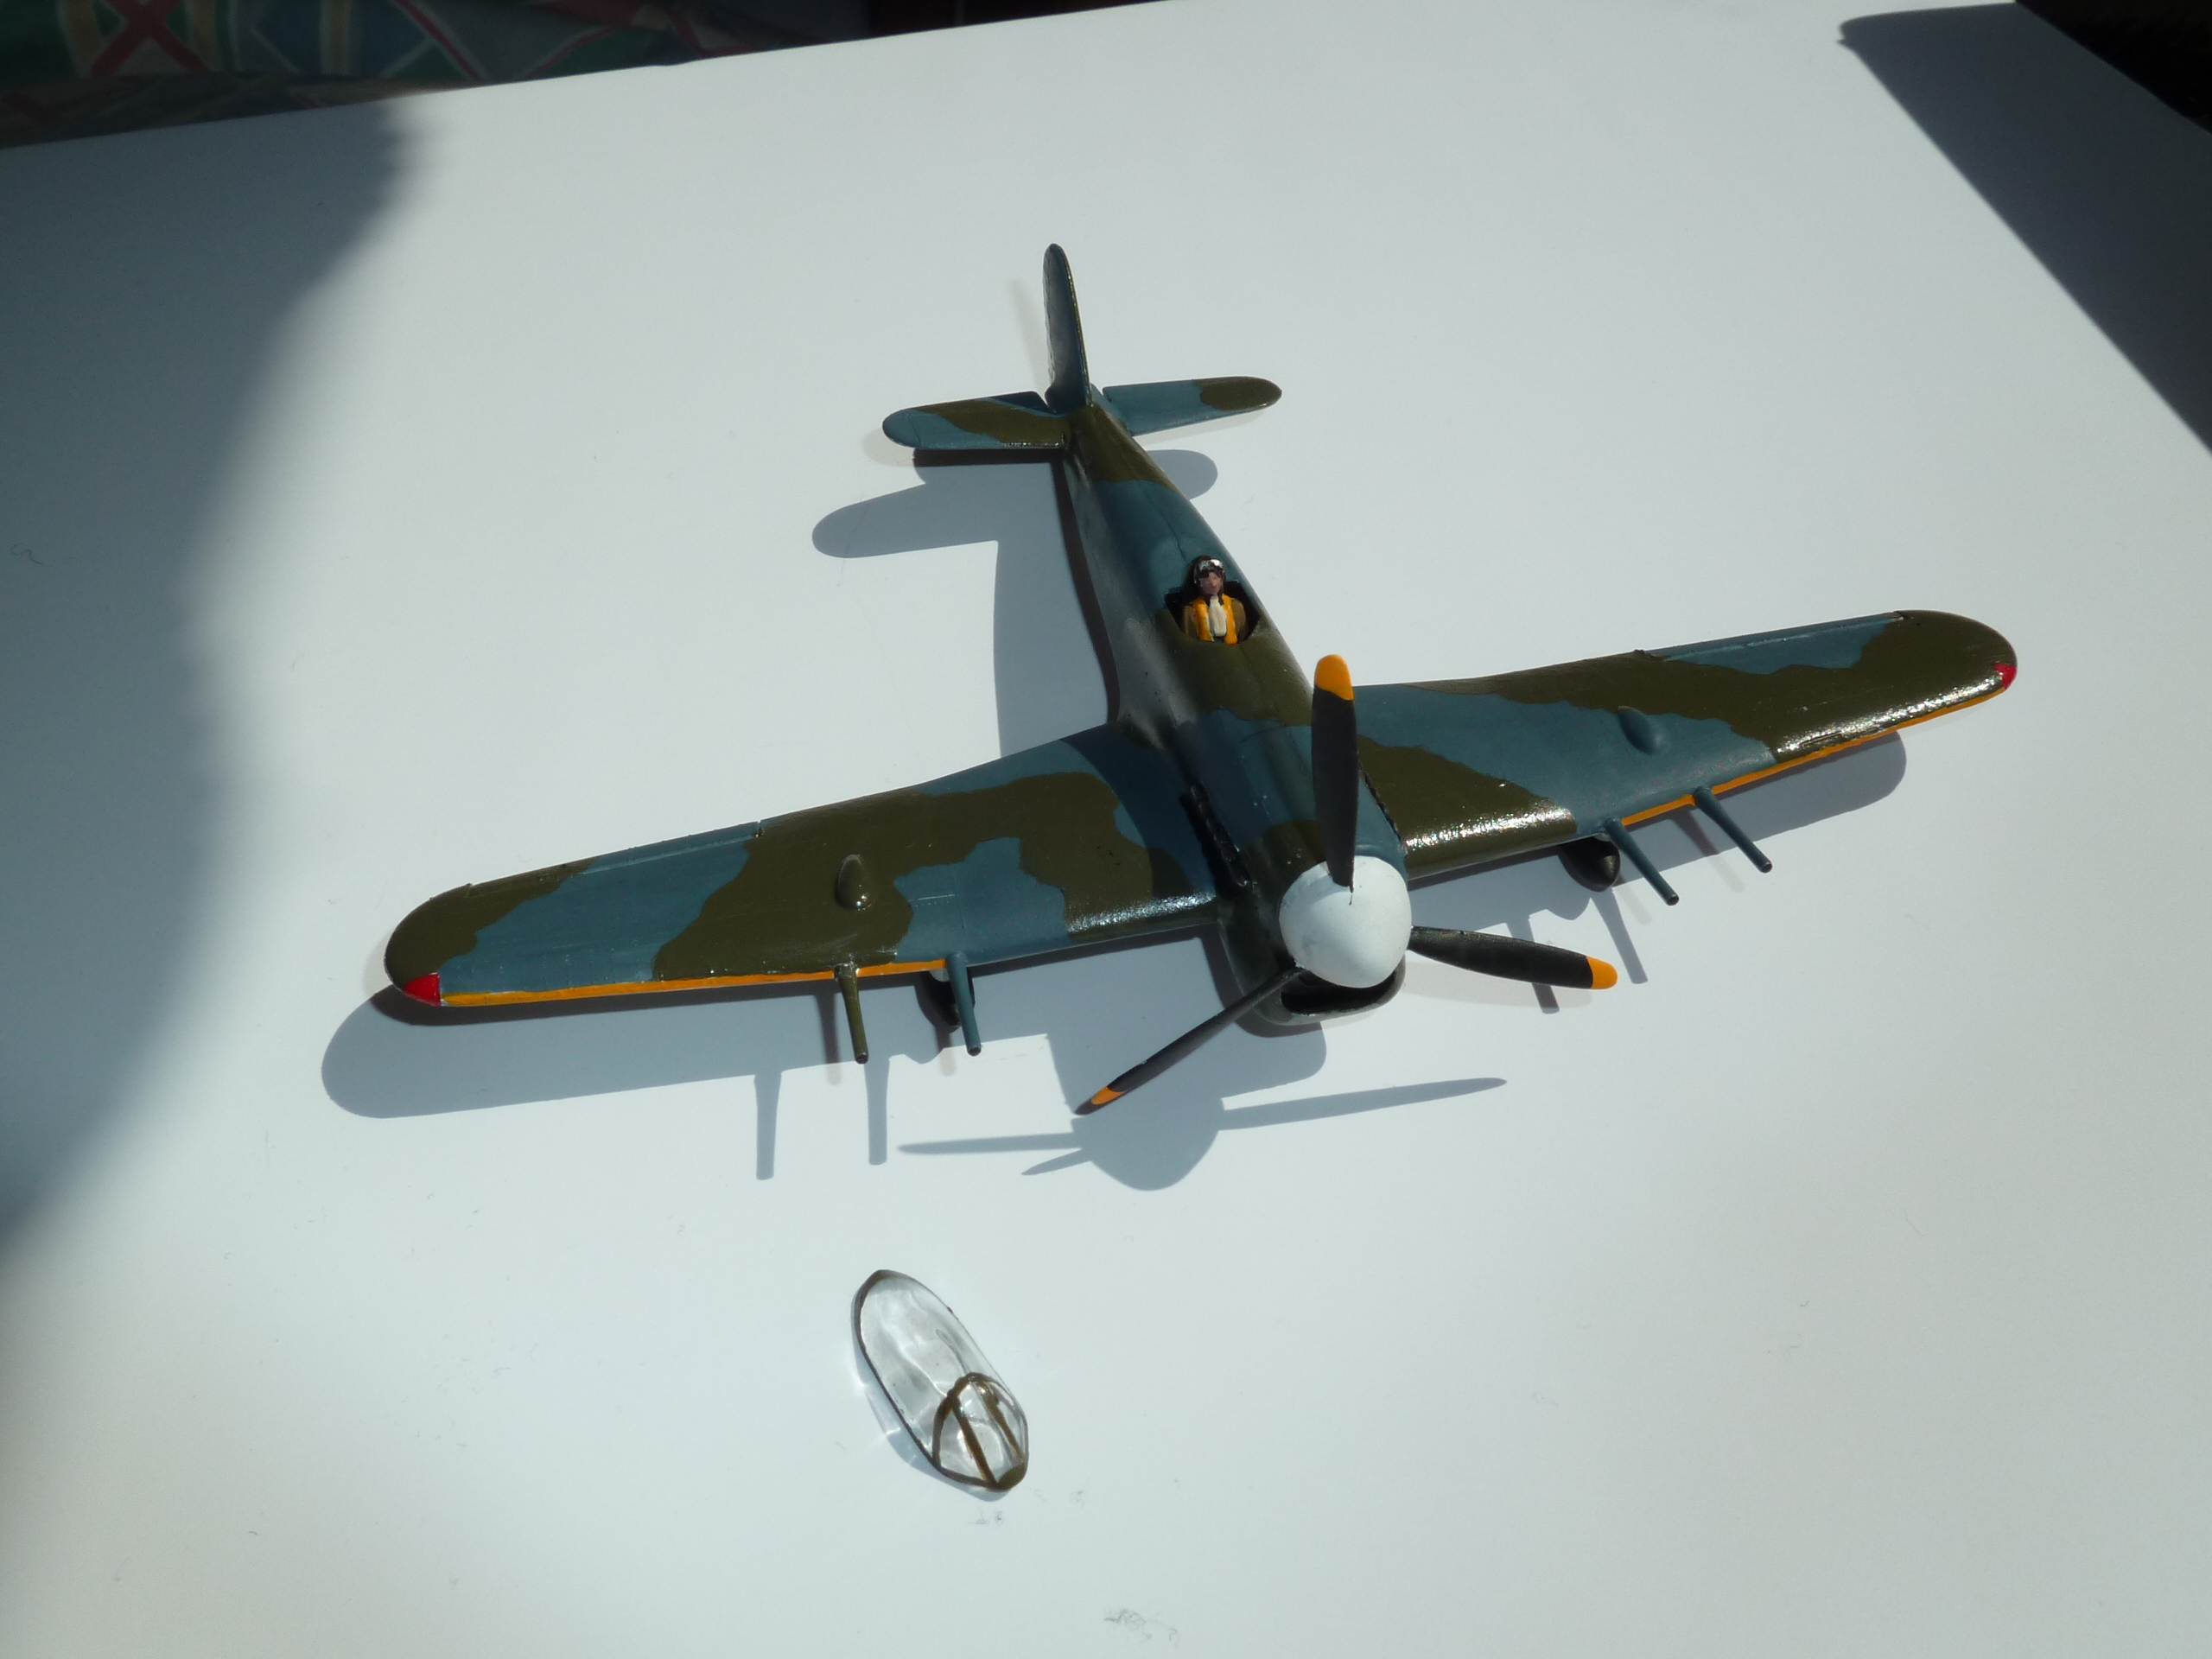
Alrightey, here are the promised pictures. I now have the varnish I need to start applying the decals, so maybe... just MAYBE I will be finished in time. Tonight I will try to get the varnish applied and MAYBE get a few decals stuck on. Still not sure if I want to go with a yellow or blue nosecone.

Friday, May 11, 2012

Day 5 - frantic work

So a brief break from the tidying and packing today was when I decided to "test" my new Tamiya acrylics and see how they worked. Based on advice from AlFront over at War Diaries of a Little Englander I copied the pattern from the Airfix instructions in pencil and painted the same pattern. It worked. Far better than I was expecting it to. Nice that this build has taught me another little trick for my bag thereof.

The current state of the plane is: fully painted, with the pilot needing to be done and then the decals added, weathering and wash to finish.

The chances of me getting all this done before going away for the rest of the month on Tuesday are: slim.

Pictures to follow tomorrow, when I have some light. [UPDATE] Pilot is finished and glued into place. Now I just need to do the nosecone (which requires buying more paint...) and get varnish to start on the decals.

Thursday, May 10, 2012

Day 4... slowdown

In a stroke of absolutely terrible luck it has been raining very very gently all week. Just enough that I haven't been able to spray the plane until tonight. This means that I'm behind my self-imposed schedule and I'm running out of time fast. I may need to take emergency measures and declare the first two weeks of June to be May.

Saturday, May 5, 2012

Day 2.5 & 3

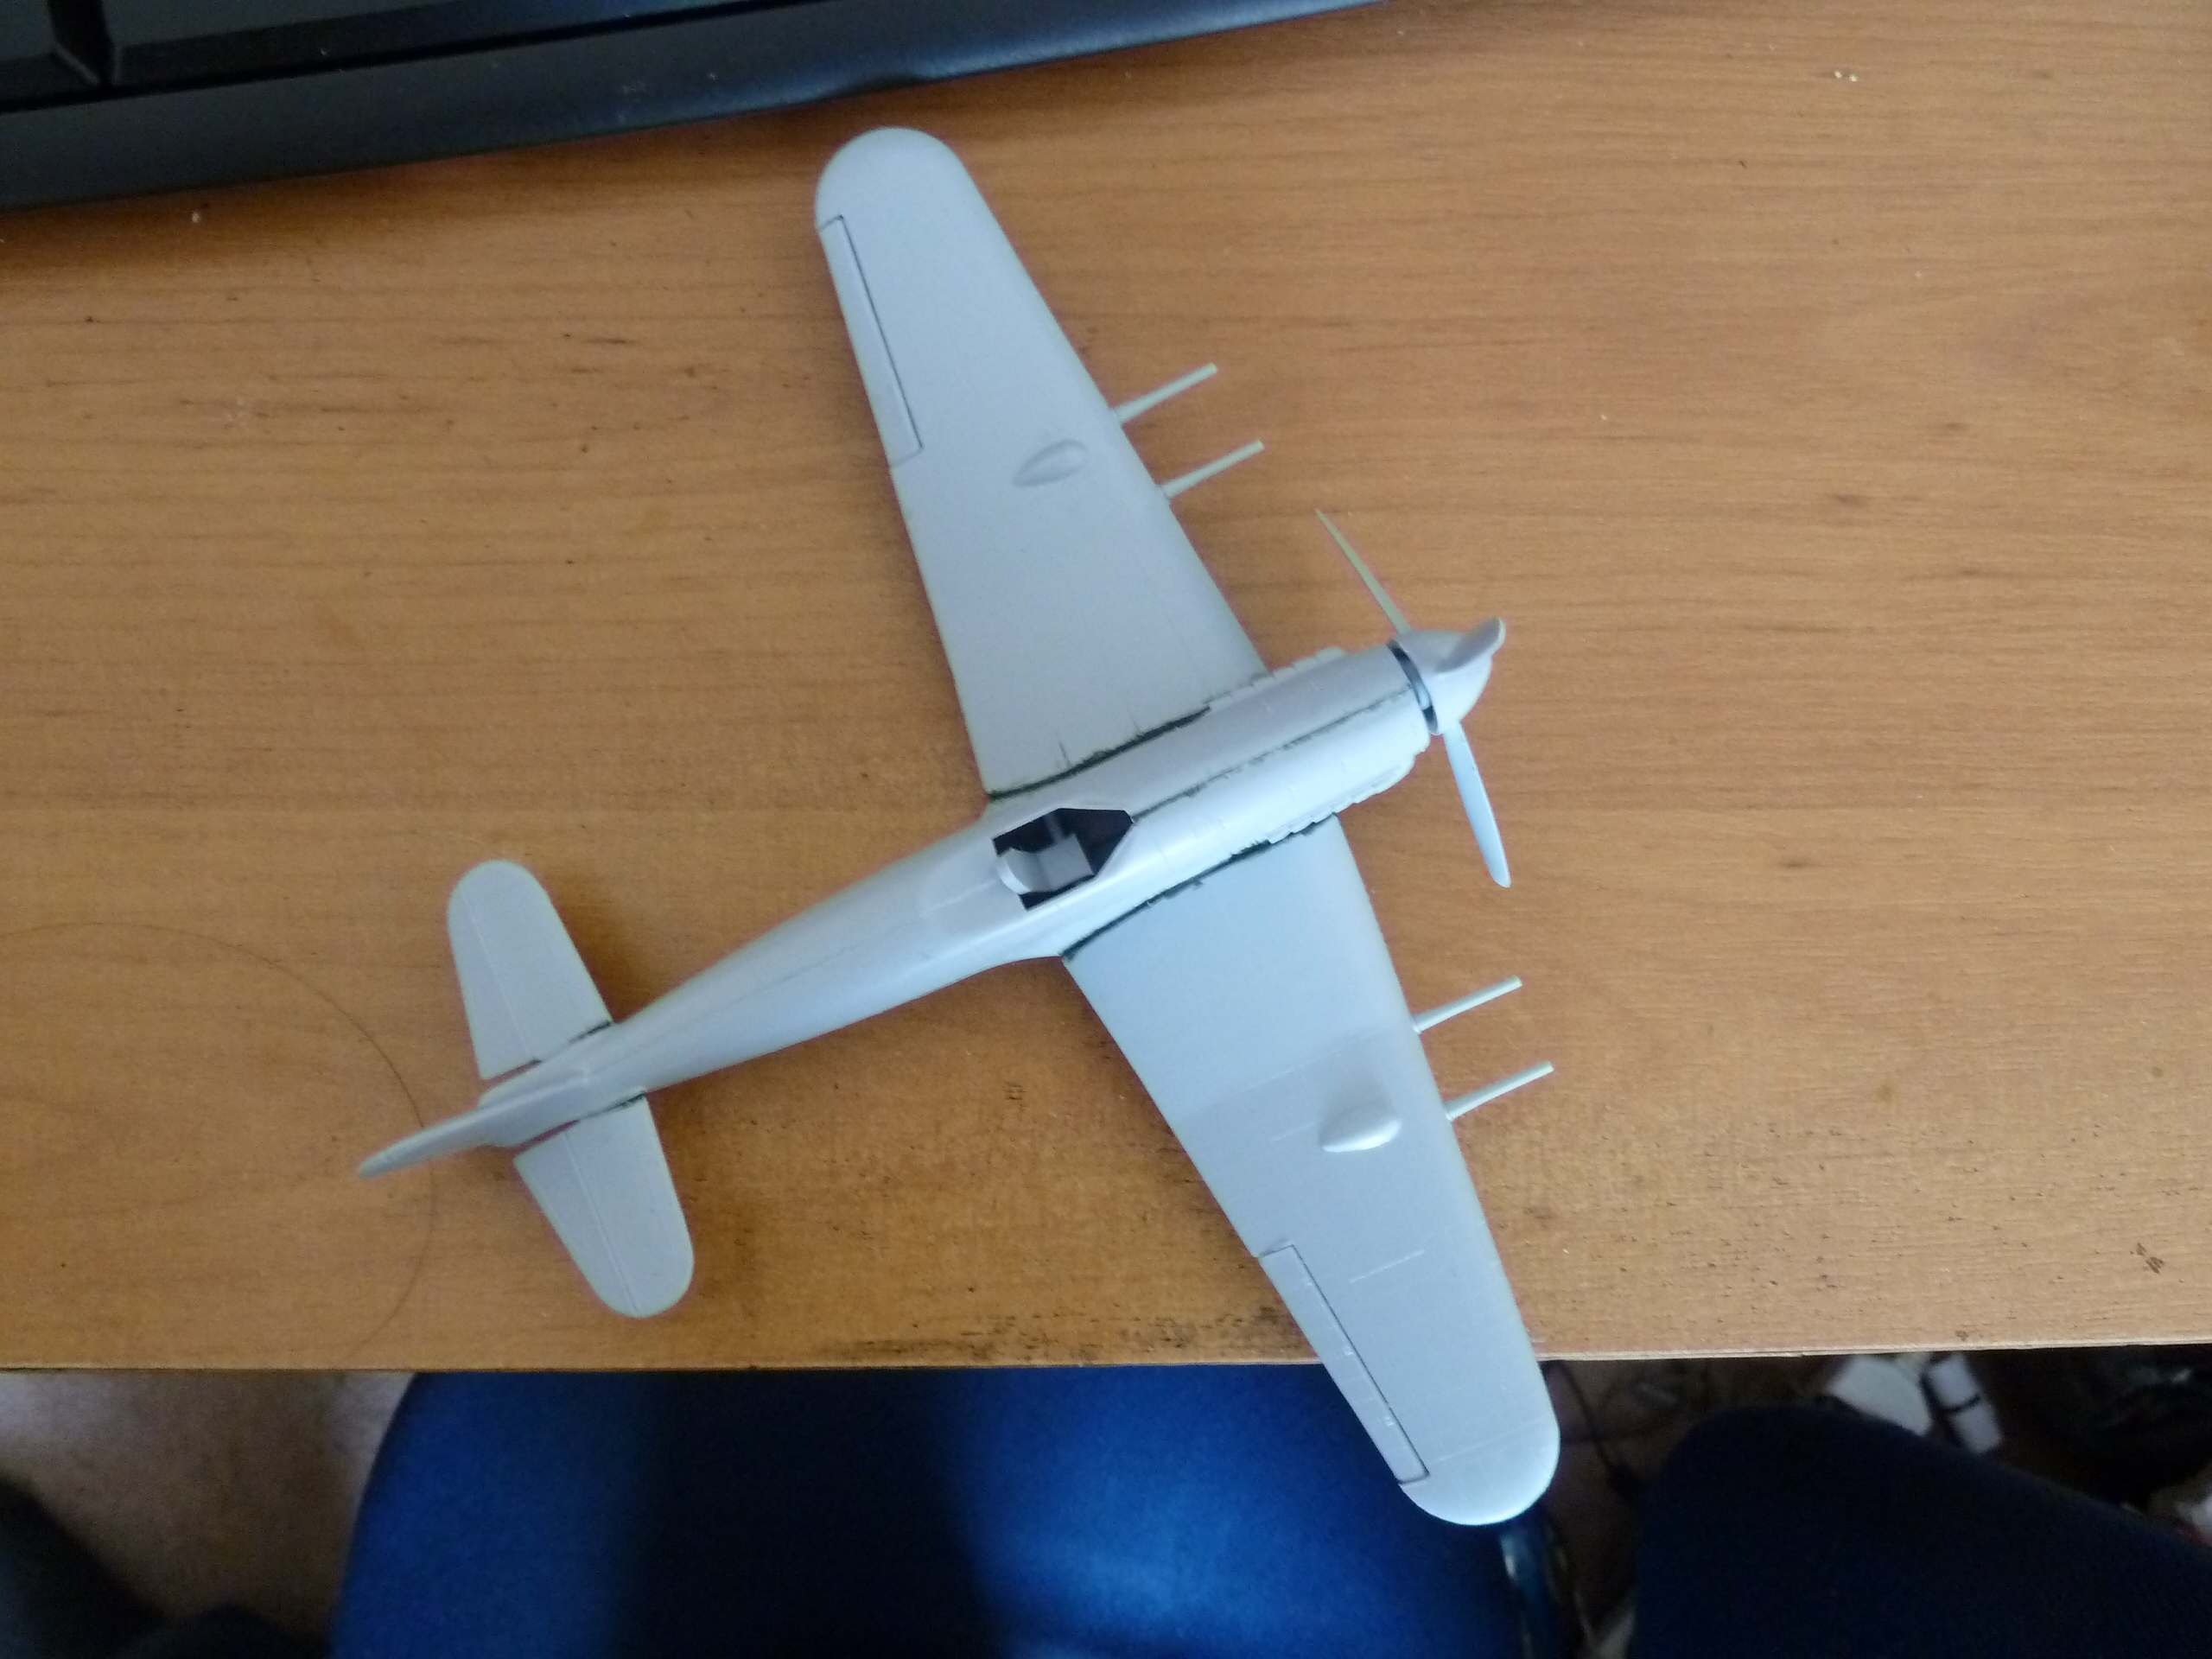
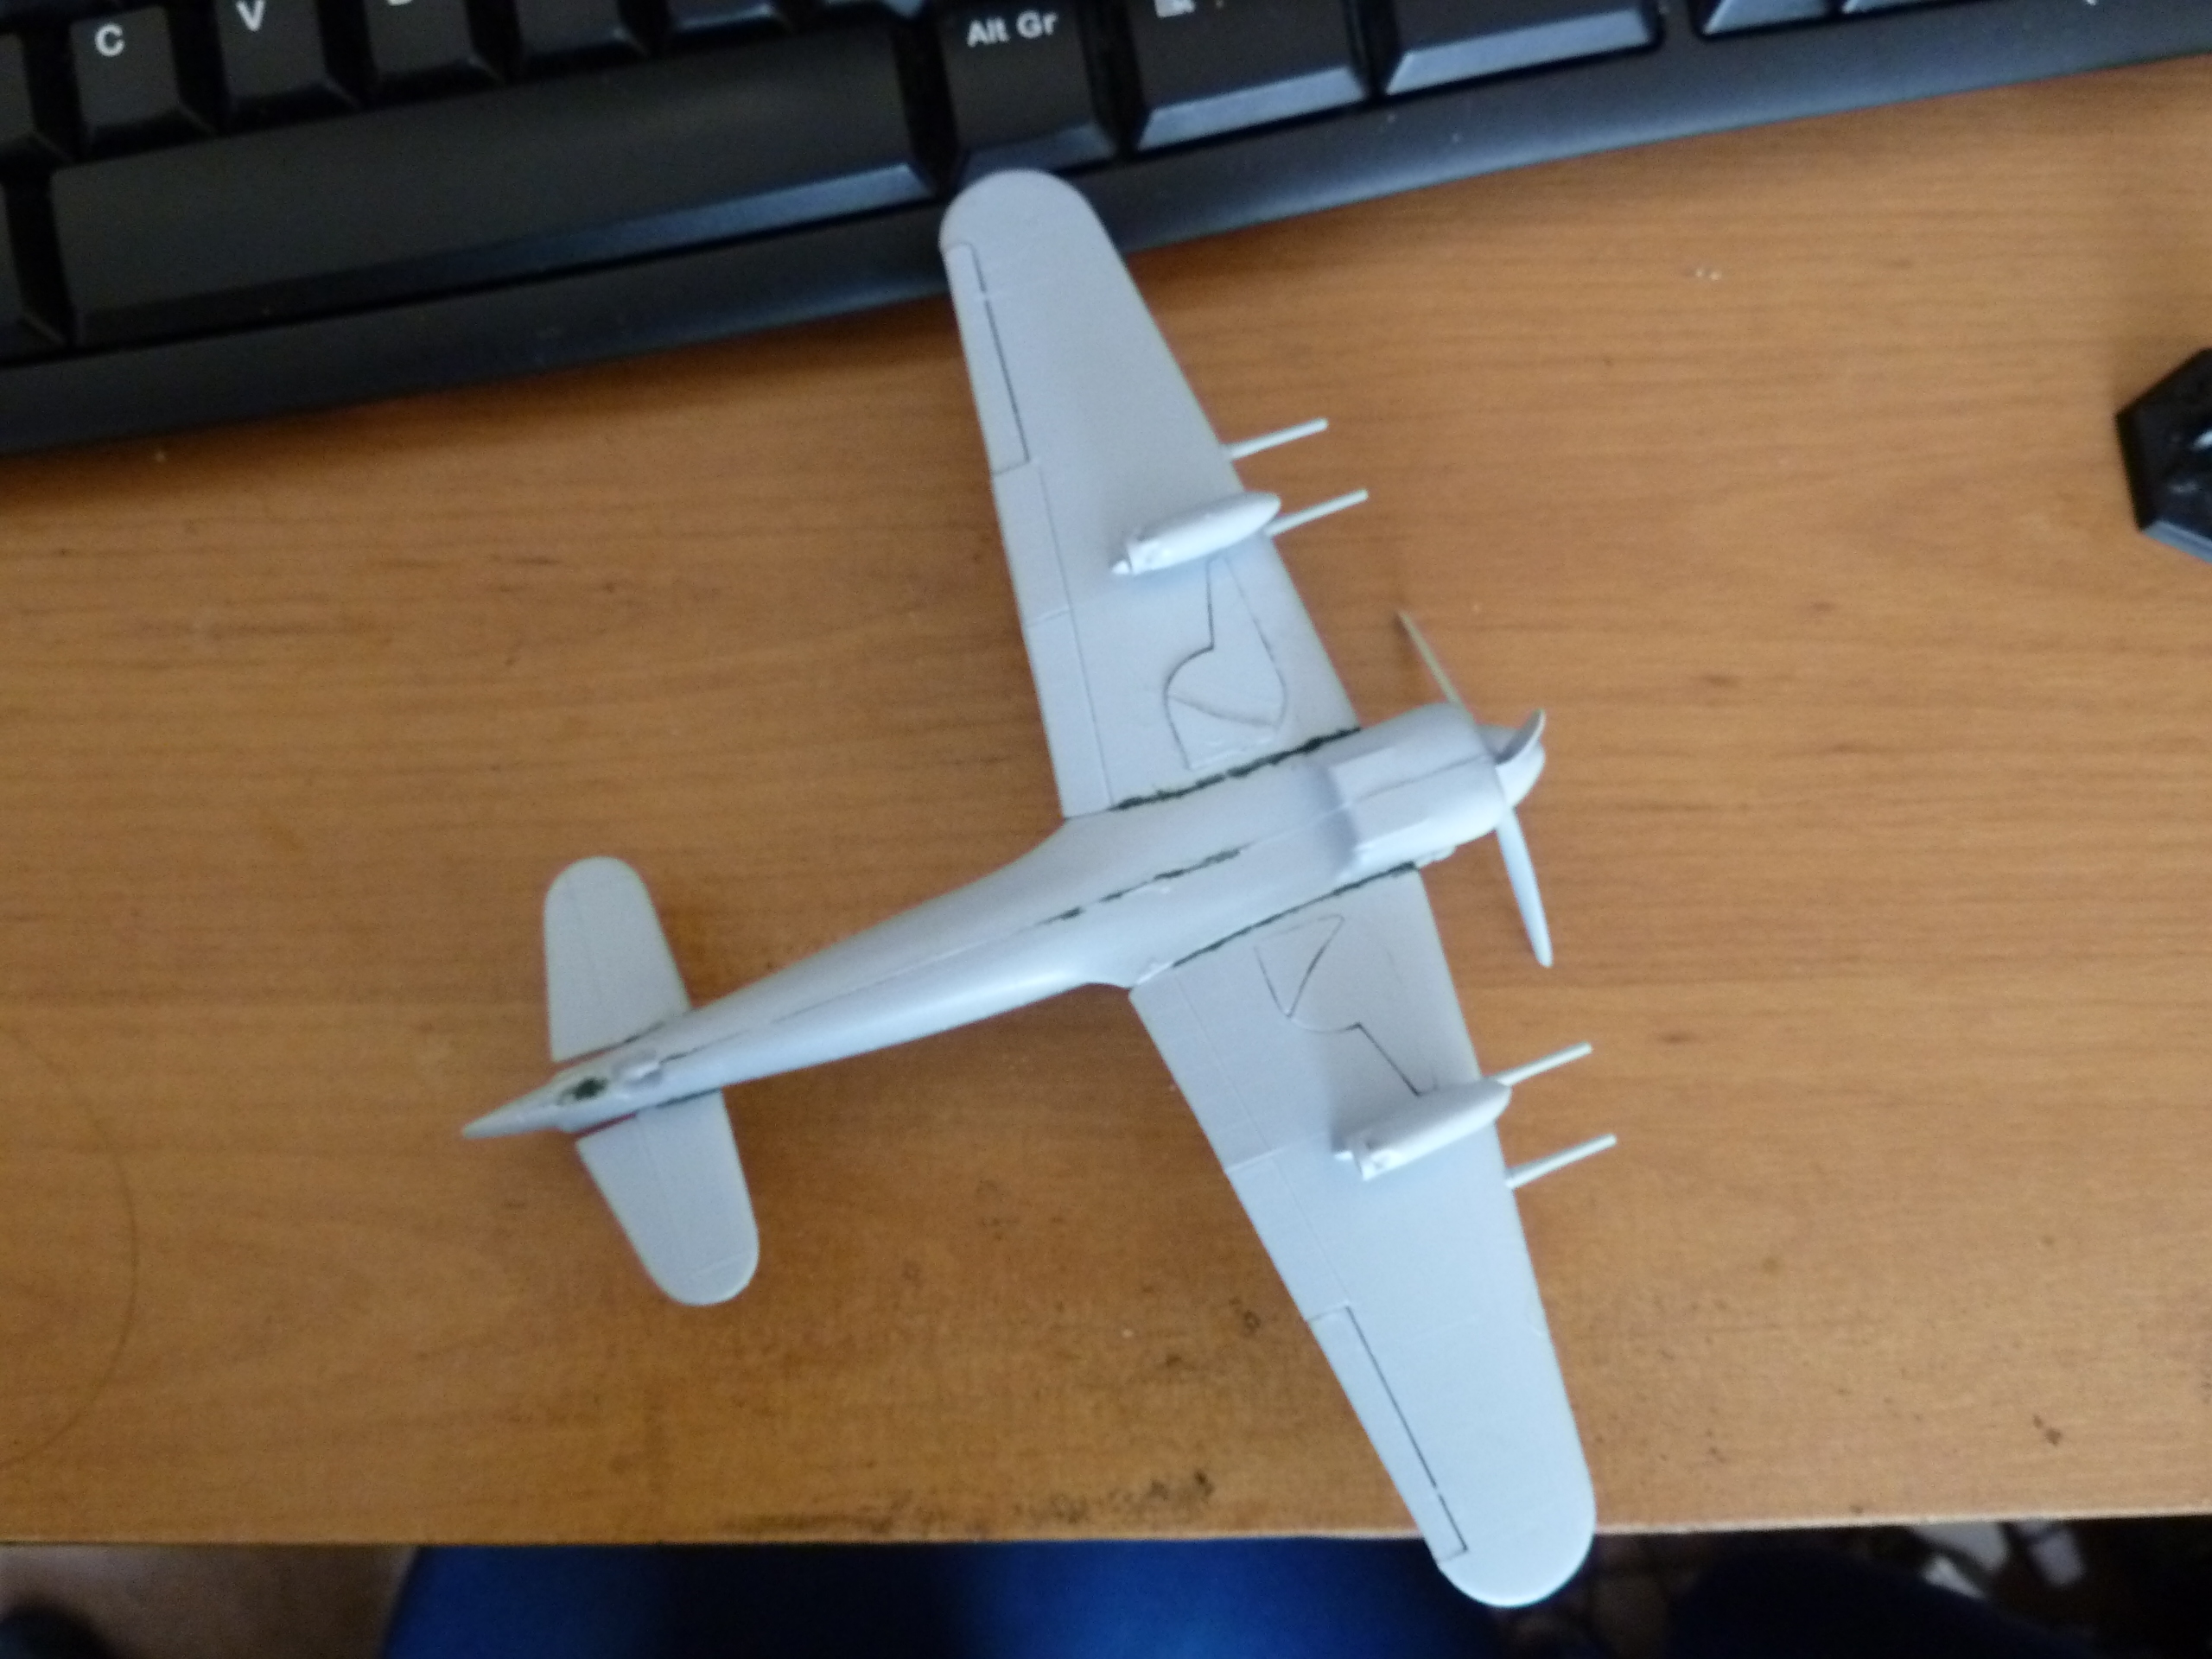
Most of this was done in a little under two hours yesterday, with the tail wheel and the wing doors being fitted today. It's now ready for painting so time to get researching on patterns and paints. I think (but am not 100% sure) that Vallejo Russian Green and GW Fortress Grey will do the job nicely. The green lines are splodges are GW's new "Liquid Greenstuff" filler. It works okay for this kind of thing, but for bigger jobs I'd have to go with the manual mix stuff. As you can see, the pilot and canopy are not attached yet. I'll be painting both seperately and gluing them on after the kit is ready for decals. The propeller is currently spinning but with a distressing wobble, so I might glue it into place later. I'm also not 100% happy with how the wing doors went together, and the right wing sticks up a bit more than I'd like so it may be filed down some more.

Friday, May 4, 2012

Day 2 of the Weatherbuild

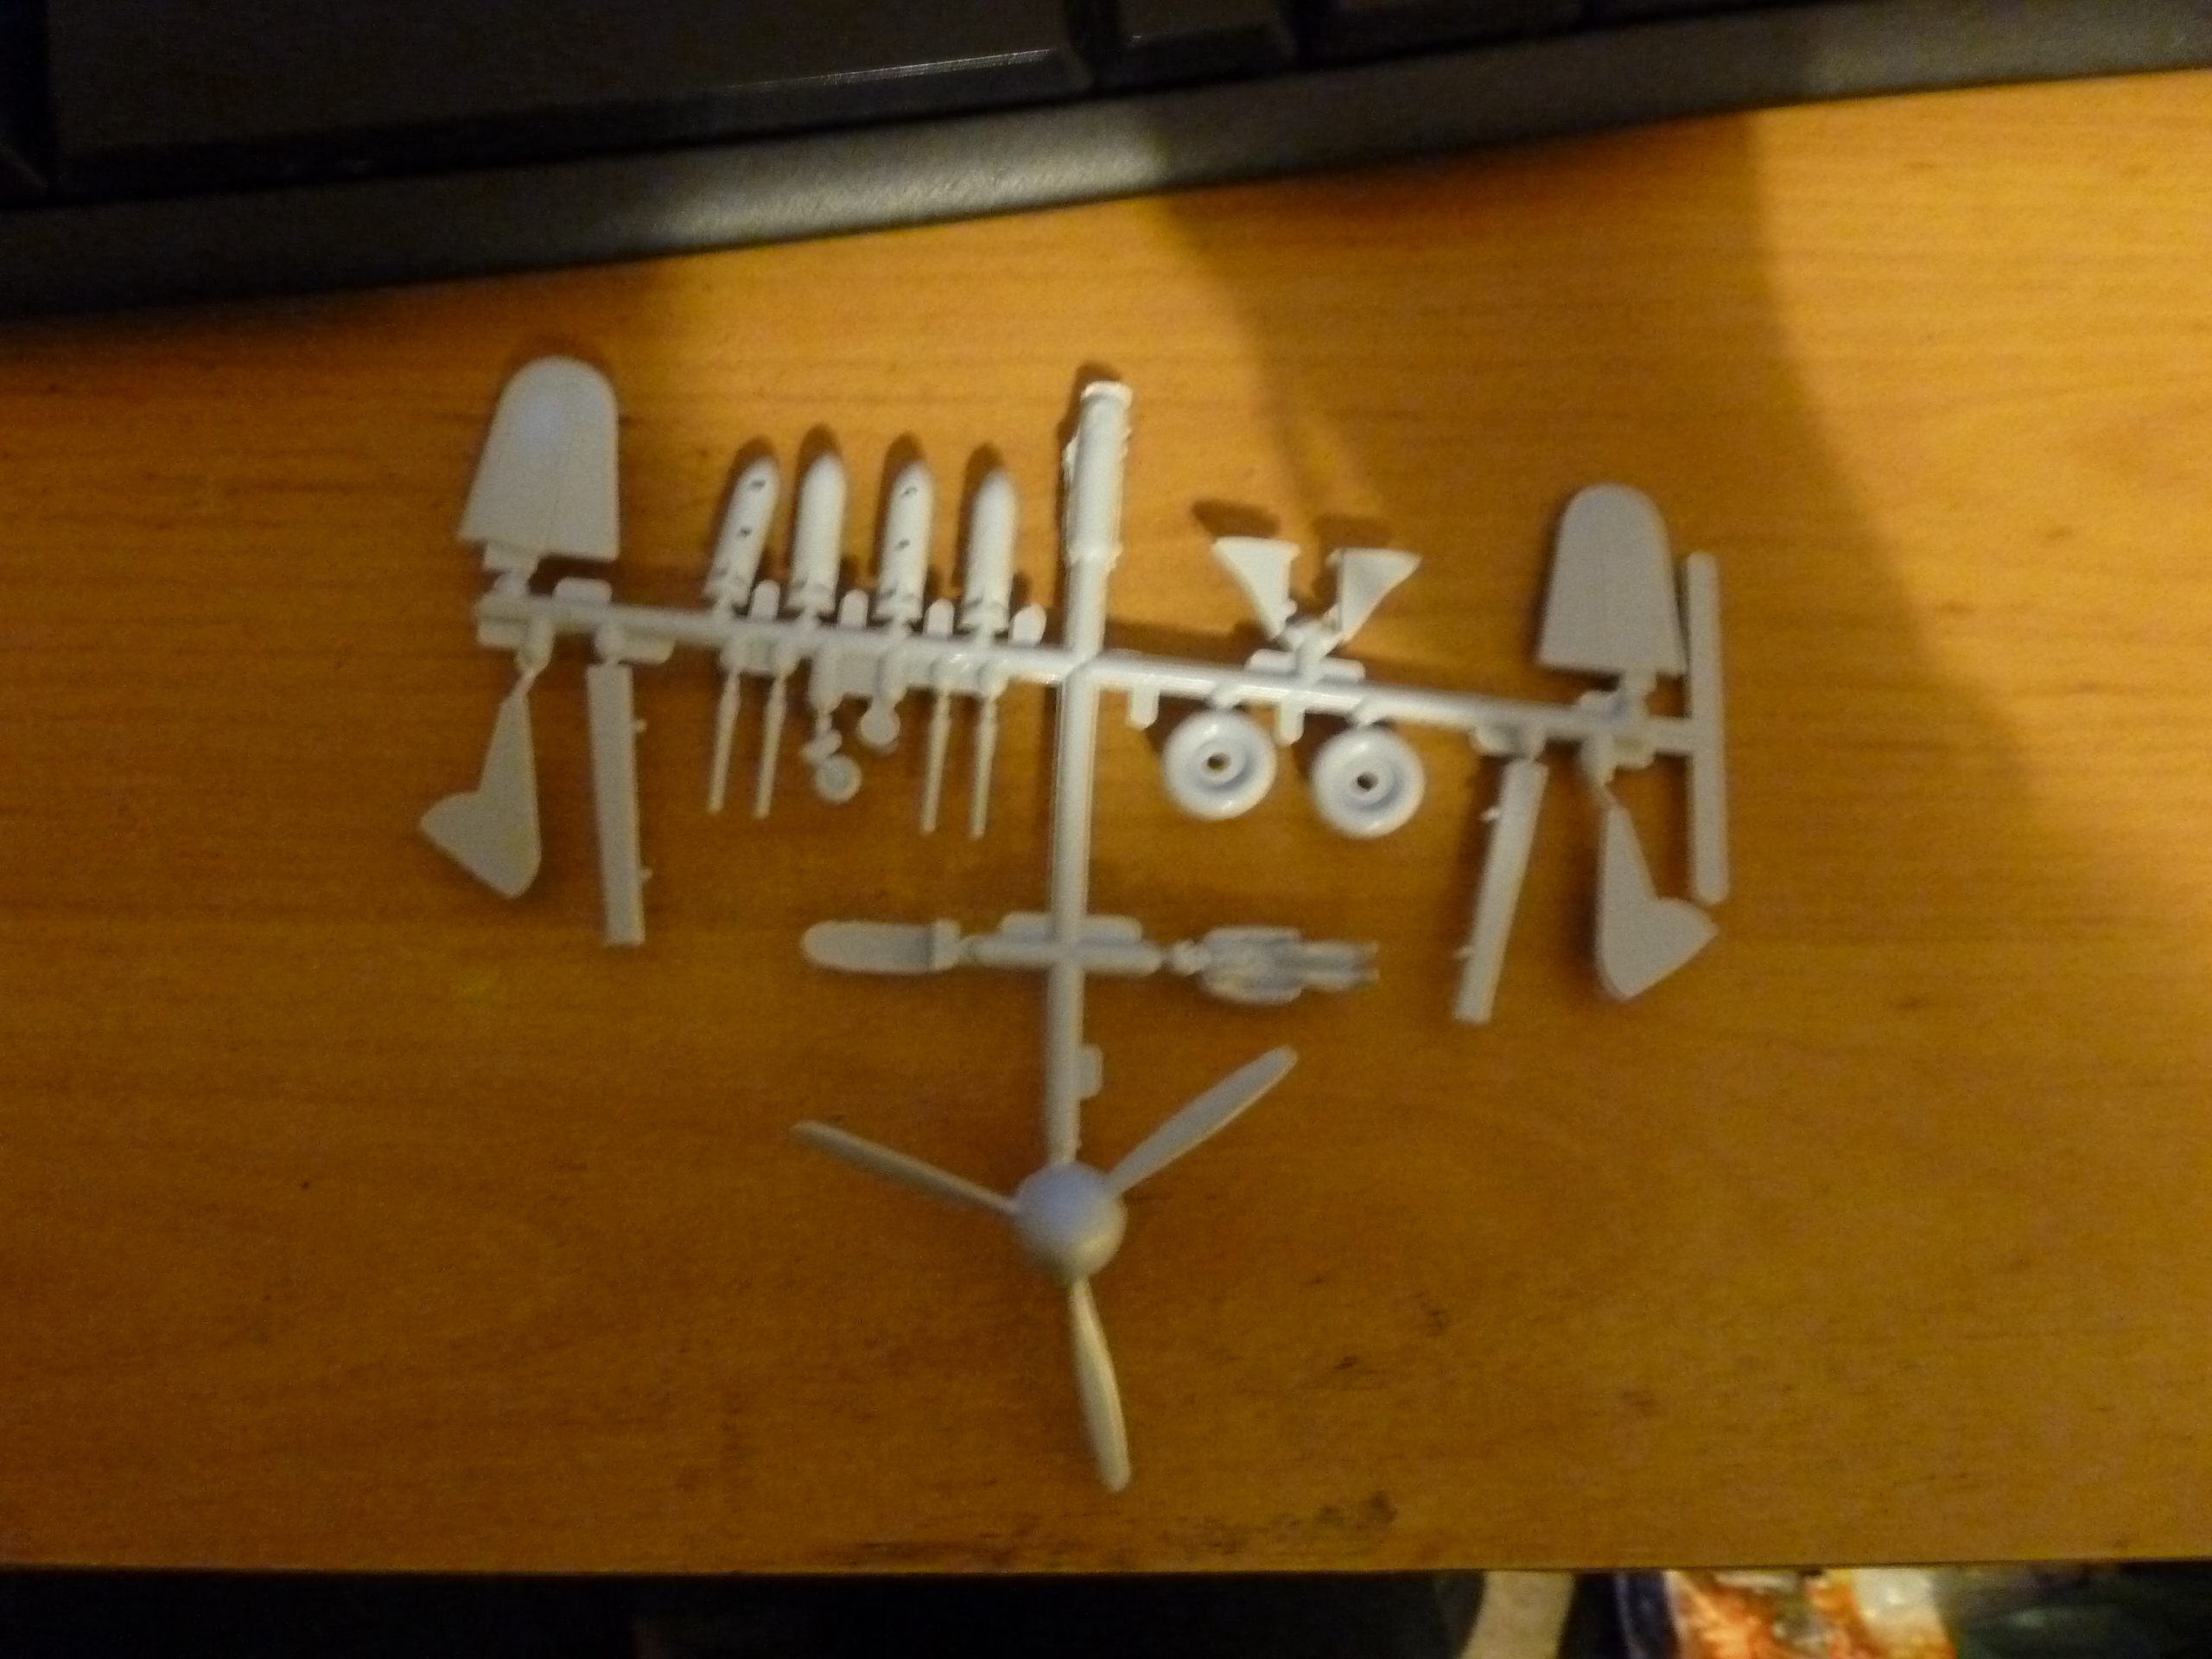
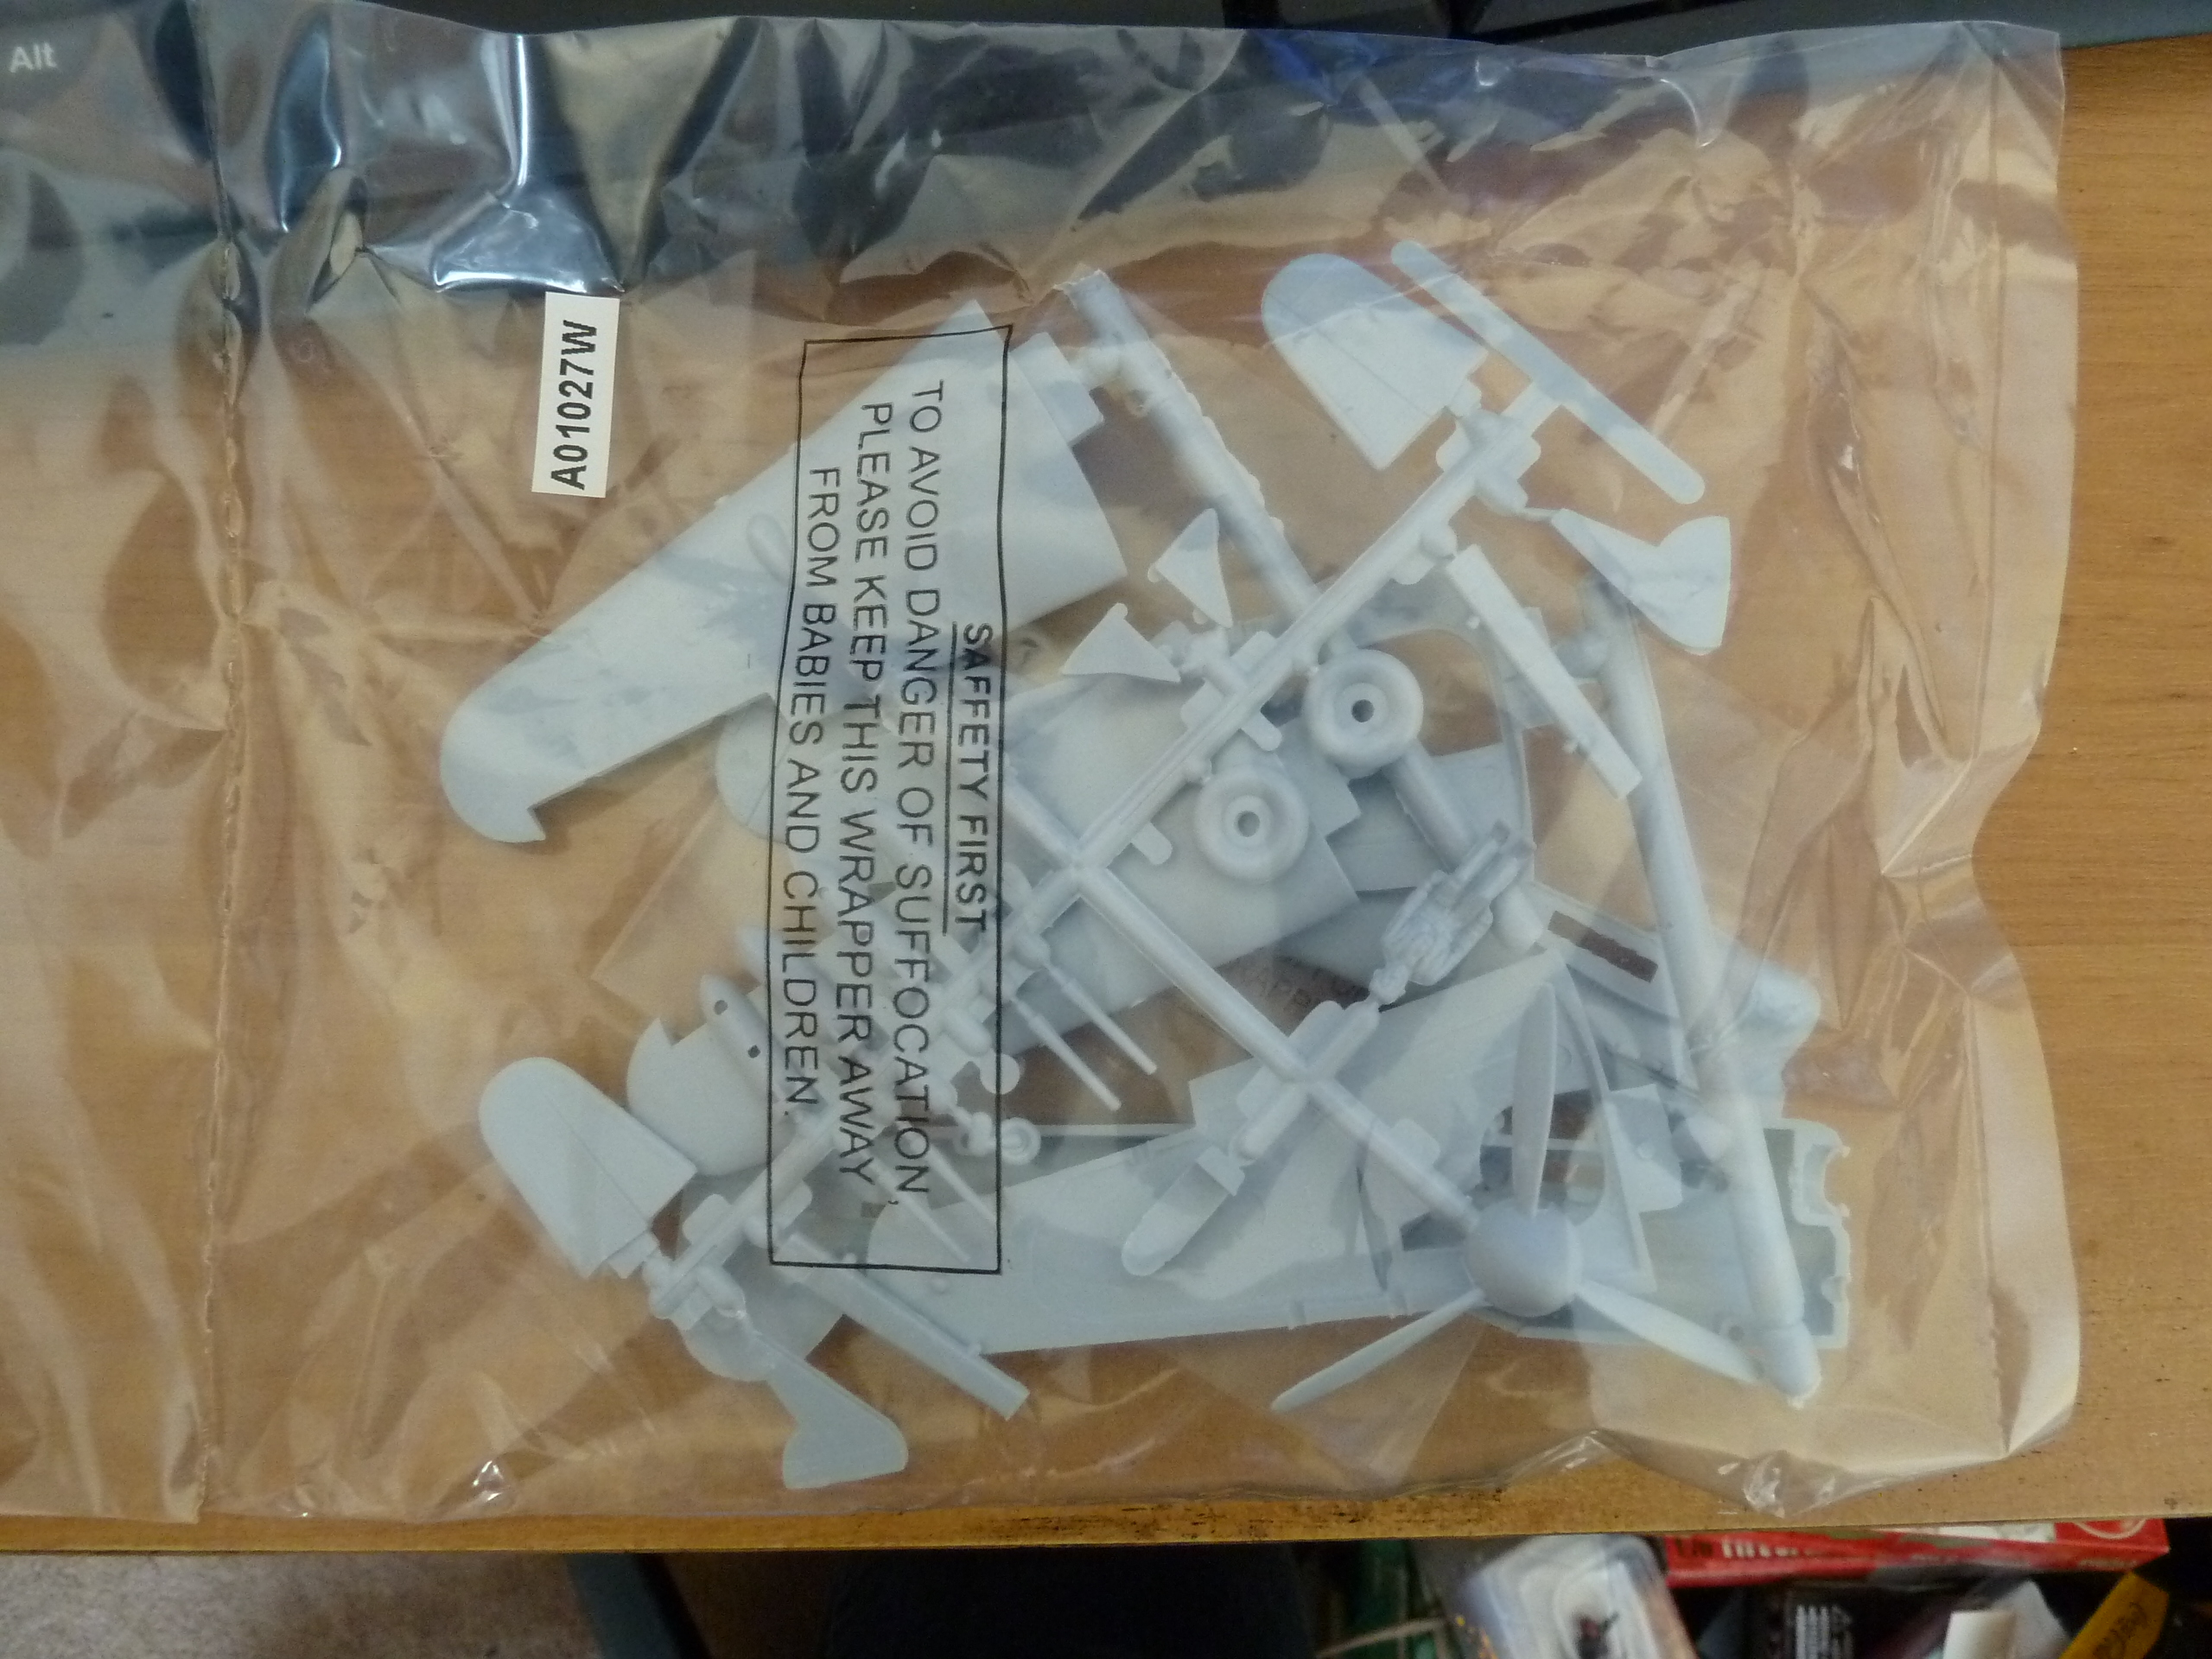
So my estimate of about an hour's work would have been correct for a straight out of the box build but for a wheels up version with a fully painted pilot it'll take a bit longer. Closer to two hours at the moment and I still haven't worked out how to get the landing gear to fit into the body in a way that doesn't stick out all over the place or fall in too far. Another thing I noticed is that it's best to switch parts 11 and 12 from one wing to the other - either the instructions are mislabled or I was reading it totally wrong but the flaps just seem to fit better on the opposite wing. No pictures of progress, but here's the sprue anyway: You can clearly see that there are bugger all parts here.

Thursday, May 3, 2012

OH GOD A POST... I mean... Hawker Typhoon unboxing.

It's been ages since the last post. Sadly life got in the way of fun, and then it got MORE in the way of fun. Even though fun eventually got back on track, I haven't really bothered using that new camera for the purpose I bought it....
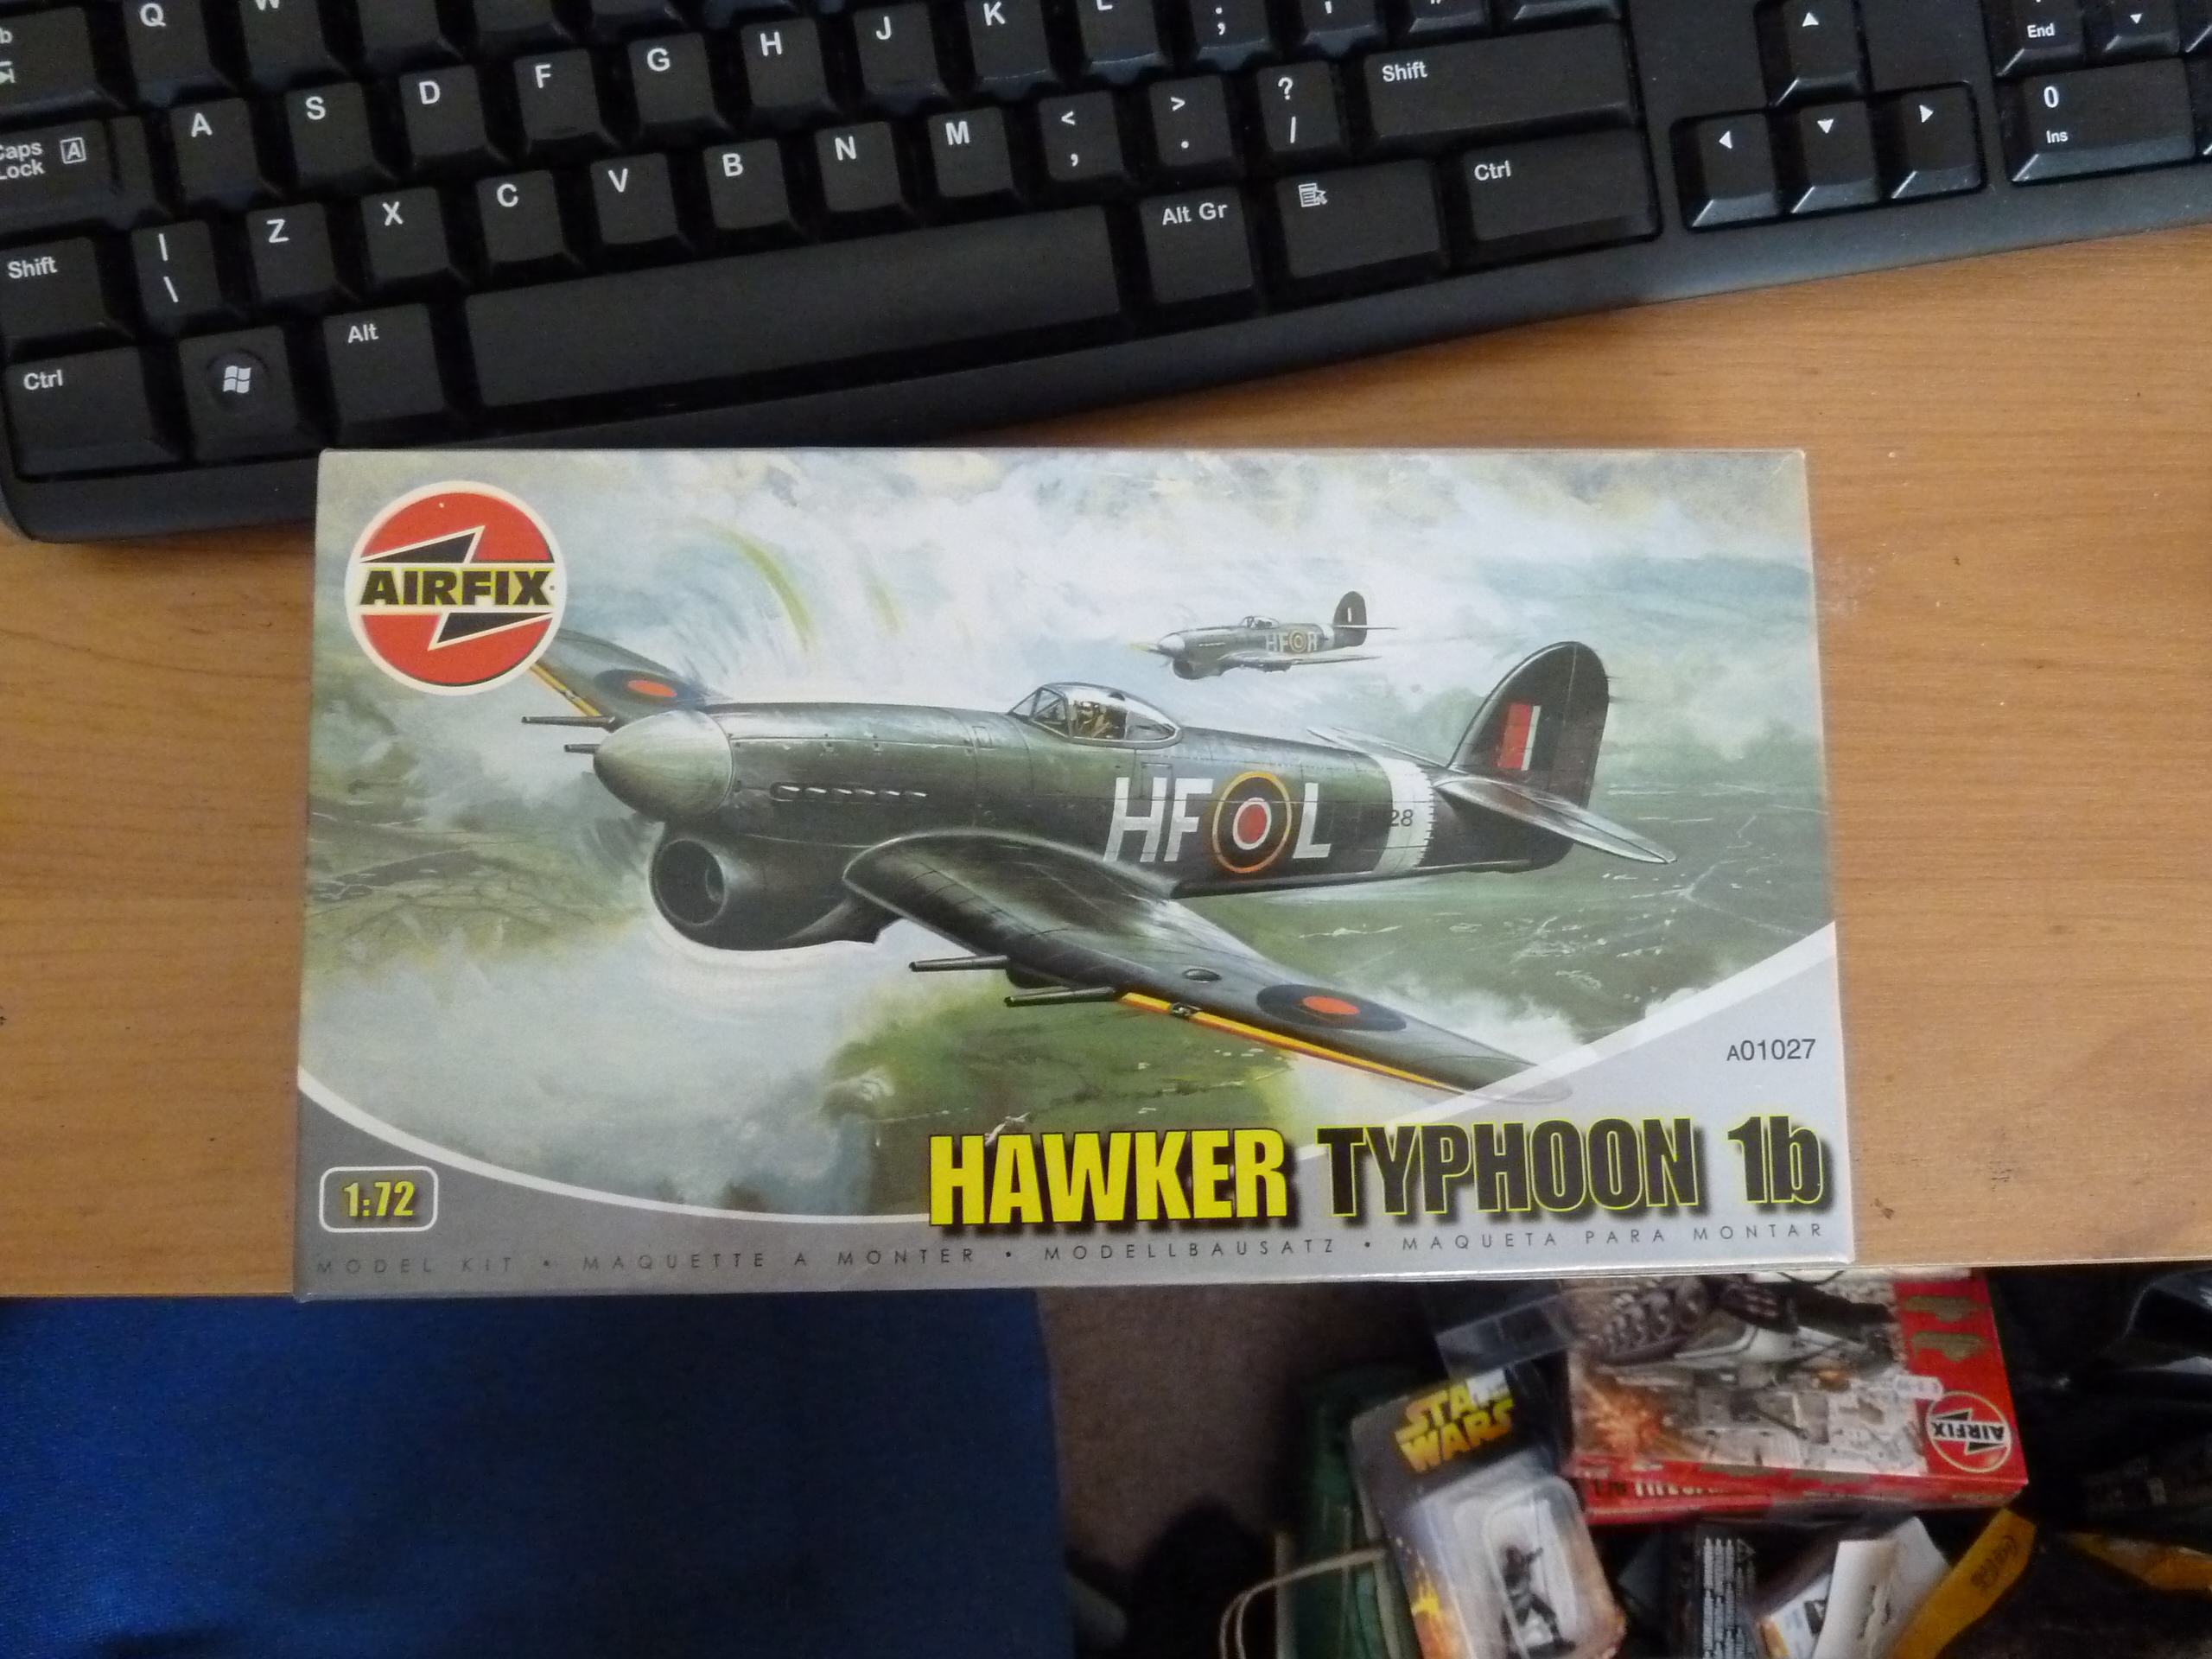
Anyway, to business! For the Hawker Weather event build I decided to get back to work and get cracking on an Airfix Typhoon 1b for some Allied air support (not that there was much, on the day). As usual, click for bigger.


The box is the usual Airfix affair. Good artwork but not a lot of clues as to what exactly is inside.


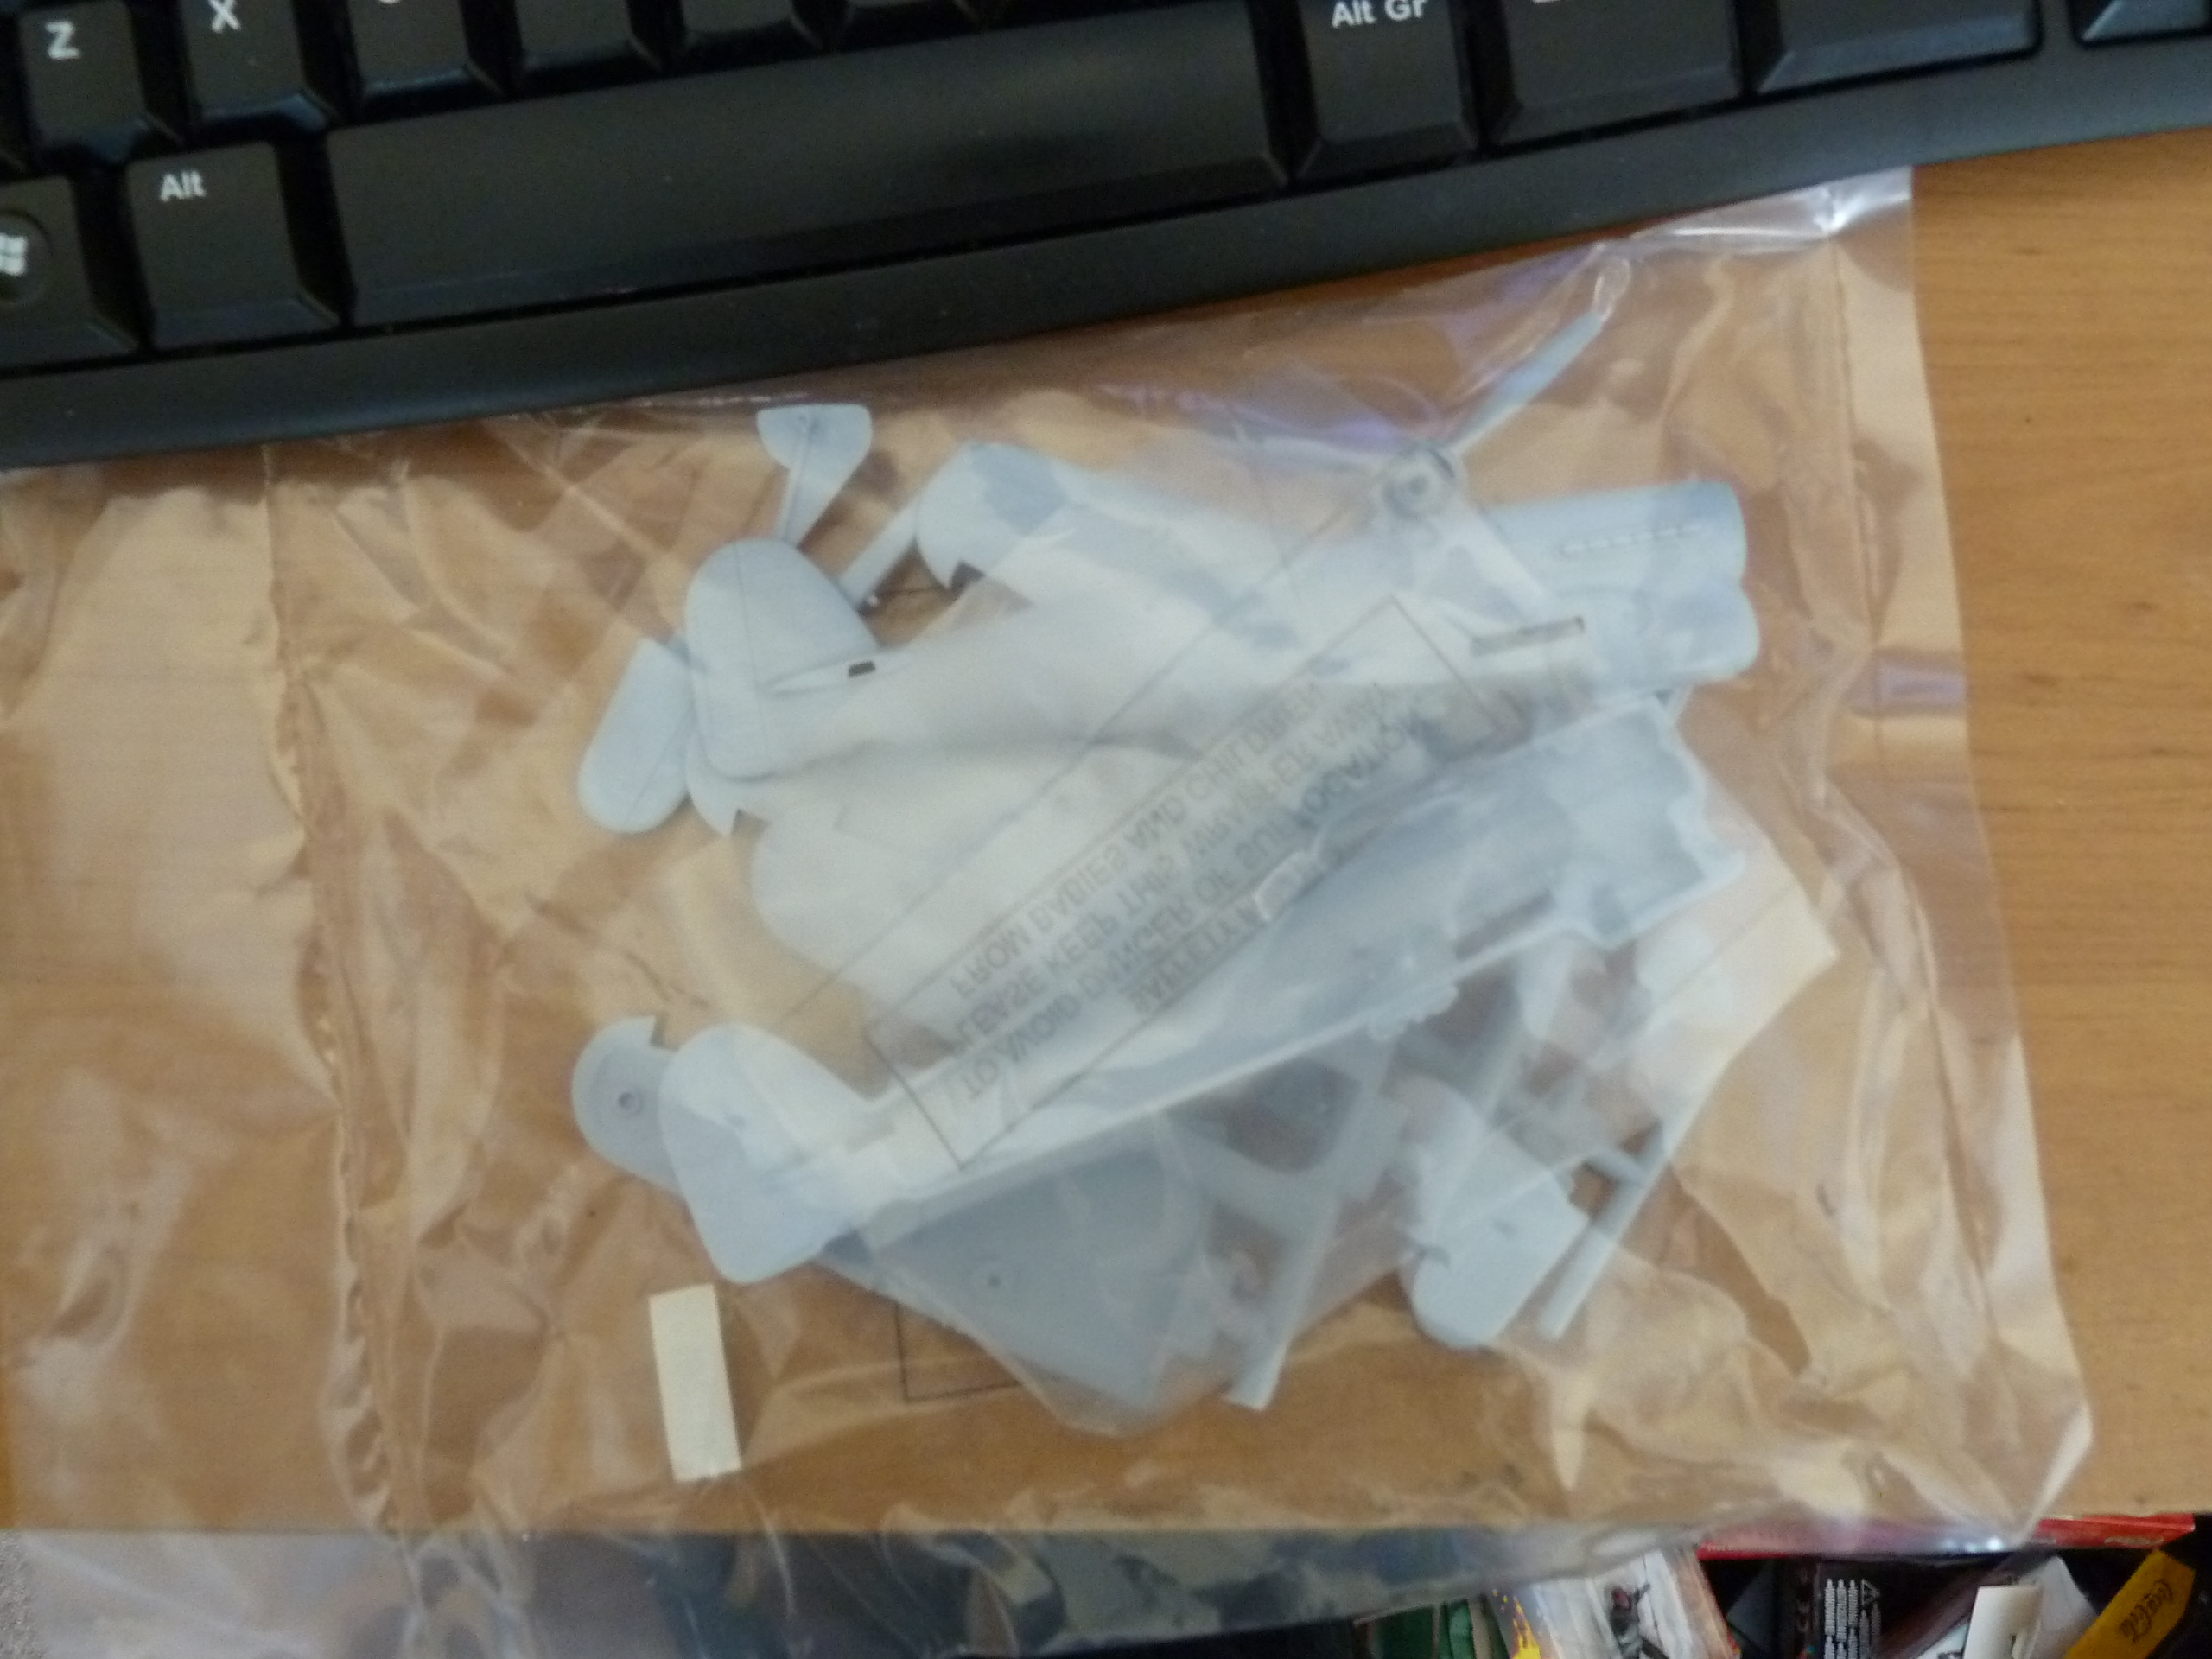
The sprues in the bag. The initial reaction of "that's not a lot of parts at all" turns out to be correct: there are just 30 pieces here. One of them is a pilot, which is a definite plus. It looks like this will be a quick build. I might time myself tomorrow evening and see if I can do it in under an hour (I am a superglue heretic). Then it's just a matter of figuring out which colours I have and which I need to do this bird justice.

Bonus in picture: part of "the stash" - an Airfix Cromwell awaiting assembly, even though I already have two more than I need built....

Wednesday, March 24, 2010

Taking stock a bit.

I've been working on this for quite some time now so I decided to sit down and start organising what I have finished, what I have in the works, what I waiting to start and what I have waiting to be bought. Mostly I've focused on the Guards Armoured Division as it was the spearhead and without it there will be no game. So, a list of what status each unit is in with extras from other units and "to buy" lists where relevant. A huge gap follows, I can't seem to make it go away for some reason.....


Guards Armoured Division
5th Guards Armoured Brigade
2nd Bn, Grenadier Guards (Armor) - 2 Shermans, 2 Sherman Firefly to buy.
1st Bn, Grenadier Guards (Mot) - Halftracks assembled and undercoated, Infantry 50% painted.
2nd Bn, Irish Guards (Armor) - Completed - - 3 Shermans, 1 Sherman Firefly.
3rd Bn, Irish Guards (Mot) - Infantry 50% painted, 1 truck in box, 1truck in the post.
32nd Guards Infantry Brigade
1st Bn, Coldstream Guards (Armor)2 - Shermans, 2 Sherman Firefly to buy.
5th Bn, Coldstream Guards (Mot) - Infantry 50% painted, 2 trucks in the post.
2nd Bn, Welsh Guards (Armor, Recon) - Cromwells, 2 assembled. 1 Cromwell and 1 Challenger to buy.
1st Bn, Welsh Guards (Mot) - Infantry on sprue, no trucks needed (yay! Tank riders!)
Royal Artillery
55th Field Regiment RA - 4 25lber + tractor kits to buy, 1 (captured) STuG III G for HQ transport.
153rd Field Regiment RA - 4 Sexton SPG to buy, 1 (captured) SDK 251 to buy for HQ transport.
21st AT Regiment RA - 2 17Lber + tractor kits, 3 M3 halftrak kits to buy, 2 Achilles M10 TD in the post.
94th LAA Regiment + 1st Independent MG Company - MG company 50% painted, AA guns to research + buy.
Royal Engineers - See Note at end.
14th Field Squadron^^
615th Field Squadron^^
148th Field Park Squadron^^
2nd Household Cavalry Regiment RA - 1 Daimler MKII, 1 Daimler Dingo undercoated. 1 Dingo in the post, 1 MKII to buy.


Note: all Engineer units I am assuming have moved to the front of the column, thus each Battalion's worth assigned to the corps is represented by one vehicle model with carried infantry (see here).

All in all, not a bad amount of work, but could be better. This doesn't include any of the German stuff I've been building but not photographing or blogging about or the Airbourne elements which have been somewhat on hold of late.

As a vague idea of the German units I have purchased the three Grenadier regiments of the 176th Infantery Division, the Panzerjäger Battalion and the Pioneer Battalion. The Artillery regiment requires one more box of Revell German Artillery to complete, and the Fusileers require me to track down some Nebelwerfers (one should do really, only a Battalion I need here).

Kampfgruppe Gräbner (and Gräbner himself, in his stolen Humber II) is waiting for the infantry Recon platoon's Sd.Kfz 250 to arrive in the post, and for me to swap the mudguards on a Revell Sd.Kfz. 234/2 "Puma" and an Airfix Sd.Kfz. 234/4 to make the second more accurate and the first into a stand-in Sd.Kfz. 232. It is otherwise completely assembled (you could say the vehicles have been rendered deliberately unservicable.....).

Thursday, March 11, 2010

Last of the summer photos (except it's only spring).

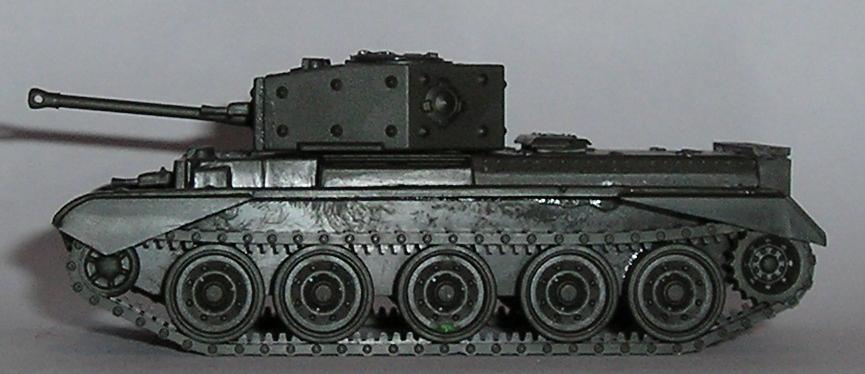
This is the last of the units I got photographed during the brief sunny afternoon last week, a single view of one of two HäT Armourfast Cromwells I have built as half of the 2nd Battalion Welsh Guards Armoured Reconnaissance Battalion.

.

I need to get one more Cromwell and a Challenger to finish this platoon off, and then some more British Infantry to ride the tanks as 1st Battalion and finish up the Welsh Brigade.

Monday, March 8, 2010

Dingos ate my {blank}

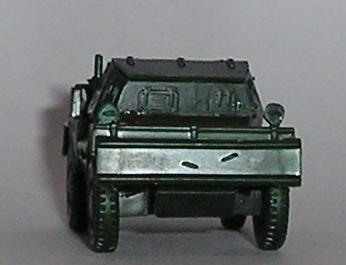
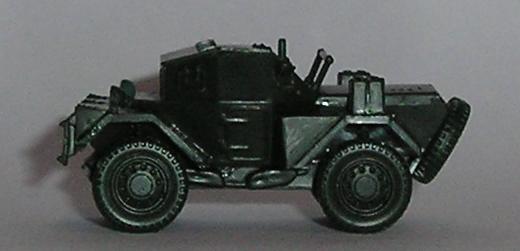
The light was starting to fade when I was taking these, so they aren't of the best quality. At one point the flash decided to start working again suddenly, resulting in a rather impressive washed-out look to a side view. This will be joining the earlier Damlier MK II as part of the Household Guards Regiment Reconnaissance platoon. The kit is the Dingo that comes as part of the Revell "Monty's Caravan" double-pack kit, a rather nice little model.


You'll notice that the right headlight is a different shade and shape to the left. The original decided to go shooting off into the ether underneath the diningroom table and I replaced it by sculpting a new one from greenstuff. It looks alright when not at super-huge-photo size.

One more unit got photographed in the recent sun, I'll post it tomorrow.

Thursday, March 4, 2010

Truckin' (sort of).

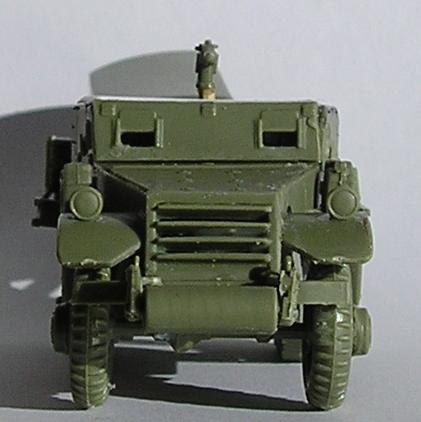
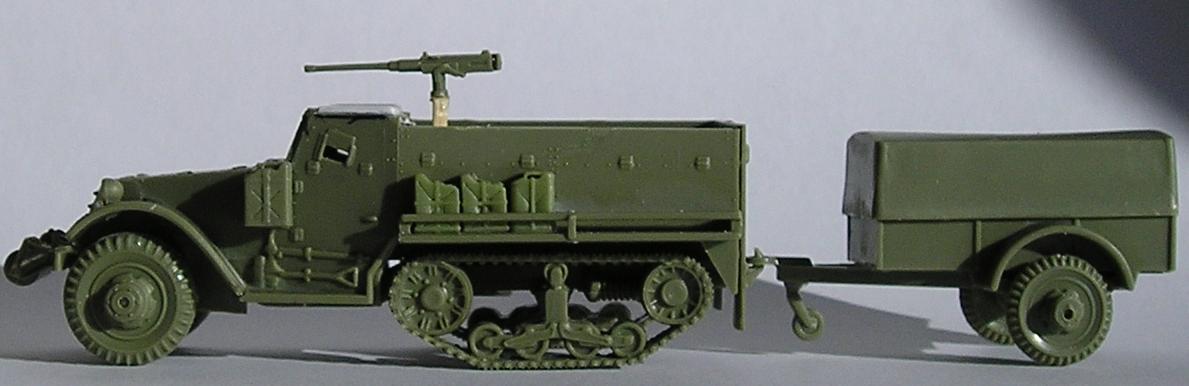
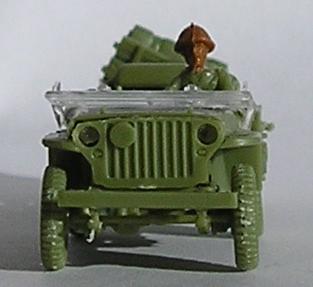
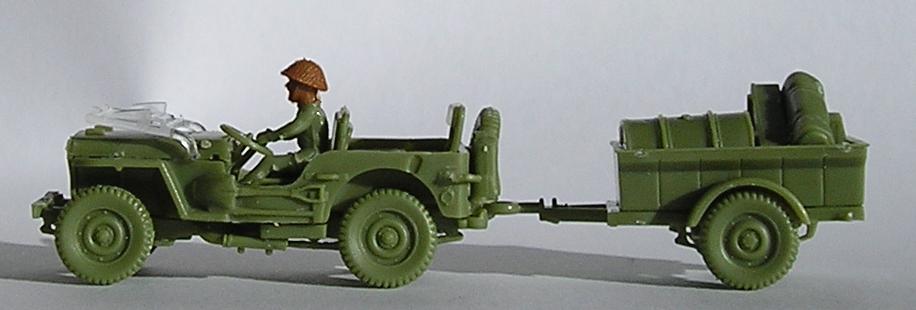
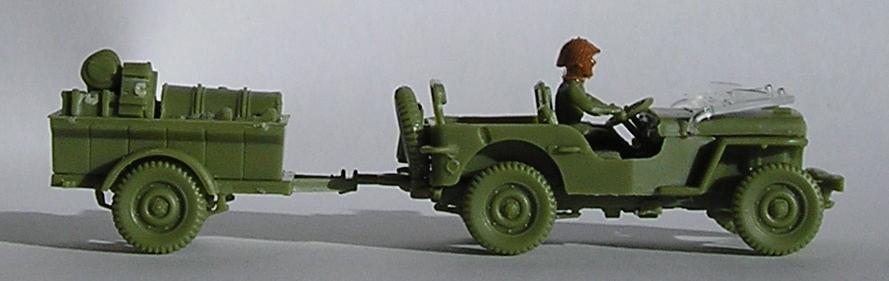
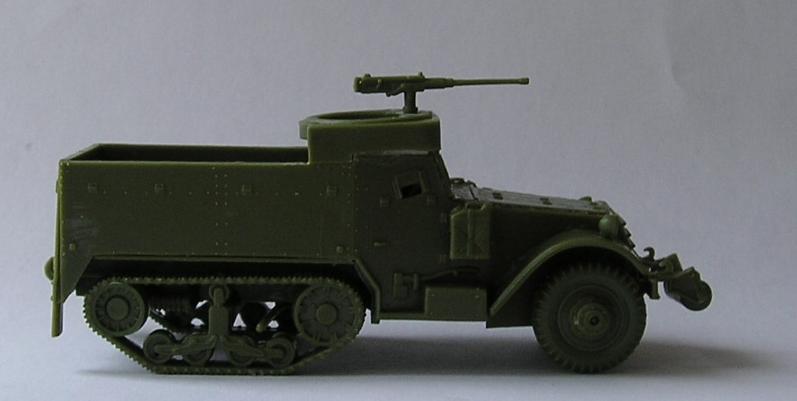
I'm still working and chugging along at a reasonable speed, mostly building vehicles but also painting infantry. Unfortunately my camera is so bad that images are extremely blurry unless I can get direct and bright sunlight. Given the time of year, that almost never happens. Anyway, onto the models. These represent the vehicles attached to the various Pioneer companies spread through the three divisions of XXX Corps, I've decided that they will all be represented by a single platoon of 20 men with two jeeps and a halftrack with trailers for simplicity's sake. All the kits are airfix, with various minor modifications. The pictures:

Halftrack:


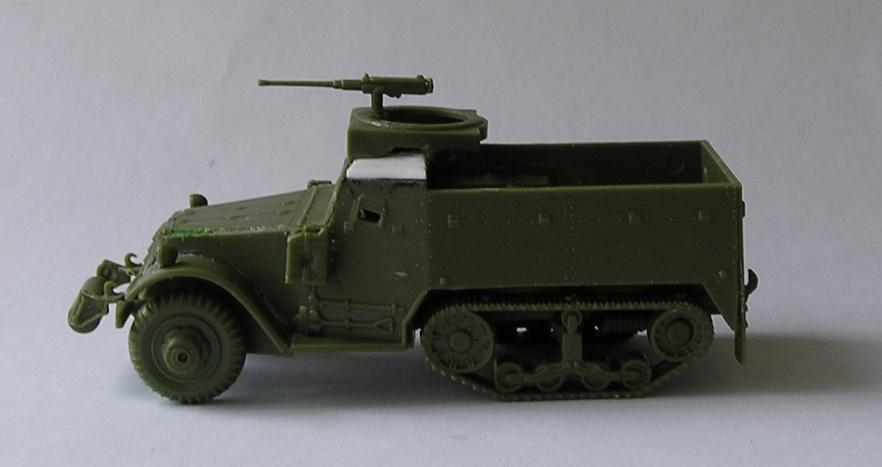
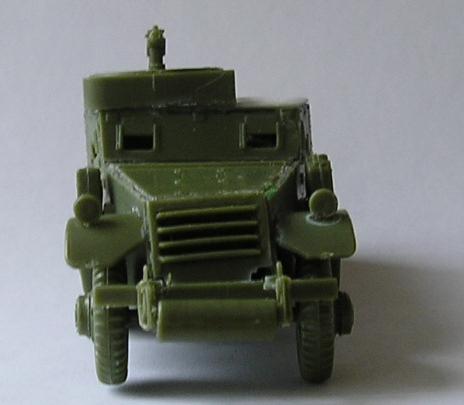
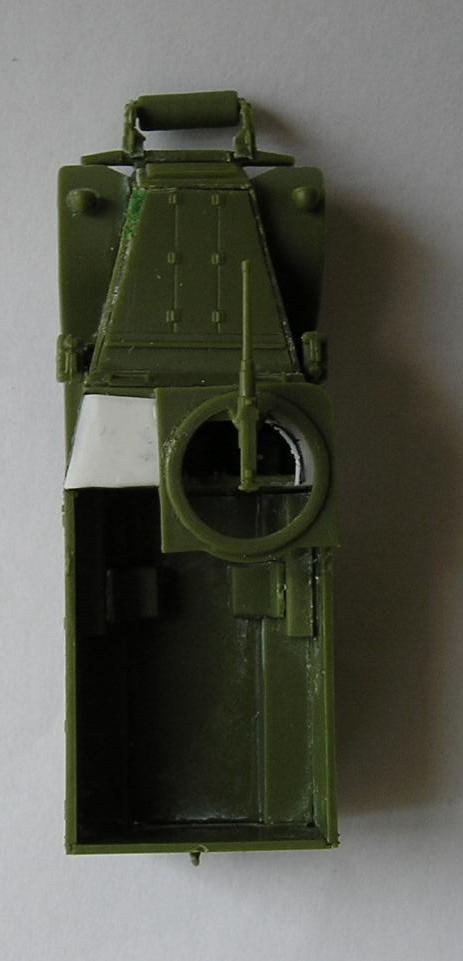
This is the standard Airfix kit, trailer and all, with a roof put on the driver's cabin. The (I am told) innaccurate mine-racks have been added and are used to hold jerrycans and a few other bits from the Jeep kit and some PIAT ammunition from the Revell British Infantry box. I didn't bother putting the cupola on and instead mounted the .50cal on a bit of wooden cocktail sausage stick stuck into a hole drilled in the bottom of the passenger compartment. Simple modifications, looks fairly cool, and gives a bit more of a "combat engineer" vibe to the standard kit. Very happy with this.

The Jeep:


This Jeep and another identical except for the layout of materials in the trailer are both Airfix kits build as standard without the roof or the .30cal machinegun mount except for the driver's heads, which have been replaced with spare PIAT crew heads from the Revell kit. The Airfix Jeep driver is ridiculously small compared to every other kit and I didn't think of replacing them with the Halftrack drivers I haven't used until they were glued into place, so I just changed the heads to make it look a bit less silly. Hopefully no-one will notice the spindly arms.

More to come in the next few days, I got some more stuff photographed in the sun this afternoon.

Friday, November 20, 2009

Still plugging away.

It's been a while since I've posted and that's because I haven't got much to show for it. The camera I'm using seems to have gone senile and refuses to take pictures that aren't blurry. To at least keep this blog *sort of* moving along, I'll just have to post some bad pictures.

Here's my attempt at the Hasegawa Daimler MKII kit.


This kit was a beauty to put togethere, the sole problem being the part numbers on the drive shafts under the chassis were mislabeled and so I had to find a solution for that. Probably not going to be a problem for anyone not planning to flip the car over, but I'm weird about doing silly detail like this. I'm looking forward to getting the next one for the Platoon that will represent the House Cavaly in XXX Corps.

On the workbench, assembled, unpainted and unphotograped are:
4 Airfix M5 Half-tracks;
2 Airfix Universal Carriers;
1 Revell M7 Priest, "defrocked";
20 Revell British Infantry;
41 mixed Revell and Italeri US Pataroopers;
20-ish Italeri British Paratroopers;
24 German Grenadiers (my volunteer assistant caught swine flu....);

Still in boxes are the 6lber guns and crew that came with the Universal Carriers, two full boxes of Revell British Infantry, one more Universal Carrier and a few extra British and American Paratroopers.

This is partially because my camera is on it's way out, and partially because my airbrush was lent to a friend s he could make this and I haven't gotten around to retrieving it yet. Aside: For an idea of scale, I spent two hours helping him build that. All I did was the gun under the eagle on top.... it's *that* big.)

On a note related to the Daimler MKII, does anyone know anything about how good a kit this Daimler Dingo is? I need two and am having trouble finding any.

Wednesday, September 23, 2009

Minor update.

A semi-productive day today. I ran out of glue last night so I couldn't finish the second halftrack. This necessitated a trip to the shops and while there I picked up a third halftrack and some Revell German Infantry that a friend of mine has volunteered to paint for me as one of the Grenadier regiments of the 176th Infanterie Division.

Arriving home I finished off the second halftrack and started painting some of the Revell US Paratroopers I picked up a while back. These guys will represent the 506th Parachute Infantry Regiment of the 101st Airborne Division (cliched, I know... but they were there....). I finished one test model who came out rather well and got the rest of a twelve man squad half-finished. They look rough, but passable.

I started on the third halftrack but by now I am tired and cranky so I shall call it a night and finish it tomorrow evening. After messing around with two machine gun assemblies I think I'll just stick the last one on a post and remove the entire cupola thing. I justify this by the old "it'll look cool" defence. I'm not entirely sure if I'll bother with the trailers. They might be a useful addition to some part of the XXX Corps units somewhere, but they are rather bland looking.

Monday, September 21, 2009

Moving Swiftly Along

I picked up a couple of Airfix M3 Halftracks over the weekend for the Grenadier Guards Motor Batallion seen on the org chart here and made a start on the oldest of them (the local model shop has a rather spectacular variety of obvious batch lots on offer) just to see how they go together.

So far the kit seems passable, although like all airfix kits the first one seems to fight you to make you earn the understanding required to build it. There is now a rather large gap at the front of the bonnet that will need some careful putty work to fill.

One complaint - there is no roof on the driver's cabin as shown on the box. Pictures of actual vehicles seem to be hard to come by from overhead angles, so I'm going to trust the box and just bodge on some plastic-card to put some form of covering on there. It'll also save me having to paint what passes for internal detail in the cabin. It may be innaccurate, but I've made my decision and I stand by it.

Three more to go, then painting. Pictures will be delivered when the sun comes up and the putty has dried.

[EDIT] Pictures! They always show up the flaws.... click thumbnails for larger.


[Second Edit] As expected, the second kit is going together perfectly. It's a dramatically different shade of green plastic too.

Thursday, September 17, 2009

First progress - 2nd Battalion Irish Guards Sherman Platoon

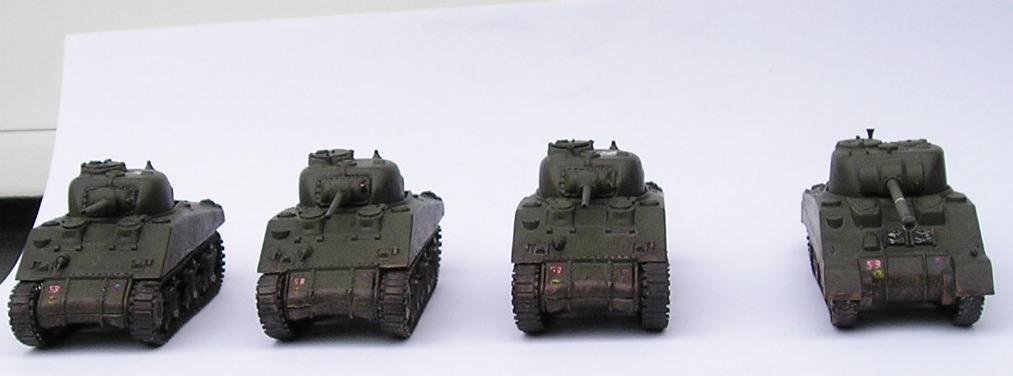
At 1435 hours on September 17th 1944 the Irish Guards under Joe Vandeleur led the way for XXX Corps as the spearhead of Garden. As an Irishman and in light of this it is only appropriate that the first unit completed be representative of this.

Based on an extremely helpful chart found here I worked out the unit marking for A Squadron of the 2nd Battalion Irish Guards Regiment.


The unit consists of three Airfix M4 A1 Sherman tanks and one Revell re-issue of the Matchbox Firefly variant Sherman. All unit markings and insignia are hand painted as I've never had the patience for transfer sheets and I wanted to practice my freehand. The tanks were spray undercoated black and then airbrushed with Games Workshop's Catachan Green. Details are GW paints again, with Badab Black used as a final wash to dirty them up a bit.

All in all, not a bad start to the project, even if they did take a long time. Hopefully I'll manage a more consistant work rate with the rest of the units.