Showing posts with label Airfix. Show all posts

Sunday, June 17, 2012

Group build idea.

So thinking about the Hawker Weather Build in May and how much fun it was, I'm thinking that it'd be fun to do another one and I might even get something useful done on this project again. A bit of thinking and rejecting kits and subjects, I came to a conclusion. What's the one kit that everyone has or can get? What's that one kit that everyone has built in the past? What's the one kit that everyone seems to hate?

The Airfix Sherman.

So here's the general idea: July will be "Pimp my Sherman" month. Everyone grab an Airfix Sherman and build it however they wish. Any nation, any era, any amount of modding, scratch building parts and greebling you can manage without using a part from another kit except for crew figures and stowage.

To make it interesting it's going to be a competition. At the end of July I will collect all entries, post a blog with links to the final pictures and collect votes by email. The prize will be the winner's choice of the new Airfix Cromwell or the re-released Chi-Ha medium tank posted to wherever the hell you happen to be. Obviously I will be disqualified from winning, but I'm going to build a damn tank anyway and there's nothing you can do to stop me.

If this sounds interesting then post below.

In other news, the Typhoon has finally been located and it's almost in the state I left it. Sadly there appear to be lots of small dots of yellow wall paint on it and a few scratches, so it's going to need some TLC before I can finish it off.

Tuesday, June 5, 2012

Day... whatever.

Well May has well and truly ended and I have not finished the Typhoon. I feel shame. On the other hand I got to pet a wallaby in Florida so I'm pretty happy with my decision. Sadly, due to room renovation in my absence, I have no idea where the Typhoon actually is at the moment, and my tools have likewise been scattered to the winds. I'll have to get back to work now that I'm starting to get over the jetlag and feel human again.

In other news, The Assault Group have a "free mini for facebook likes" campaign on, and they've got some interesting stuff on offer. There's a variety of scales and periods in their range, so go take a look and spread the word.

Sunday, May 13, 2012

Day 6

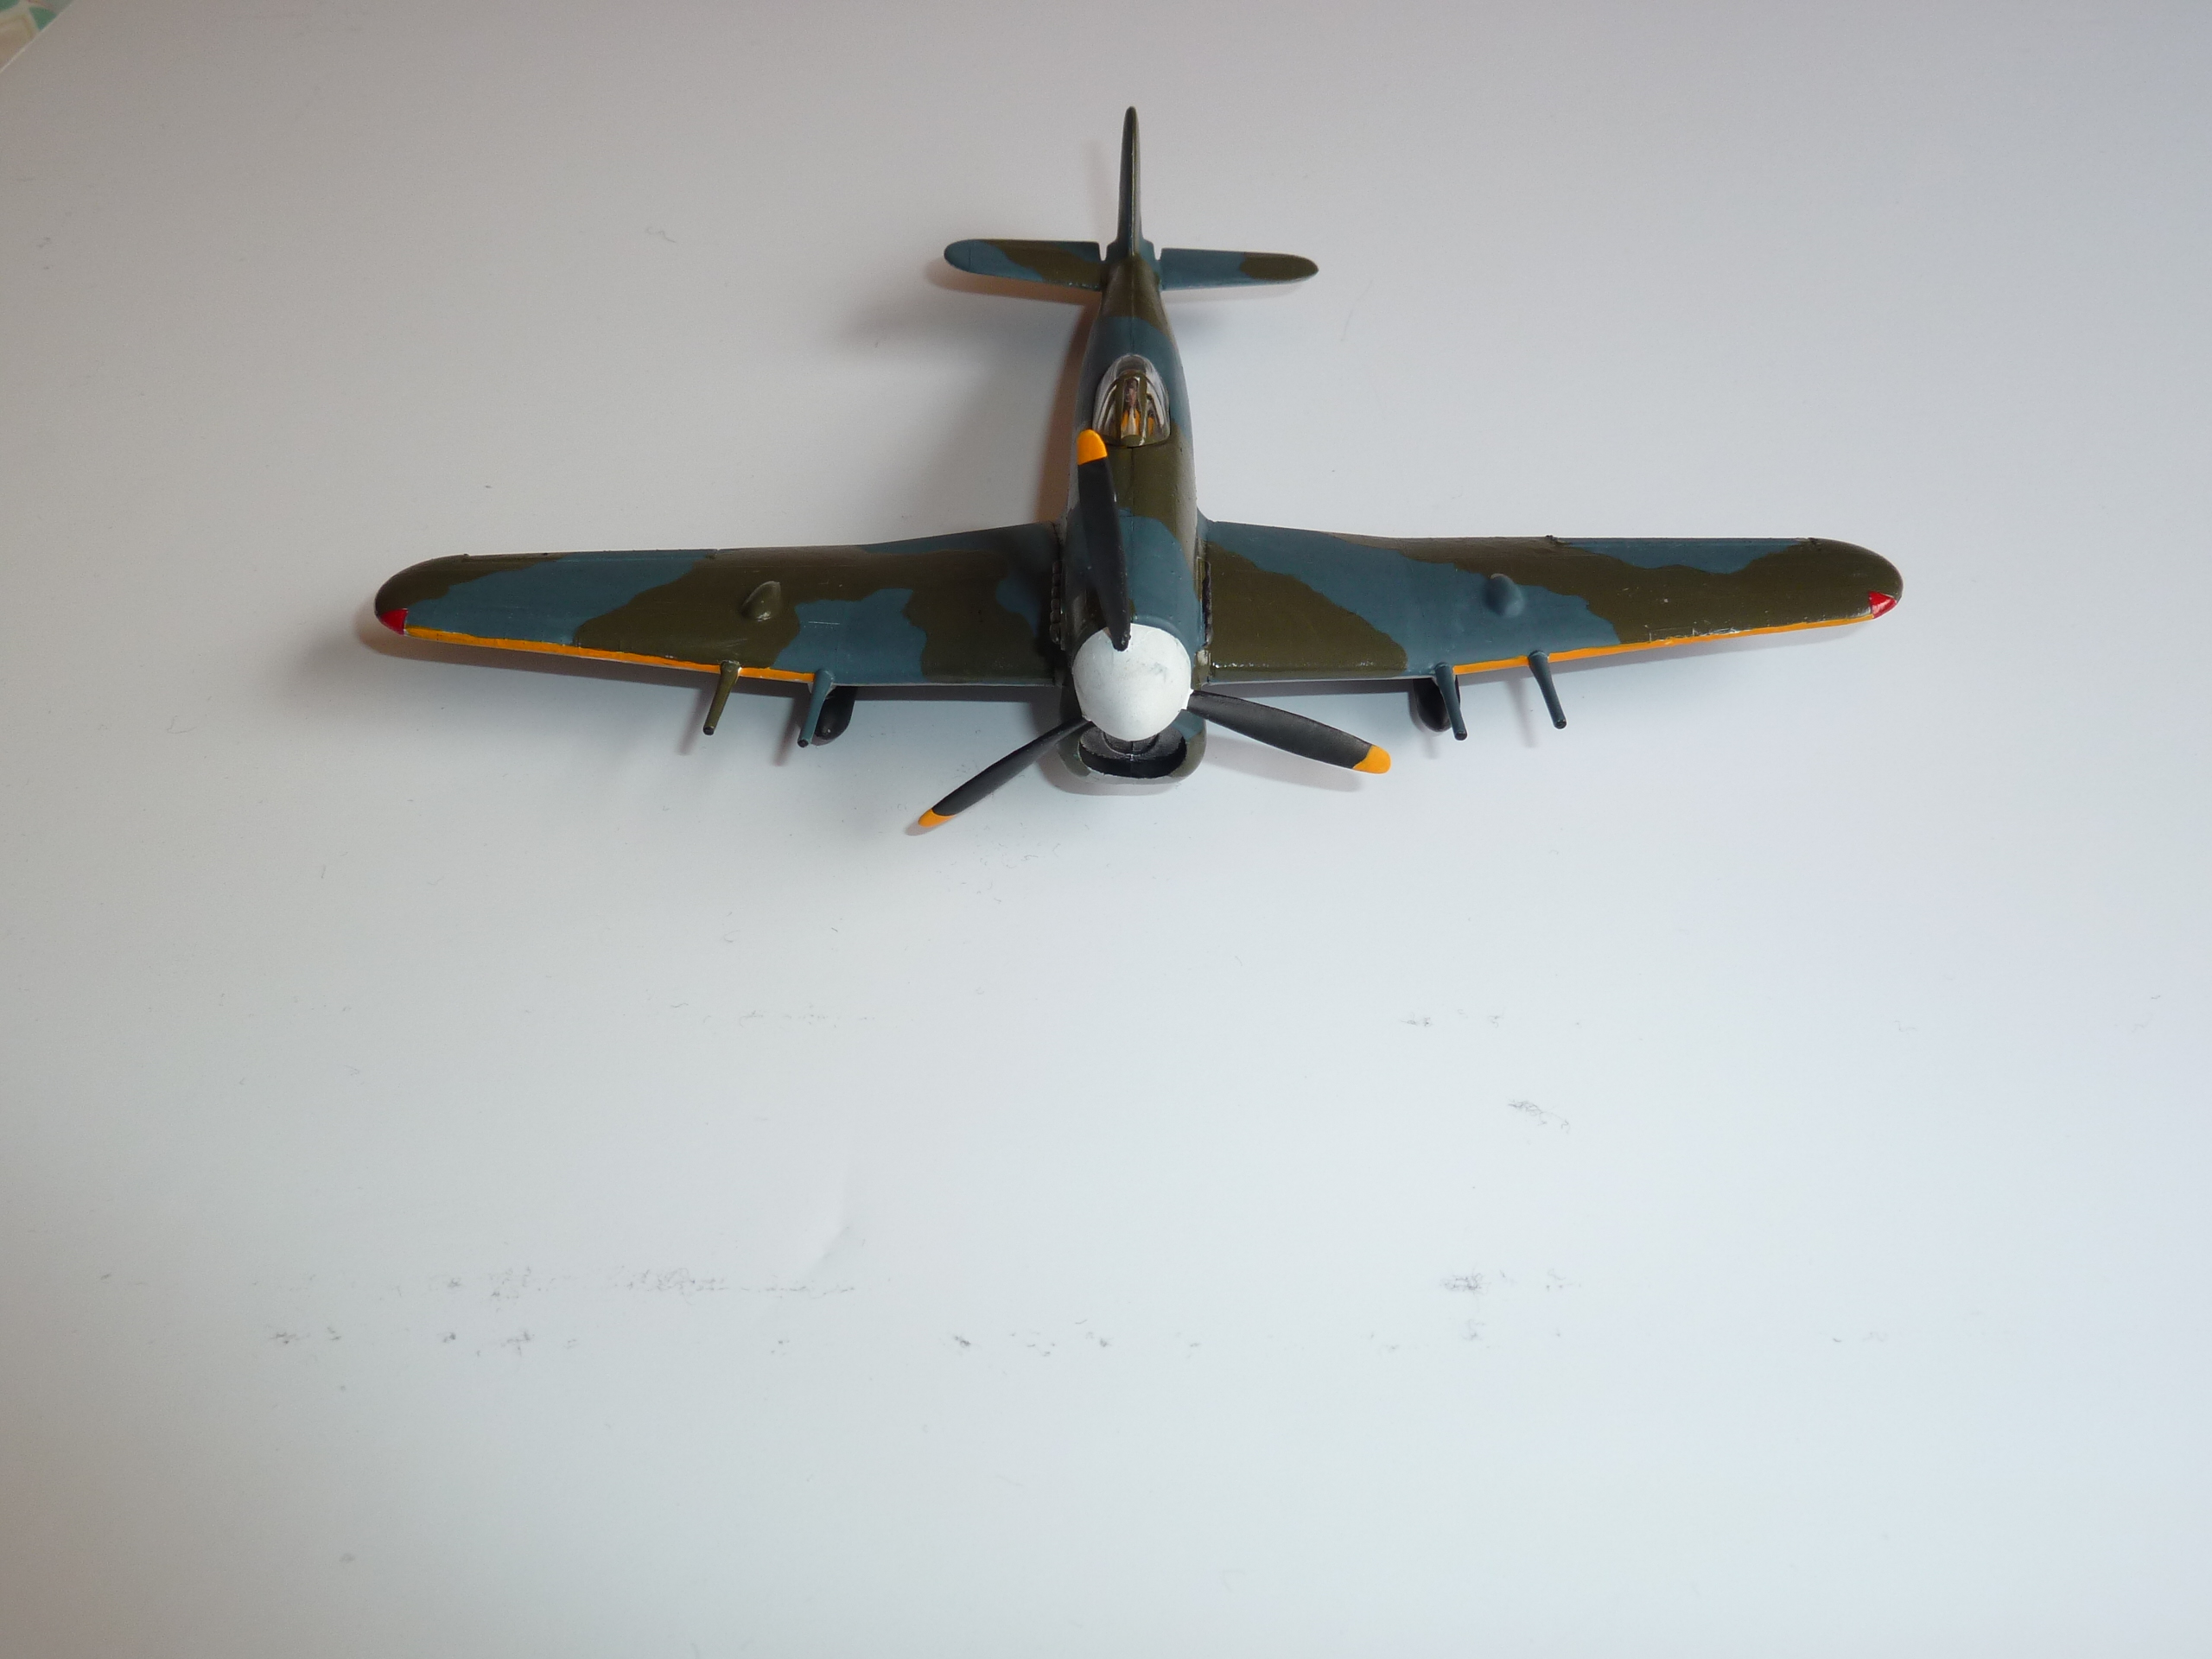
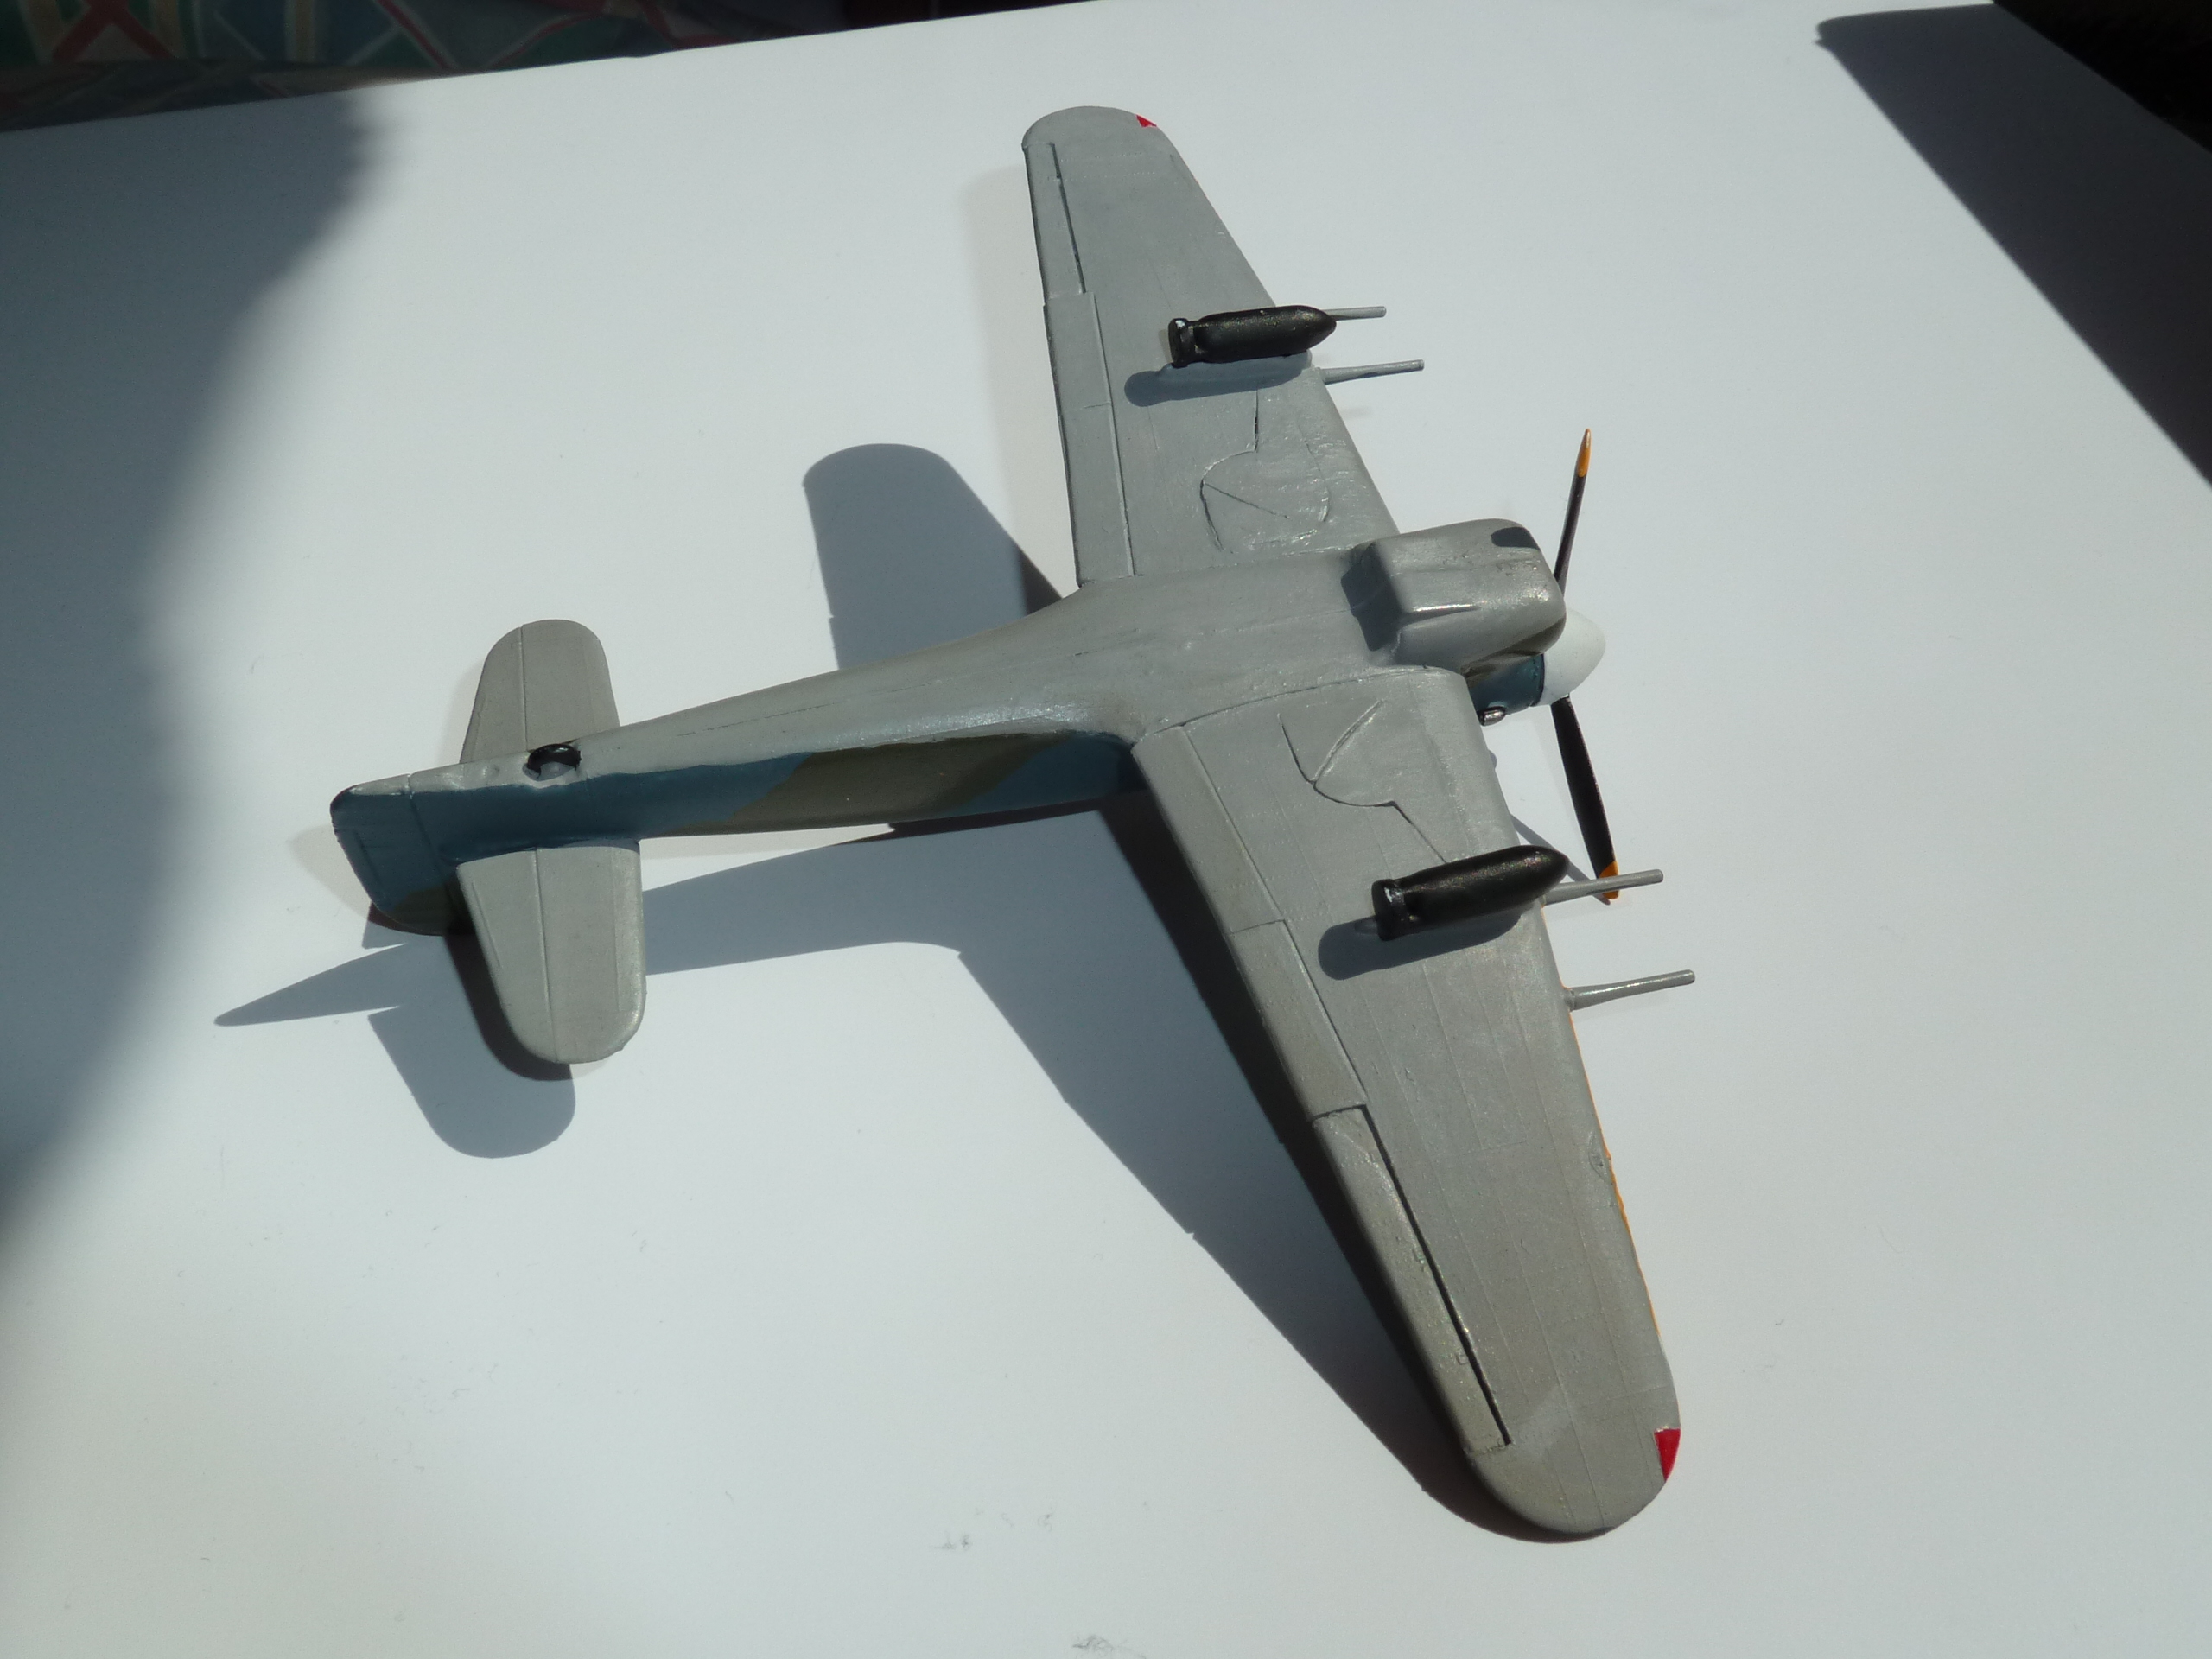
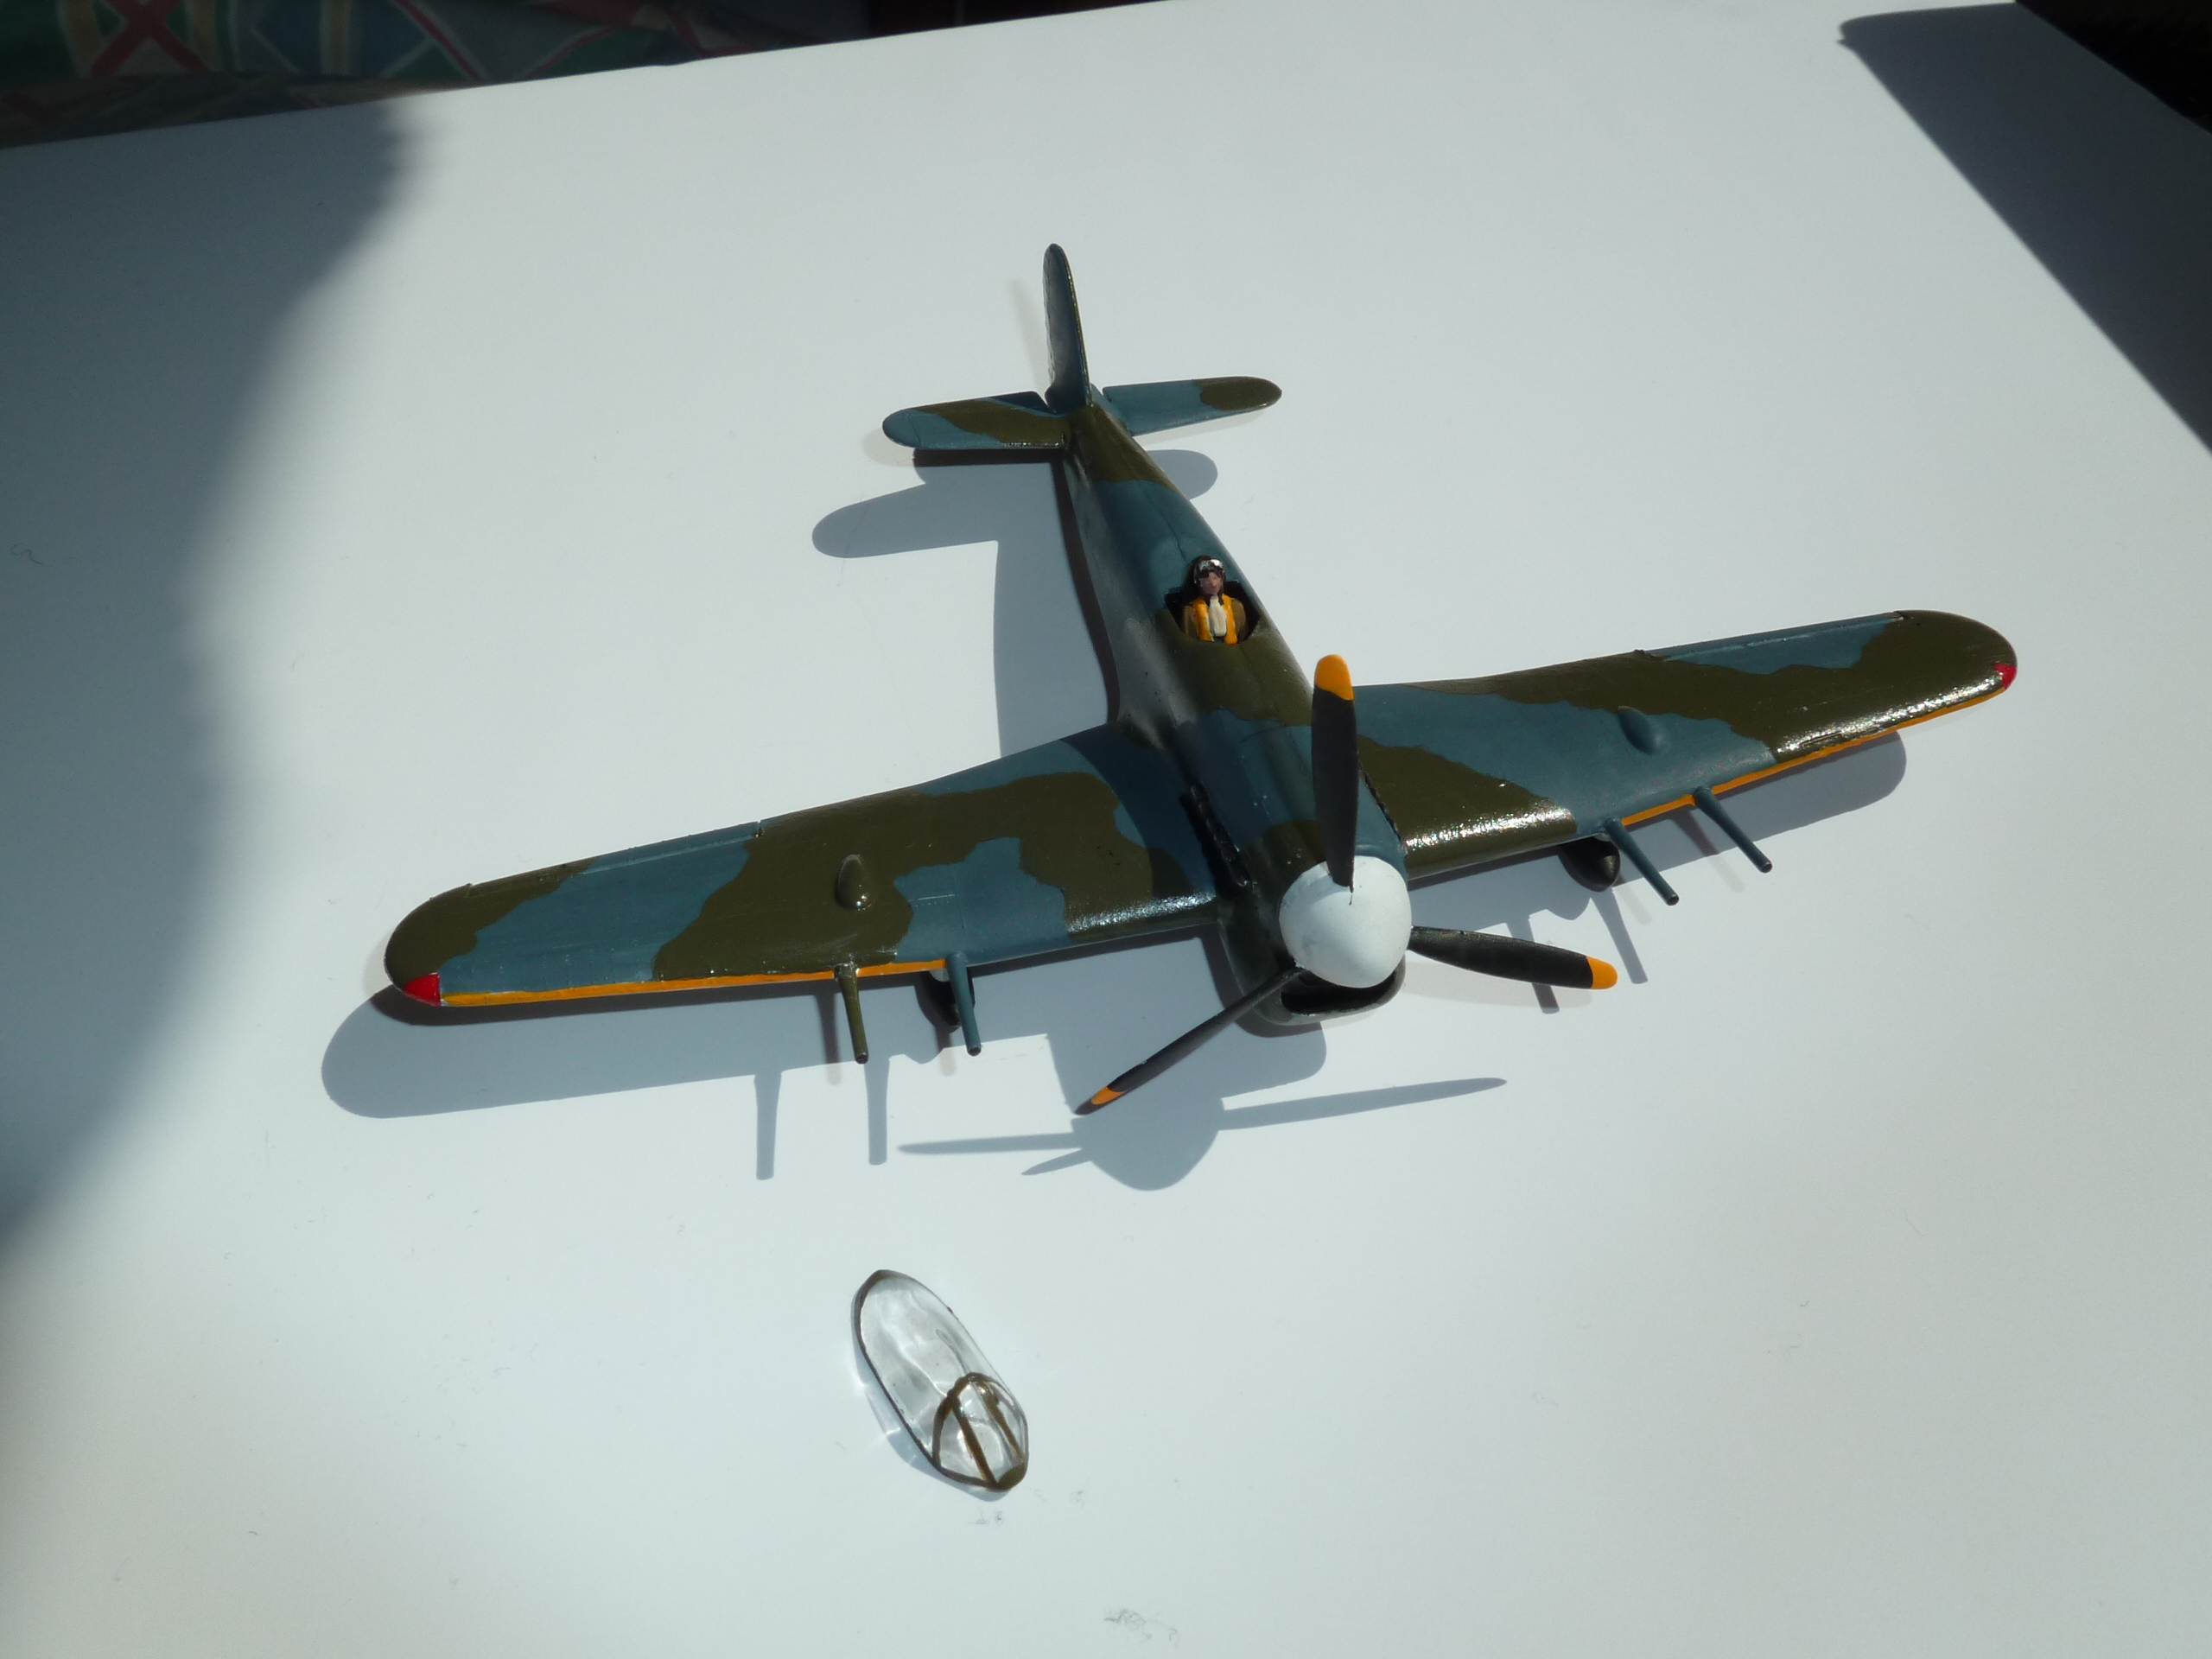
Alrightey, here are the promised pictures. I now have the varnish I need to start applying the decals, so maybe... just MAYBE I will be finished in time. Tonight I will try to get the varnish applied and MAYBE get a few decals stuck on. Still not sure if I want to go with a yellow or blue nosecone.

Friday, May 11, 2012

Day 5 - frantic work

So a brief break from the tidying and packing today was when I decided to "test" my new Tamiya acrylics and see how they worked. Based on advice from AlFront over at War Diaries of a Little Englander I copied the pattern from the Airfix instructions in pencil and painted the same pattern. It worked. Far better than I was expecting it to. Nice that this build has taught me another little trick for my bag thereof.

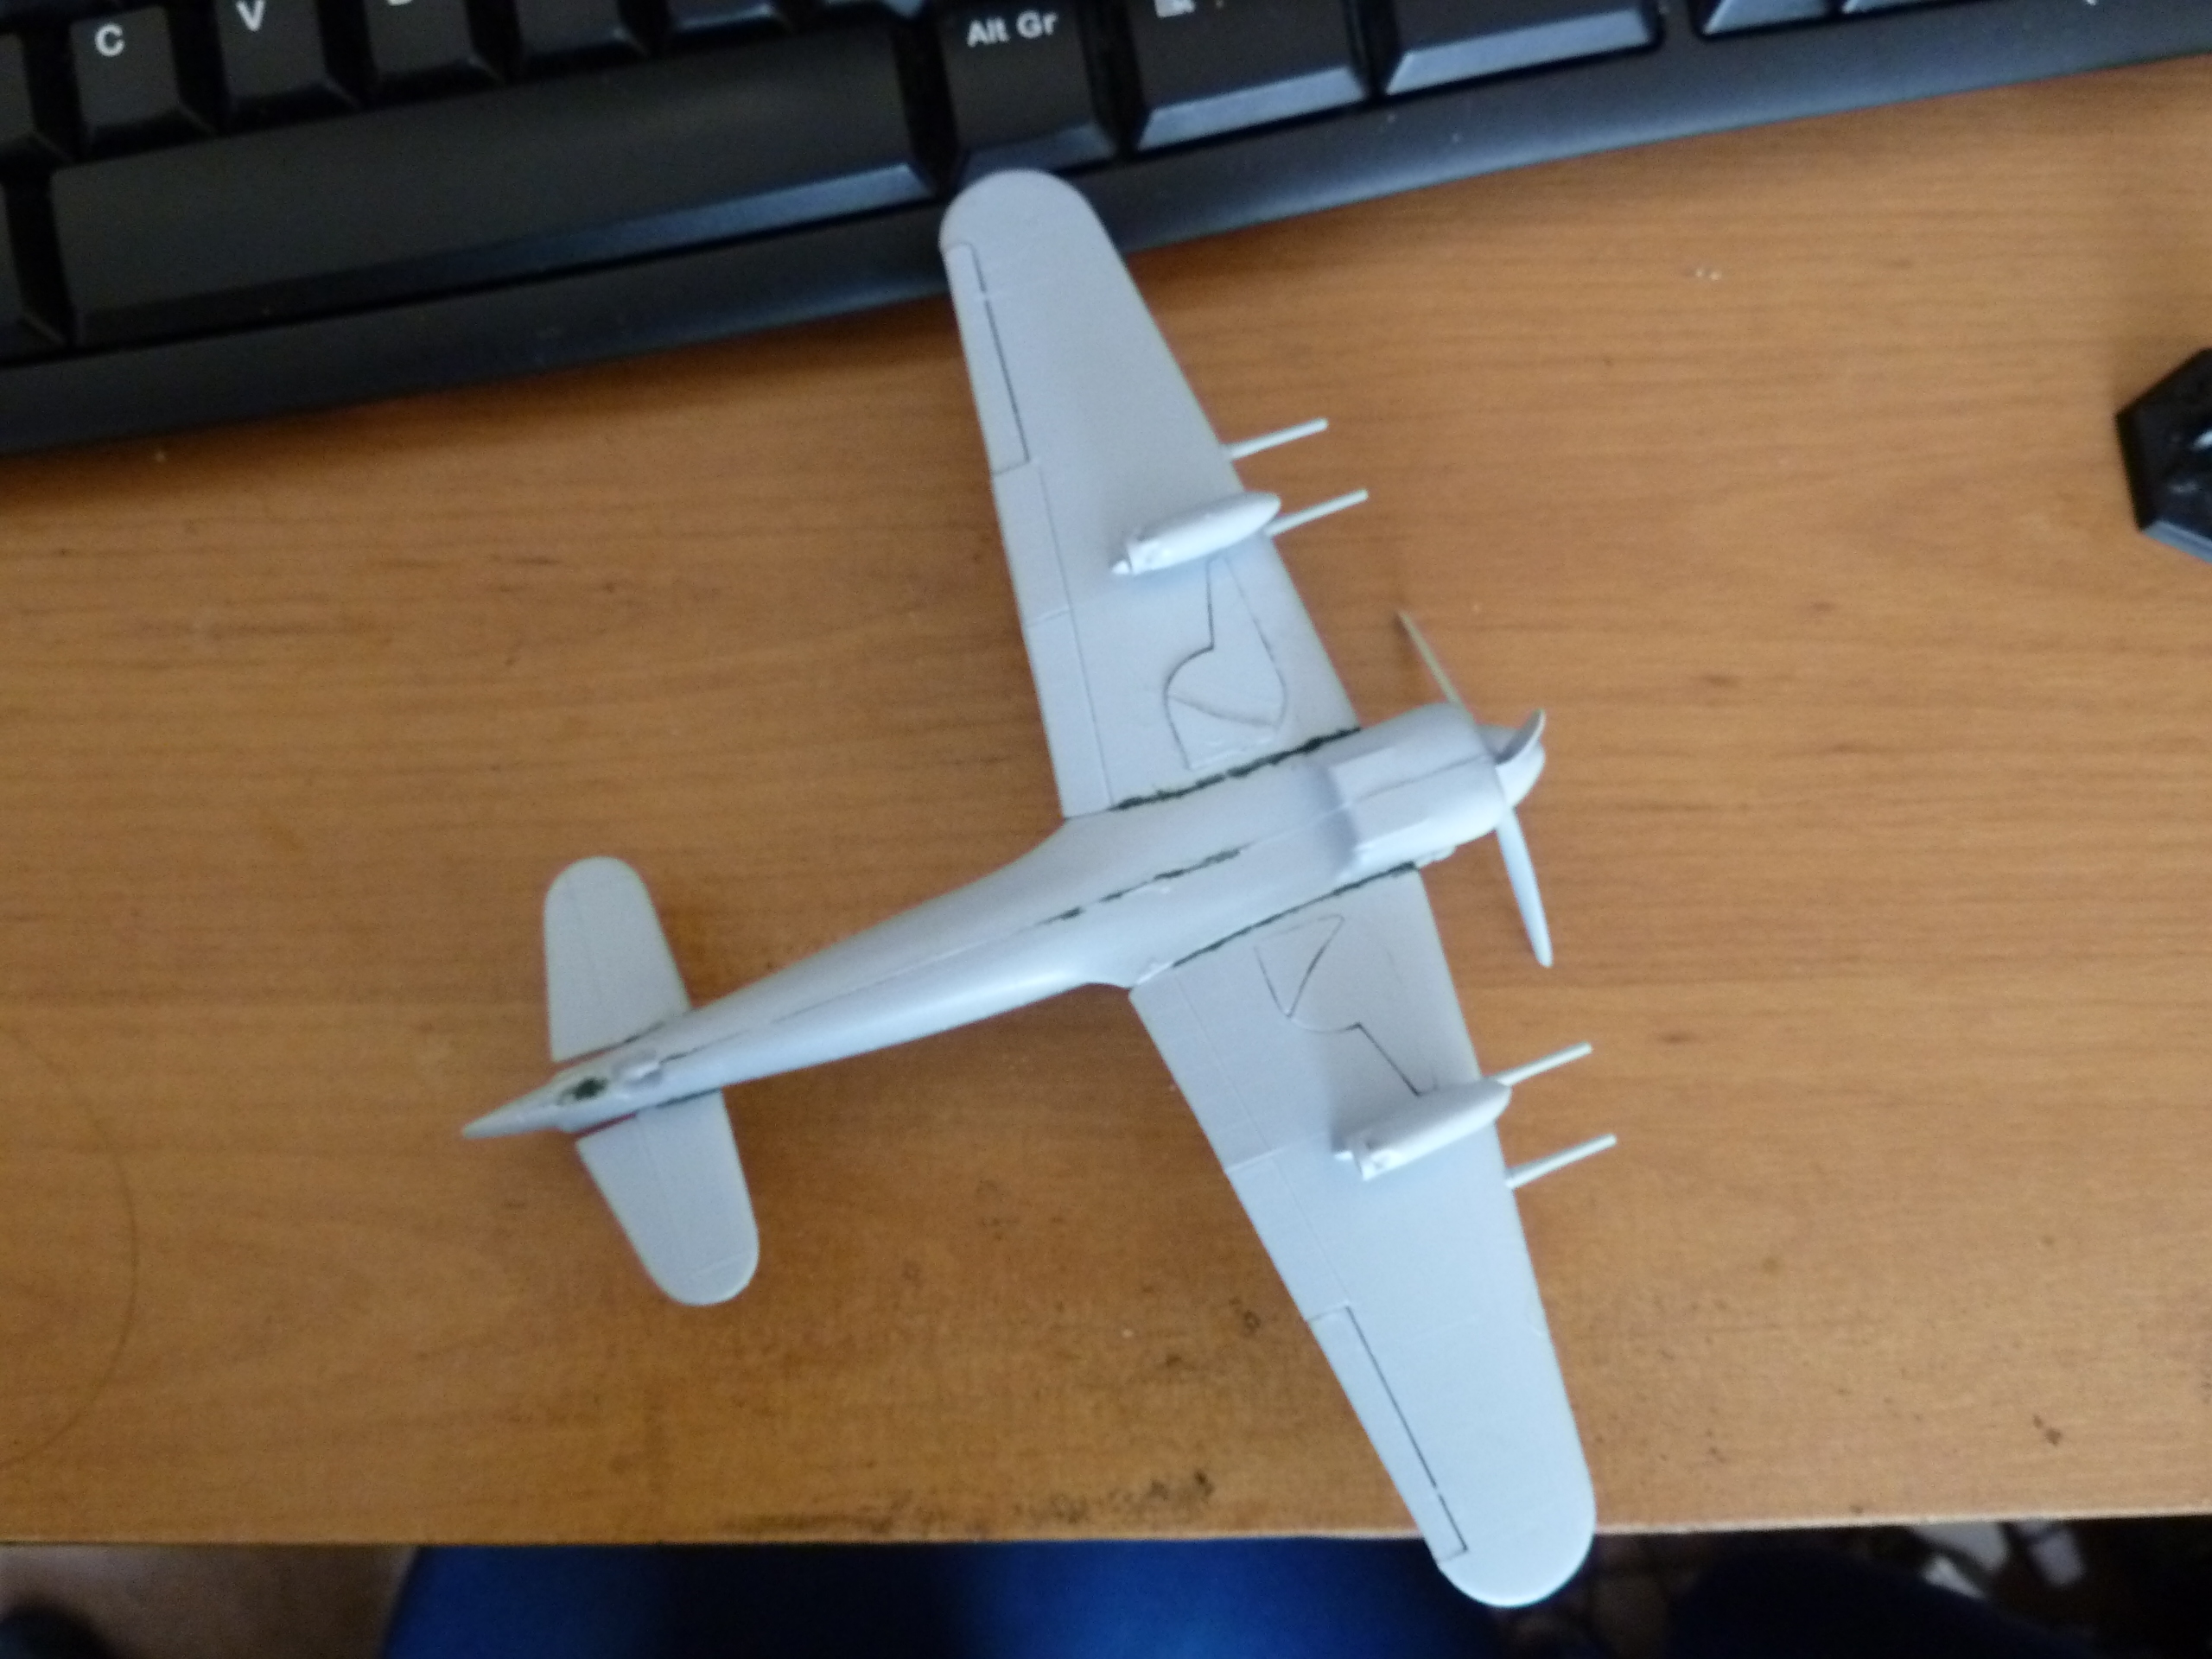
The current state of the plane is: fully painted, with the pilot needing to be done and then the decals added, weathering and wash to finish.

The chances of me getting all this done before going away for the rest of the month on Tuesday are: slim.

Pictures to follow tomorrow, when I have some light. [UPDATE] Pilot is finished and glued into place. Now I just need to do the nosecone (which requires buying more paint...) and get varnish to start on the decals.

Thursday, May 10, 2012

Day 4... slowdown

In a stroke of absolutely terrible luck it has been raining very very gently all week. Just enough that I haven't been able to spray the plane until tonight. This means that I'm behind my self-imposed schedule and I'm running out of time fast. I may need to take emergency measures and declare the first two weeks of June to be May.

Saturday, May 5, 2012

Day 2.5 & 3

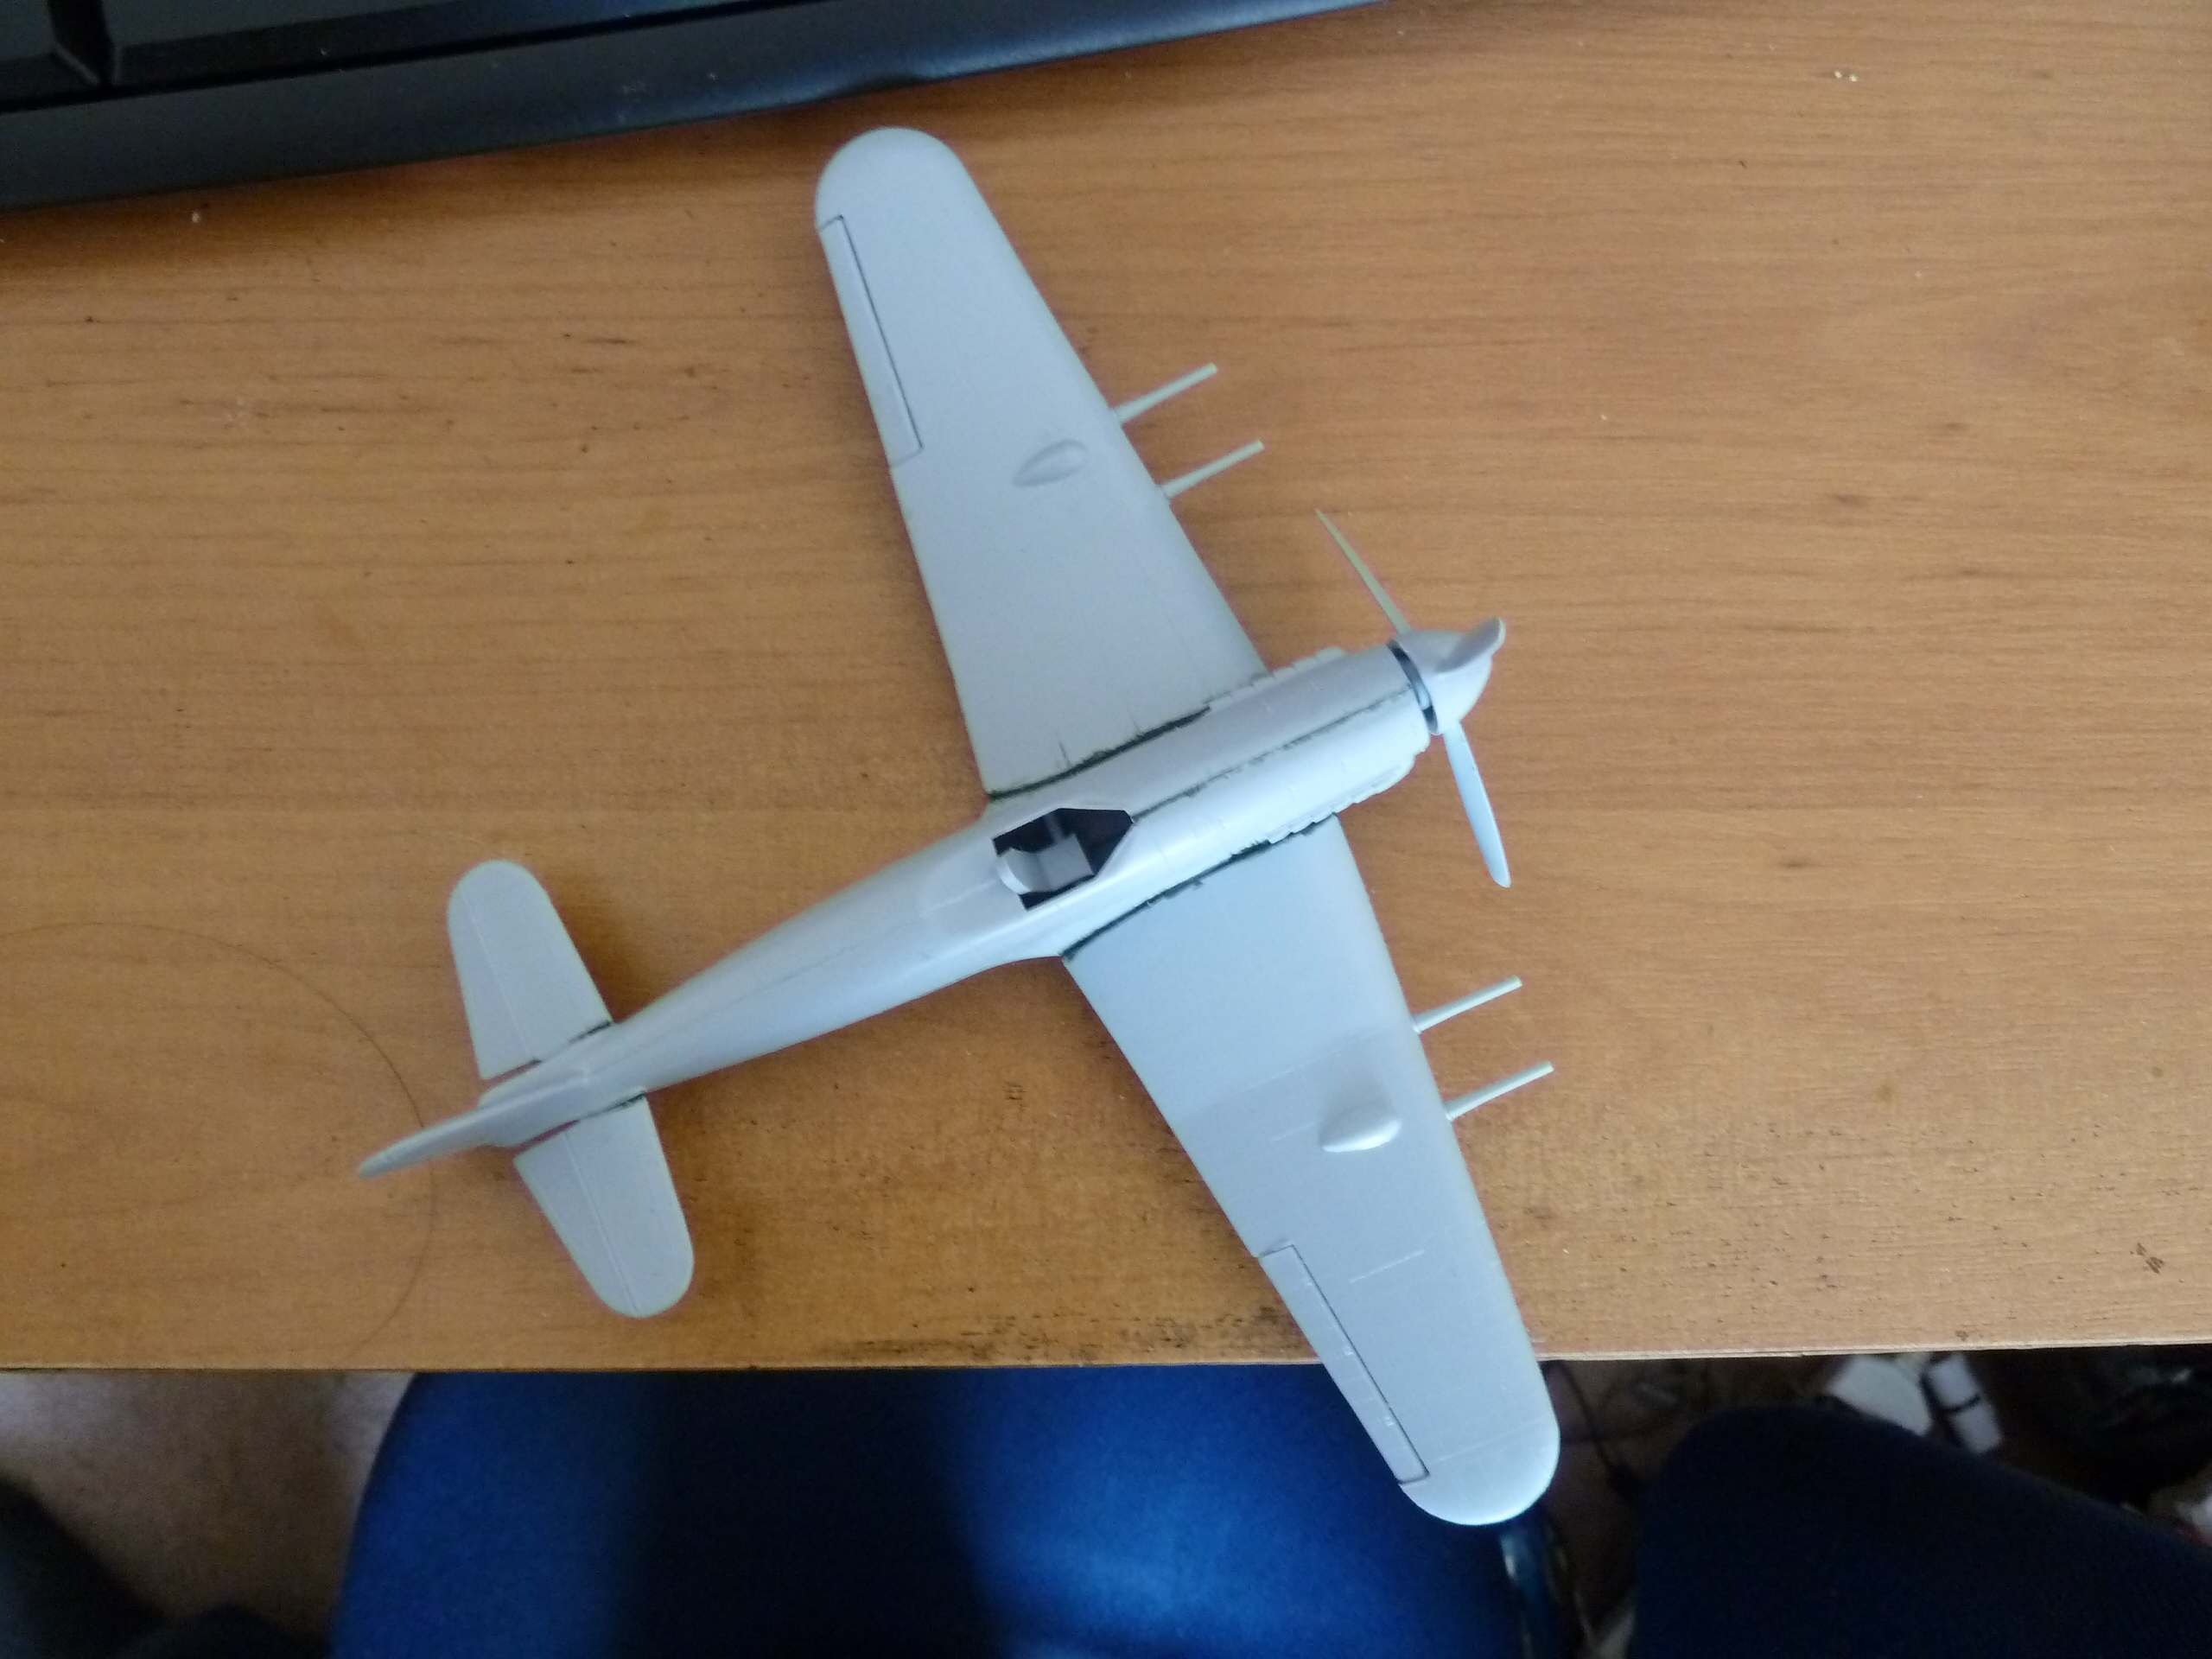
Most of this was done in a little under two hours yesterday, with the tail wheel and the wing doors being fitted today. It's now ready for painting so time to get researching on patterns and paints. I think (but am not 100% sure) that Vallejo Russian Green and GW Fortress Grey will do the job nicely. The green lines are splodges are GW's new "Liquid Greenstuff" filler. It works okay for this kind of thing, but for bigger jobs I'd have to go with the manual mix stuff. As you can see, the pilot and canopy are not attached yet. I'll be painting both seperately and gluing them on after the kit is ready for decals. The propeller is currently spinning but with a distressing wobble, so I might glue it into place later. I'm also not 100% happy with how the wing doors went together, and the right wing sticks up a bit more than I'd like so it may be filed down some more.

Friday, May 4, 2012

Day 2 of the Weatherbuild

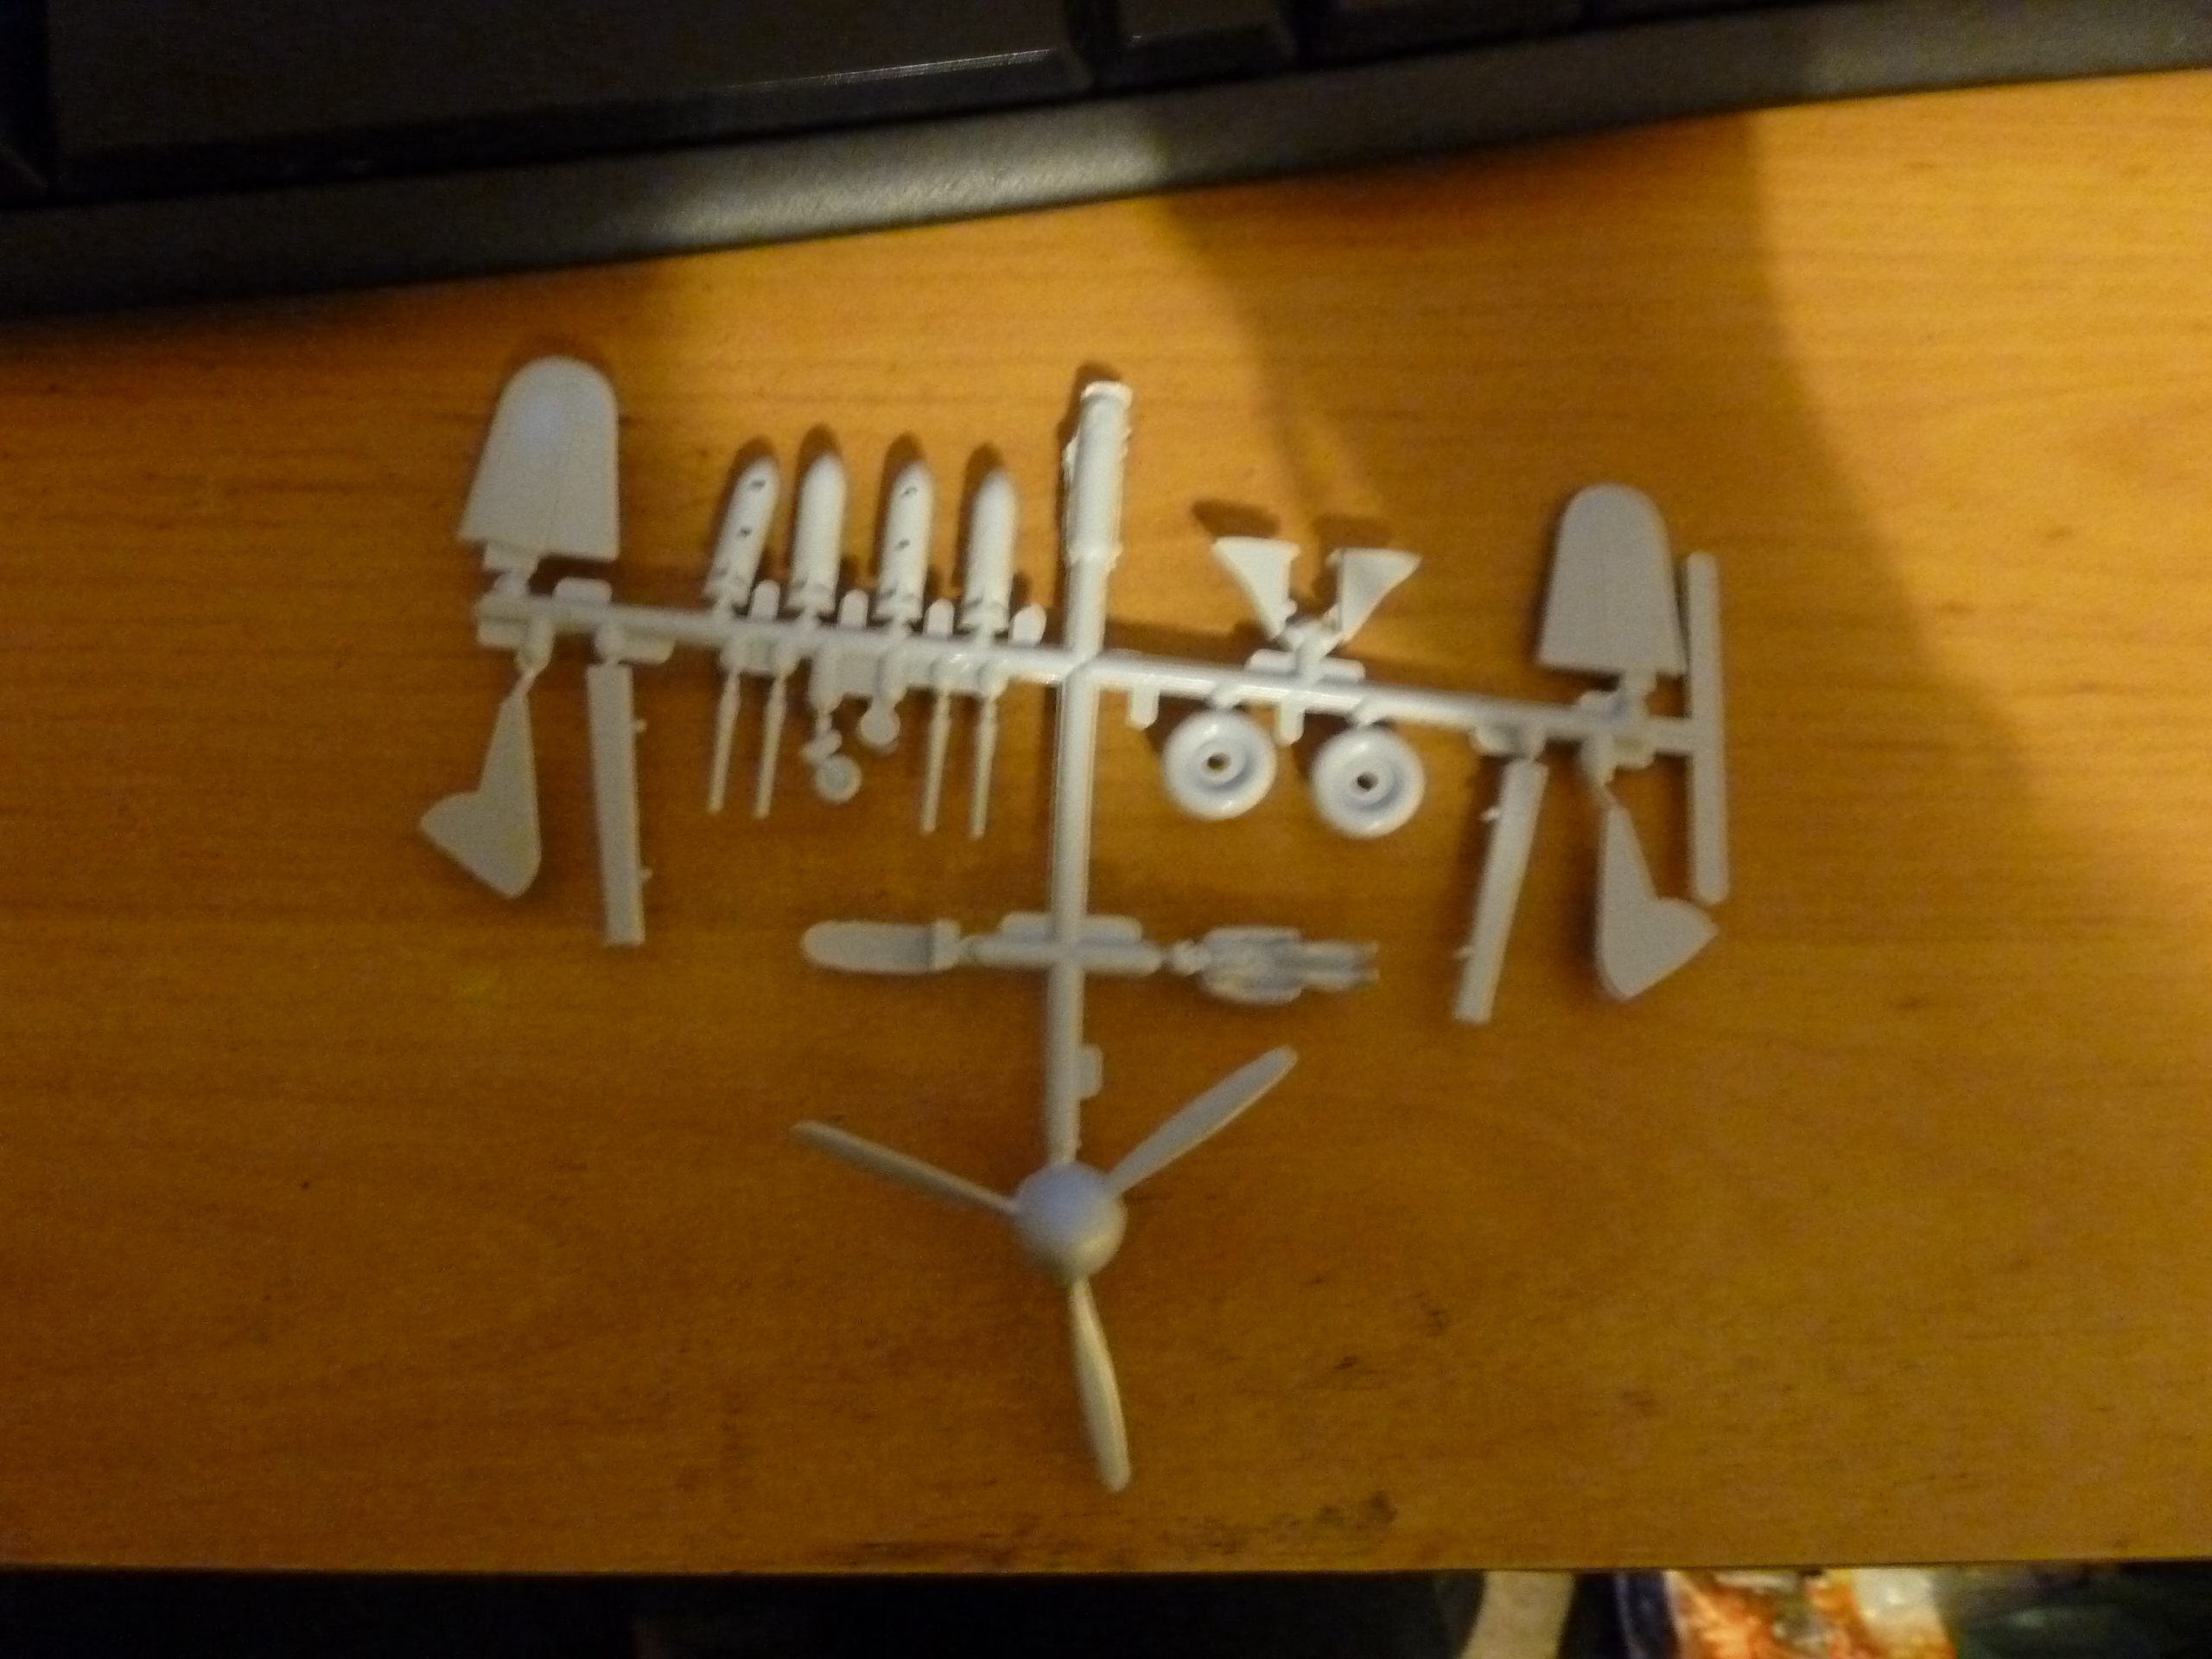
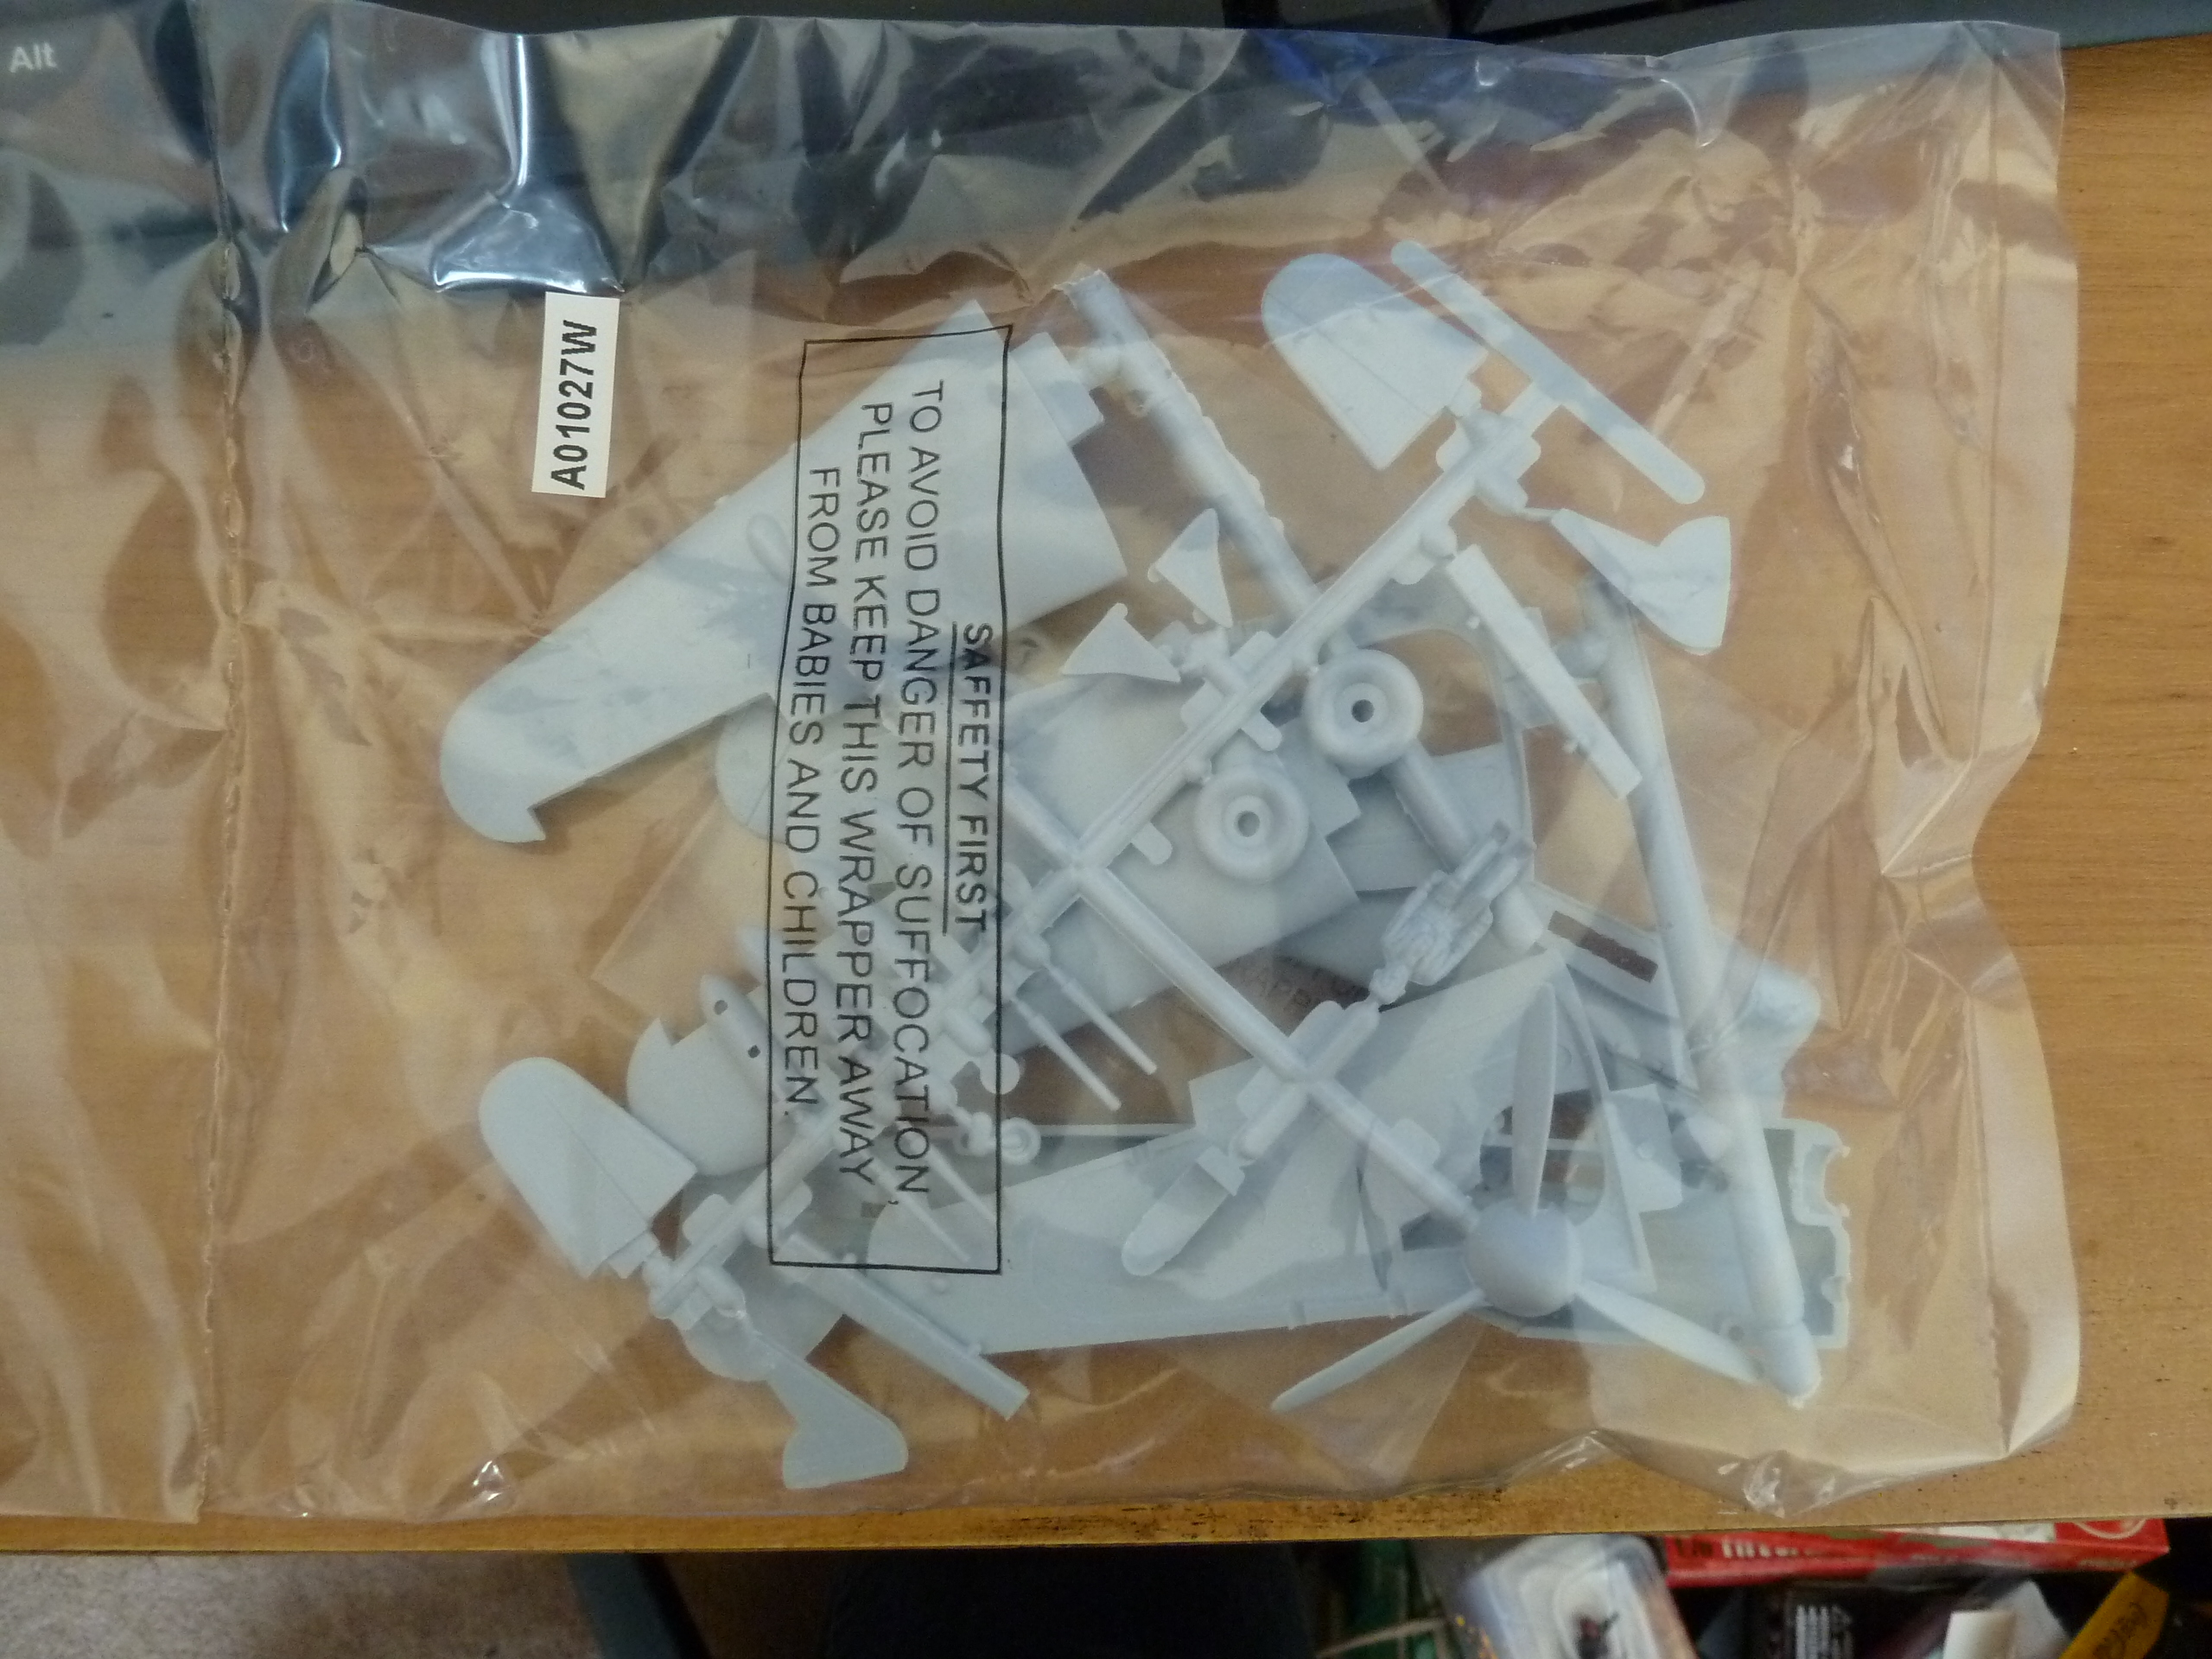
So my estimate of about an hour's work would have been correct for a straight out of the box build but for a wheels up version with a fully painted pilot it'll take a bit longer. Closer to two hours at the moment and I still haven't worked out how to get the landing gear to fit into the body in a way that doesn't stick out all over the place or fall in too far. Another thing I noticed is that it's best to switch parts 11 and 12 from one wing to the other - either the instructions are mislabled or I was reading it totally wrong but the flaps just seem to fit better on the opposite wing. No pictures of progress, but here's the sprue anyway: You can clearly see that there are bugger all parts here.

Thursday, May 3, 2012

OH GOD A POST... I mean... Hawker Typhoon unboxing.

It's been ages since the last post. Sadly life got in the way of fun, and then it got MORE in the way of fun. Even though fun eventually got back on track, I haven't really bothered using that new camera for the purpose I bought it....
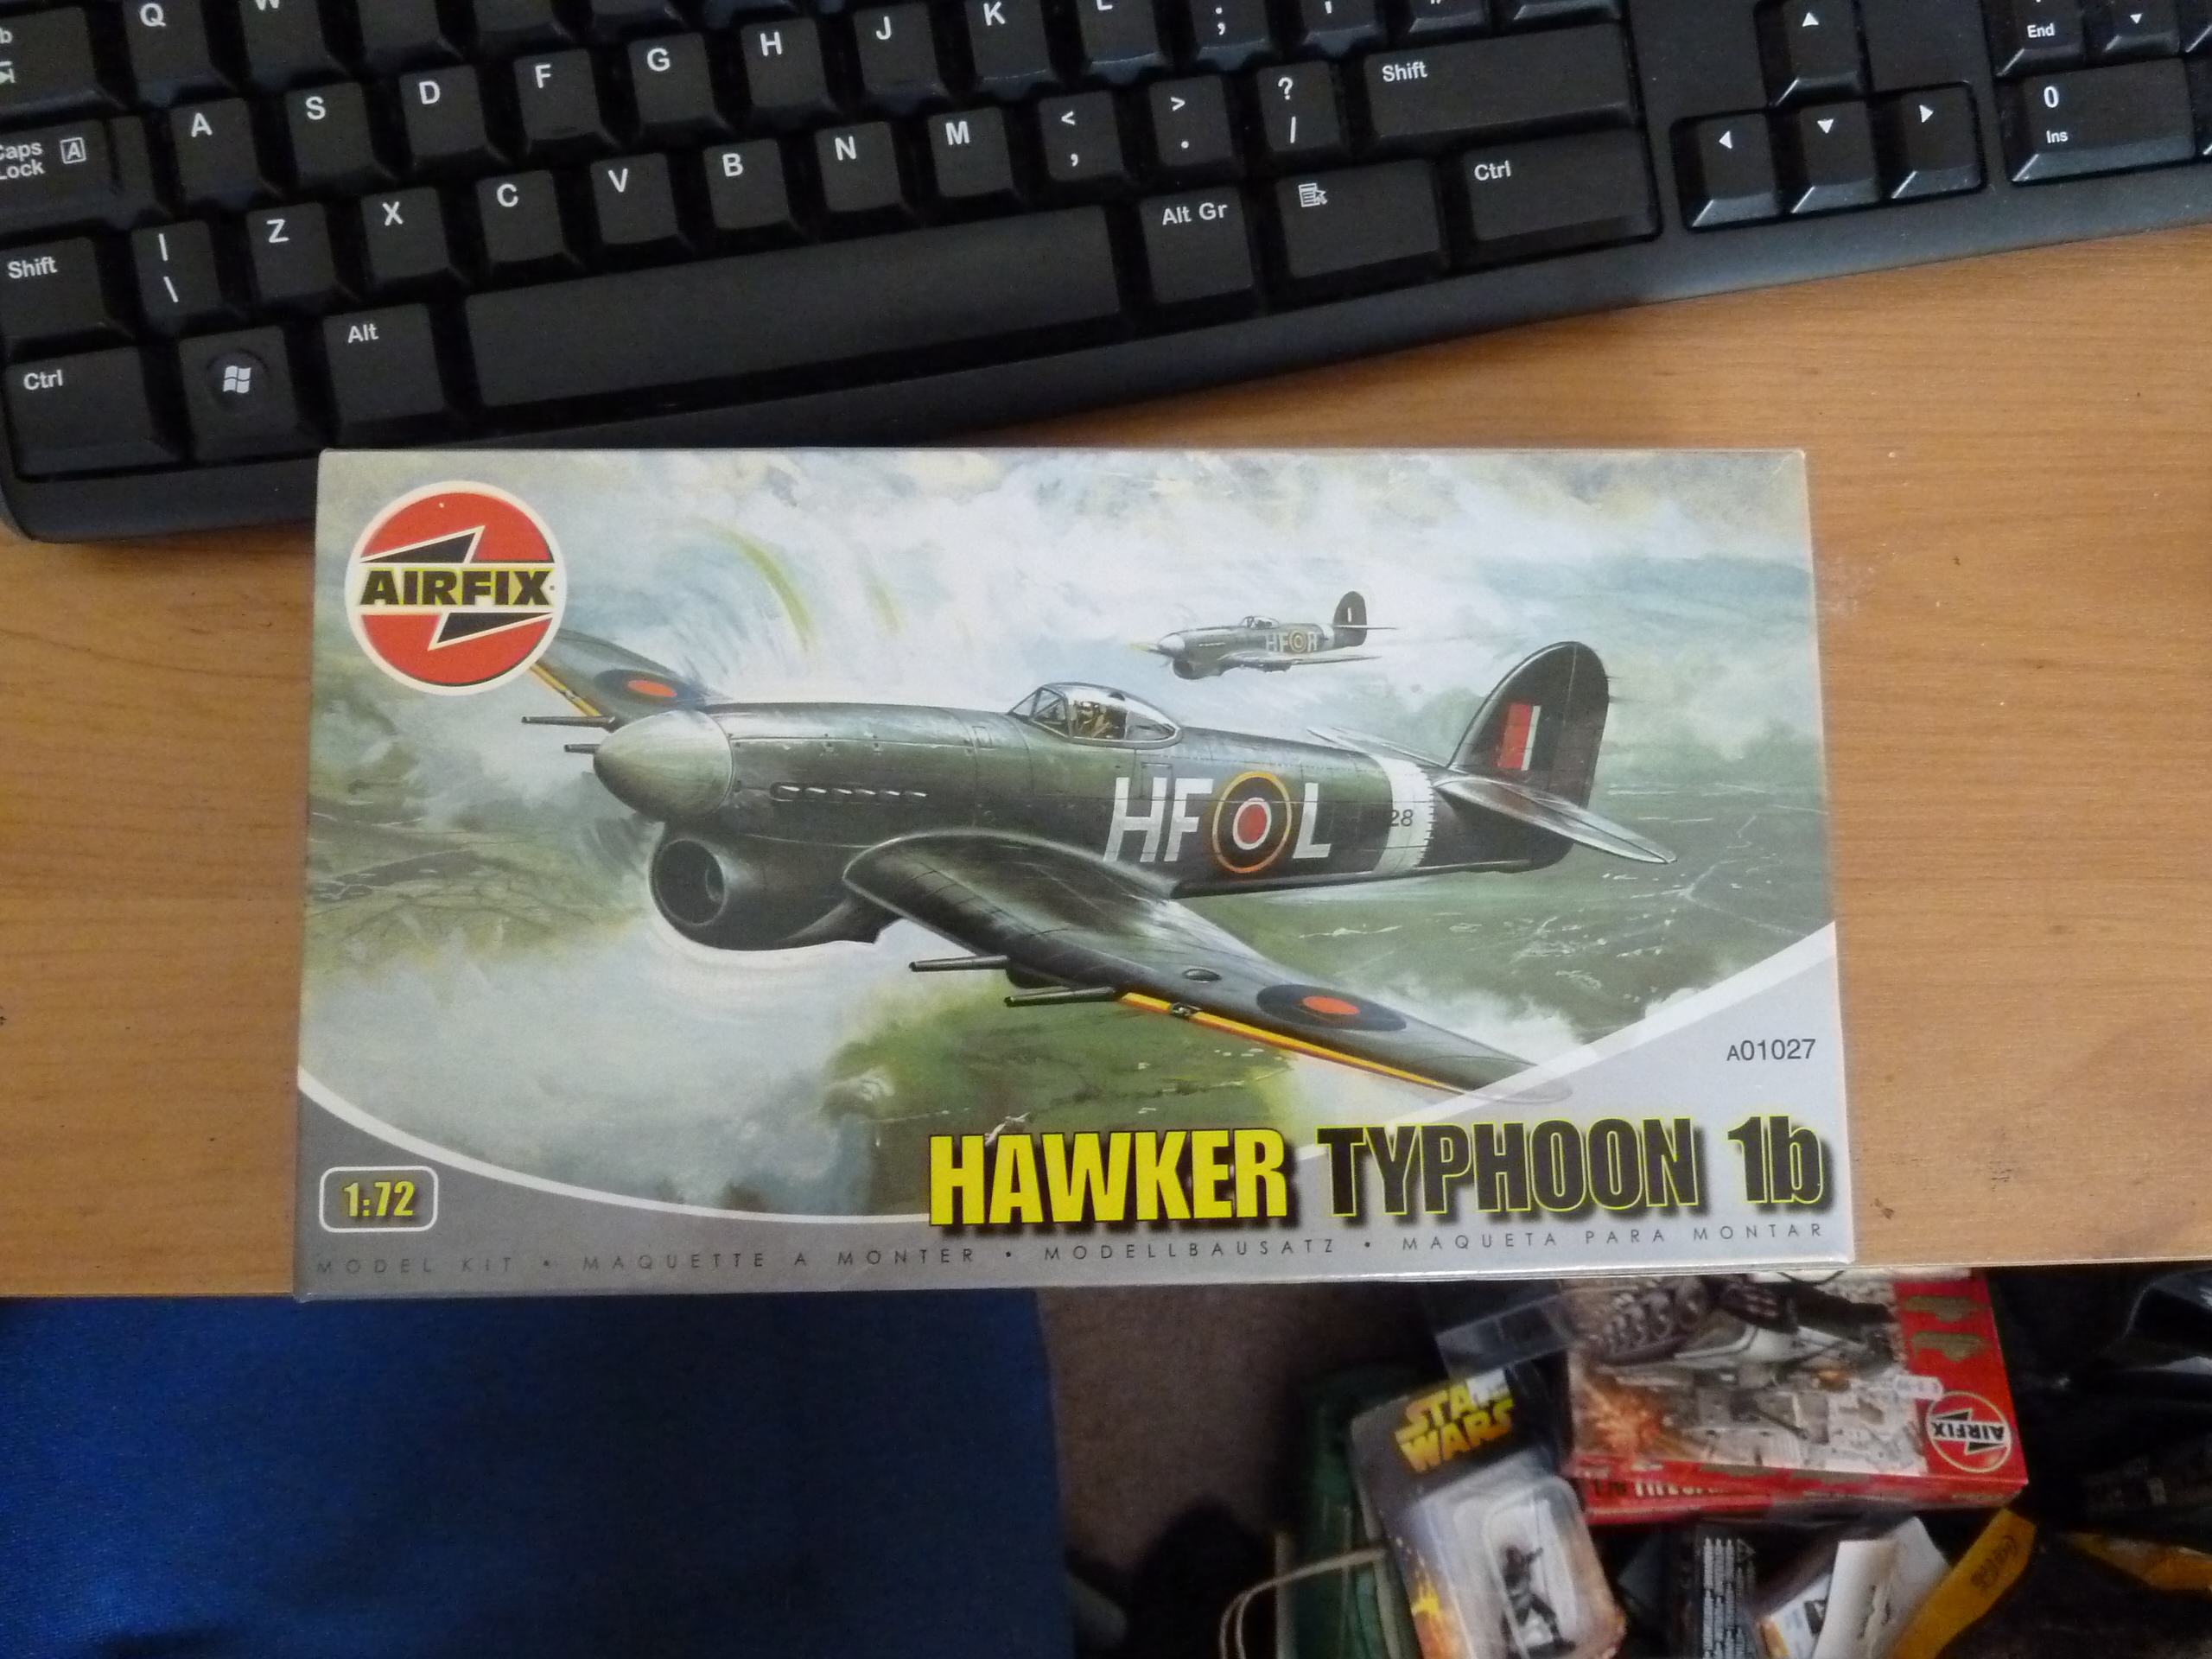
Anyway, to business! For the Hawker Weather event build I decided to get back to work and get cracking on an Airfix Typhoon 1b for some Allied air support (not that there was much, on the day). As usual, click for bigger.


The box is the usual Airfix affair. Good artwork but not a lot of clues as to what exactly is inside.


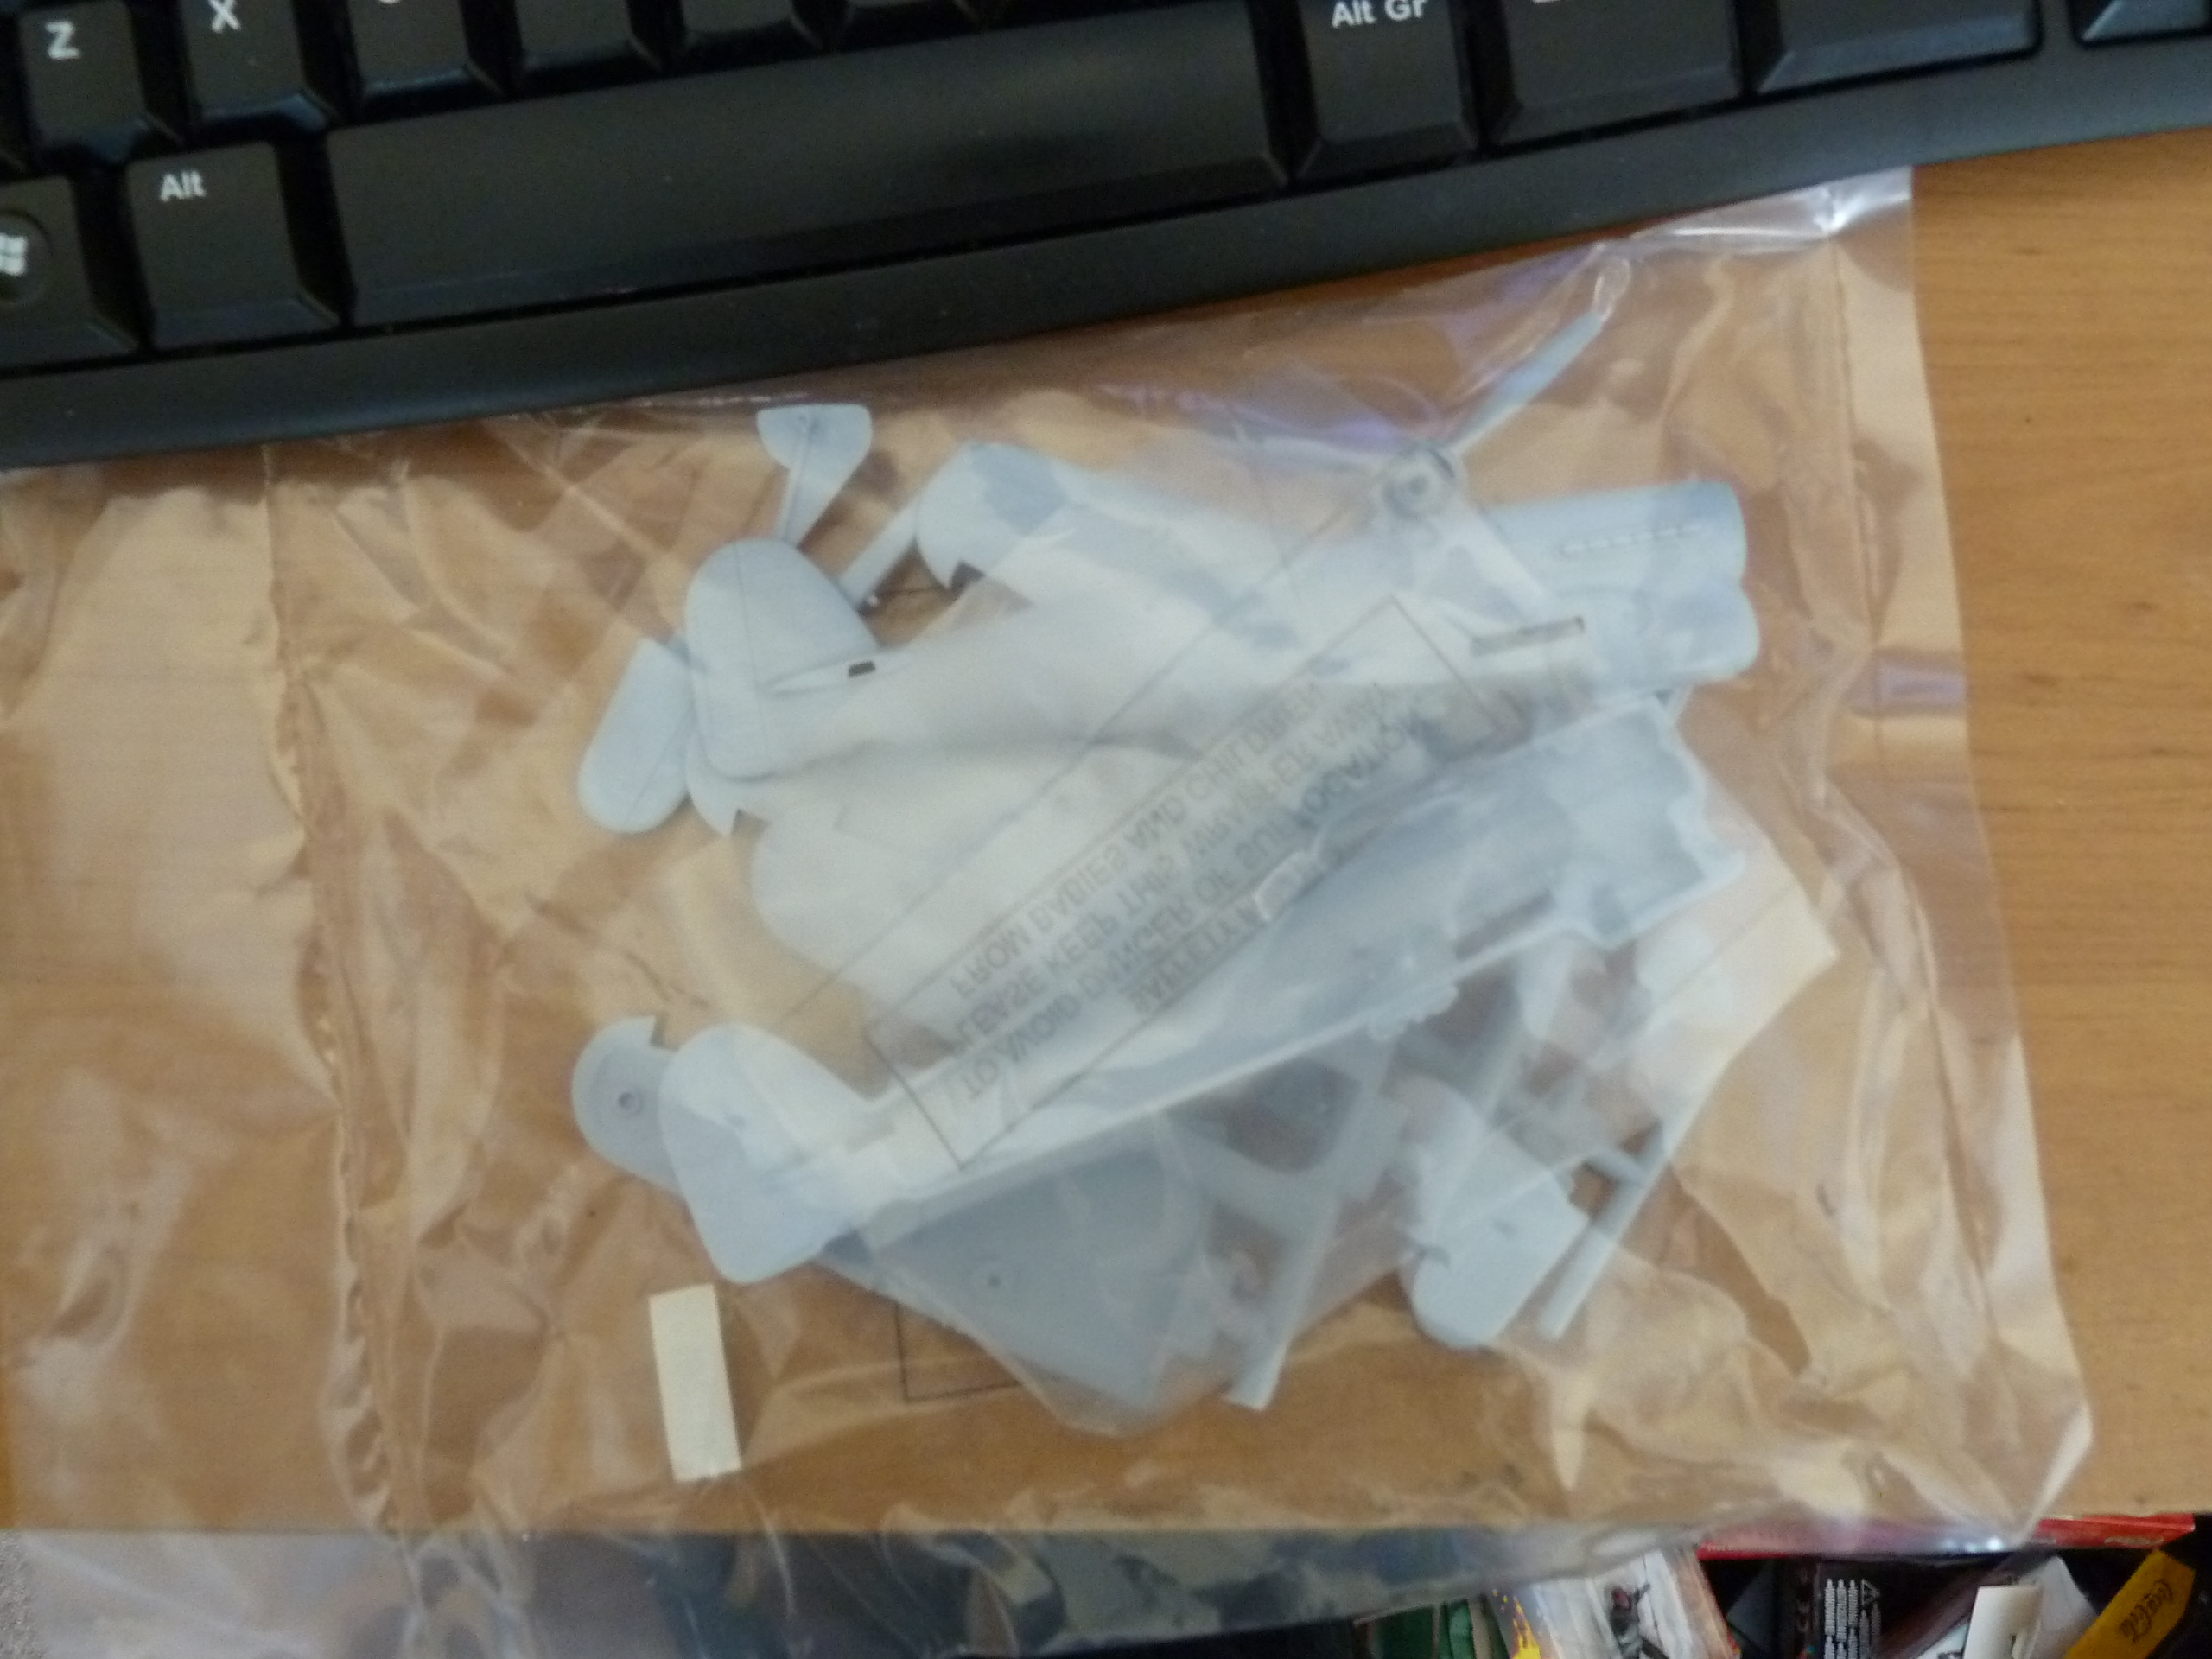
The sprues in the bag. The initial reaction of "that's not a lot of parts at all" turns out to be correct: there are just 30 pieces here. One of them is a pilot, which is a definite plus. It looks like this will be a quick build. I might time myself tomorrow evening and see if I can do it in under an hour (I am a superglue heretic). Then it's just a matter of figuring out which colours I have and which I need to do this bird justice.

Bonus in picture: part of "the stash" - an Airfix Cromwell awaiting assembly, even though I already have two more than I need built....

Friday, June 4, 2010

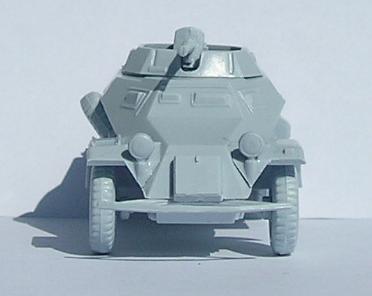
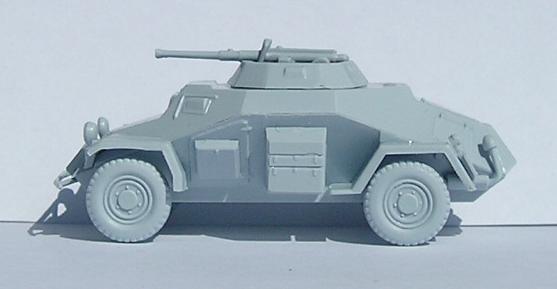
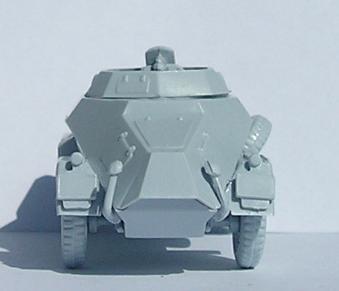
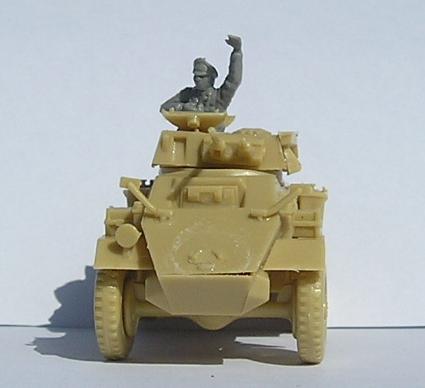
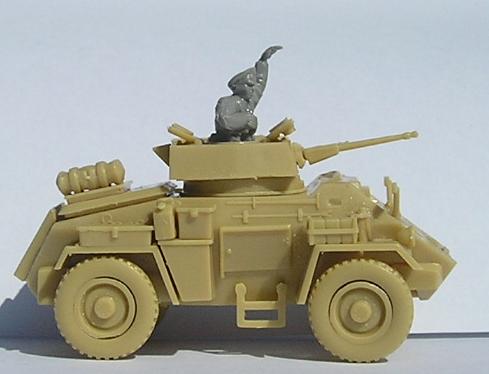
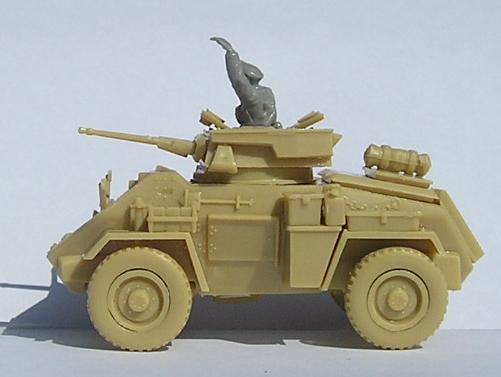
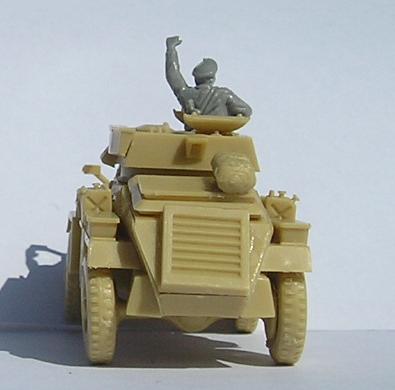
Kampfgruppe Gräbner assembled.

Not a lot to say here, the pictures mostly speak for themselves. They mostly fit into the frame of the post so no need to click (unless you *really* want to...).

Airfix Sd.Kfz. 222:


Nice little kit, comes with two identical SMG wielders and an officer type as well as a highly useful Kübelwagen to transport an OP team or officer around.

Fujimi Sd.Kfz. 250.


Only got one picture of this before the batteries died. I found this kit incredibly frustrating. Things refused to line up correctly and occasional details, like the driver's viewport just seemed to be seperate to up the part count. Furthermore, I now need to get an MG42 to replace the gun that came with it, as it was the wrong variant. On the plus side, I now have a slightly mismoulded BMW bike to use for something, and a model of Rommel to use for something (after the spectacular hole in his chest is filled...).


Finally, Hauptsturmführer Gräbner himself.


A simple conversion made by sticking the kneeling officer from Revell's German Infantry set into the commander's cupola of the Revell Humber Mk II. Looks pretty good to me, well happy with the result. You can see the glue residue on the front where I decided I didn't like the look of the spare wheel (and really, what're the chances of capturing a Humber II with all the spares?) and there's a few small gaps here and there. There's also the controvery over exactly what kind of Humber he used, but I decided this one made more sense from a gaming perspective, giving him a bit of personal firepower to add to the unit rather than just a simple leadership bonus.

Forgot to photograph the five infantrymen who hitch a ride in the Sd.Kfz. 250 and I still haven't got my hands on a Sd.Kfz.232 8-Rad which is the last vehicle needed. It's a really BIG recon Batallion... or I just got carried away with all the cool stuff he used (which is far more likely). This also marks the first named model for a historical participant.

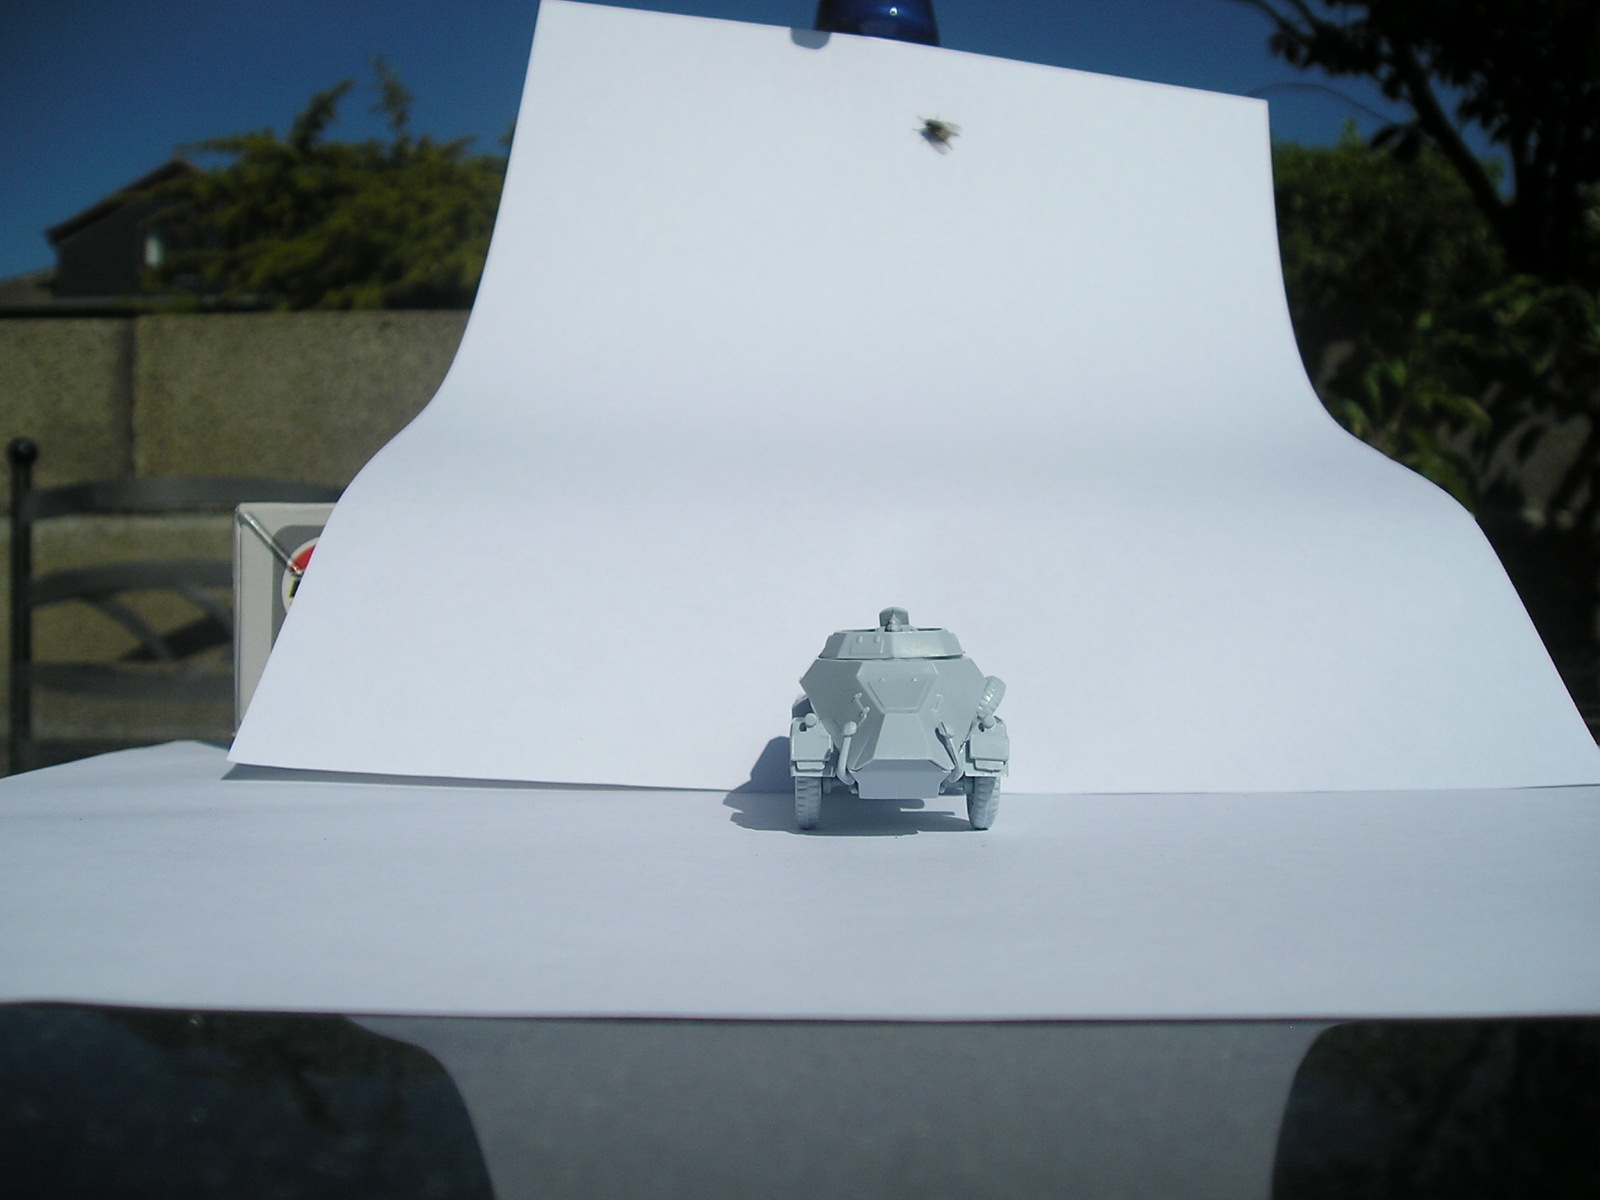
Bonus image, only noticed this when processing the photos for posting. Perhaps some form of advance German spyplane? Click for original context.

Monday, September 21, 2009

Moving Swiftly Along

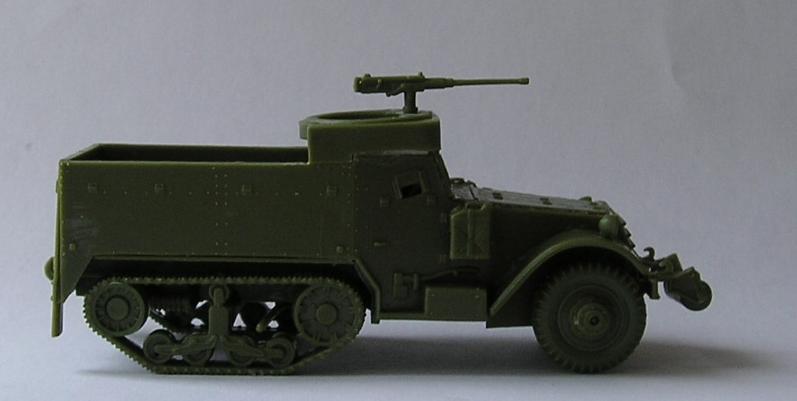
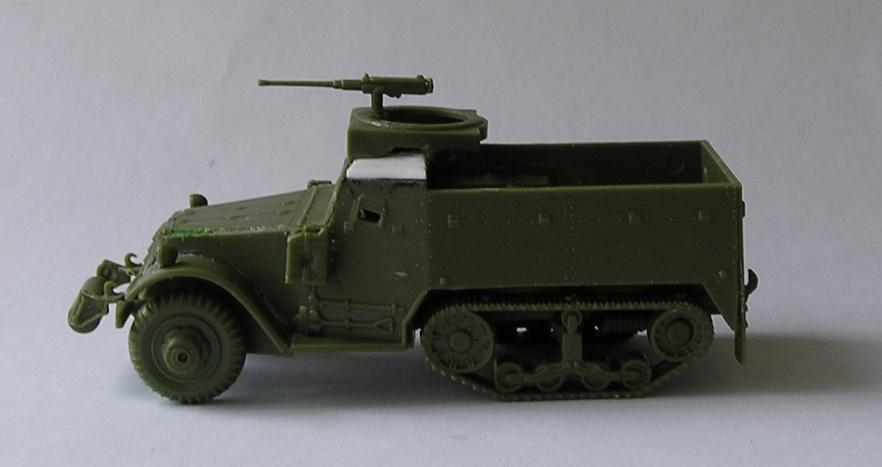
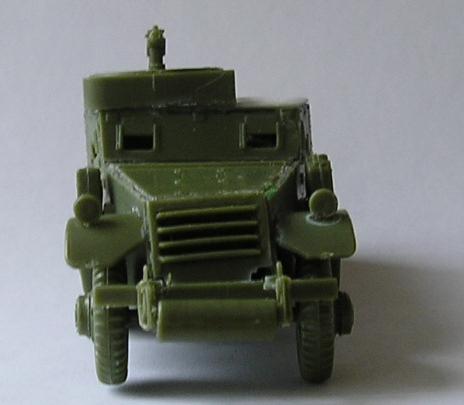
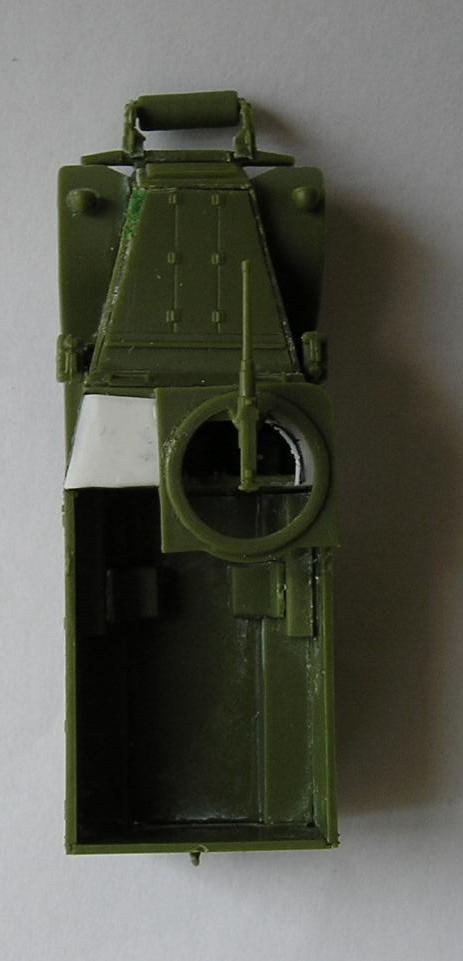
I picked up a couple of Airfix M3 Halftracks over the weekend for the Grenadier Guards Motor Batallion seen on the org chart here and made a start on the oldest of them (the local model shop has a rather spectacular variety of obvious batch lots on offer) just to see how they go together.

So far the kit seems passable, although like all airfix kits the first one seems to fight you to make you earn the understanding required to build it. There is now a rather large gap at the front of the bonnet that will need some careful putty work to fill.

One complaint - there is no roof on the driver's cabin as shown on the box. Pictures of actual vehicles seem to be hard to come by from overhead angles, so I'm going to trust the box and just bodge on some plastic-card to put some form of covering on there. It'll also save me having to paint what passes for internal detail in the cabin. It may be innaccurate, but I've made my decision and I stand by it.

Three more to go, then painting. Pictures will be delivered when the sun comes up and the putty has dried.

[EDIT] Pictures! They always show up the flaws.... click thumbnails for larger.


[Second Edit] As expected, the second kit is going together perfectly. It's a dramatically different shade of green plastic too.

Thursday, September 17, 2009

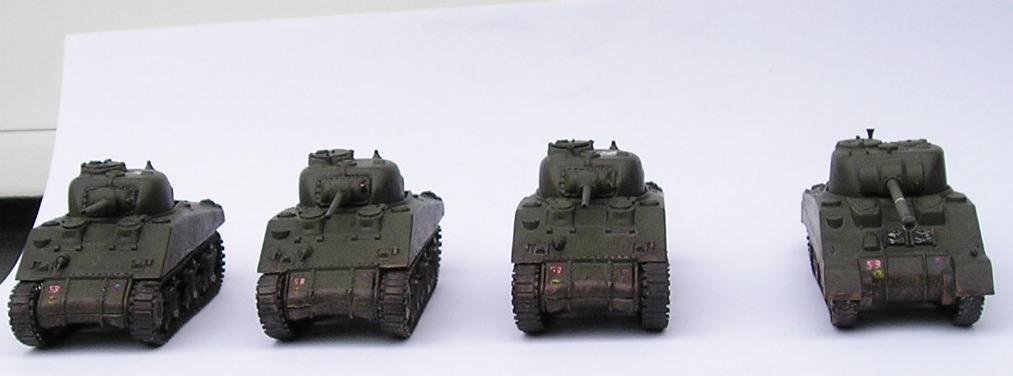
First progress - 2nd Battalion Irish Guards Sherman Platoon

At 1435 hours on September 17th 1944 the Irish Guards under Joe Vandeleur led the way for XXX Corps as the spearhead of Garden. As an Irishman and in light of this it is only appropriate that the first unit completed be representative of this.

Based on an extremely helpful chart found here I worked out the unit marking for A Squadron of the 2nd Battalion Irish Guards Regiment.


The unit consists of three Airfix M4 A1 Sherman tanks and one Revell re-issue of the Matchbox Firefly variant Sherman. All unit markings and insignia are hand painted as I've never had the patience for transfer sheets and I wanted to practice my freehand. The tanks were spray undercoated black and then airbrushed with Games Workshop's Catachan Green. Details are GW paints again, with Badab Black used as a final wash to dirty them up a bit.

All in all, not a bad start to the project, even if they did take a long time. Hopefully I'll manage a more consistant work rate with the rest of the units.