So a brief break from the tidying and packing today was when I decided to "test" my new Tamiya acrylics and see how they worked. Based on advice from AlFront over at War Diaries of a Little Englander I copied the pattern from the Airfix instructions in pencil and painted the same pattern. It worked. Far better than I was expecting it to. Nice that this build has taught me another little trick for my bag thereof.
The current state of the plane is: fully painted, with the pilot needing to be done and then the decals added, weathering and wash to finish.
The chances of me getting all this done before going away for the rest of the month on Tuesday are: slim.
Pictures to follow tomorrow, when I have some light.
[UPDATE] Pilot is finished and glued into place. Now I just need to do the nosecone (which requires buying more paint...) and get varnish to start on the decals.
Friday, May 11, 2012


Thursday, May 10, 2012
Day 4... slowdown
In a stroke of absolutely terrible luck it has been raining very very gently all week. Just enough that I haven't been able to spray the plane until tonight. This means that I'm behind my self-imposed schedule and I'm running out of time fast. I may need to take emergency measures and declare the first two weeks of June to be May.
Saturday, May 5, 2012
Day 2.5 & 3
Most of this was done in a little under two hours yesterday, with the tail wheel and the wing doors being fitted today. It's now ready for painting so time to get researching on patterns and paints. I think (but am not 100% sure) that Vallejo Russian Green and GW Fortress Grey will do the job nicely.

 The green lines are splodges are GW's new "Liquid Greenstuff" filler. It works okay for this kind of thing, but for bigger jobs I'd have to go with the manual mix stuff. As you can see, the pilot and canopy are not attached yet. I'll be painting both seperately and gluing them on after the kit is ready for decals. The propeller is currently spinning but with a distressing wobble, so I might glue it into place later. I'm also not 100% happy with how the wing doors went together, and the right wing sticks up a bit more than I'd like so it may be filed down some more.
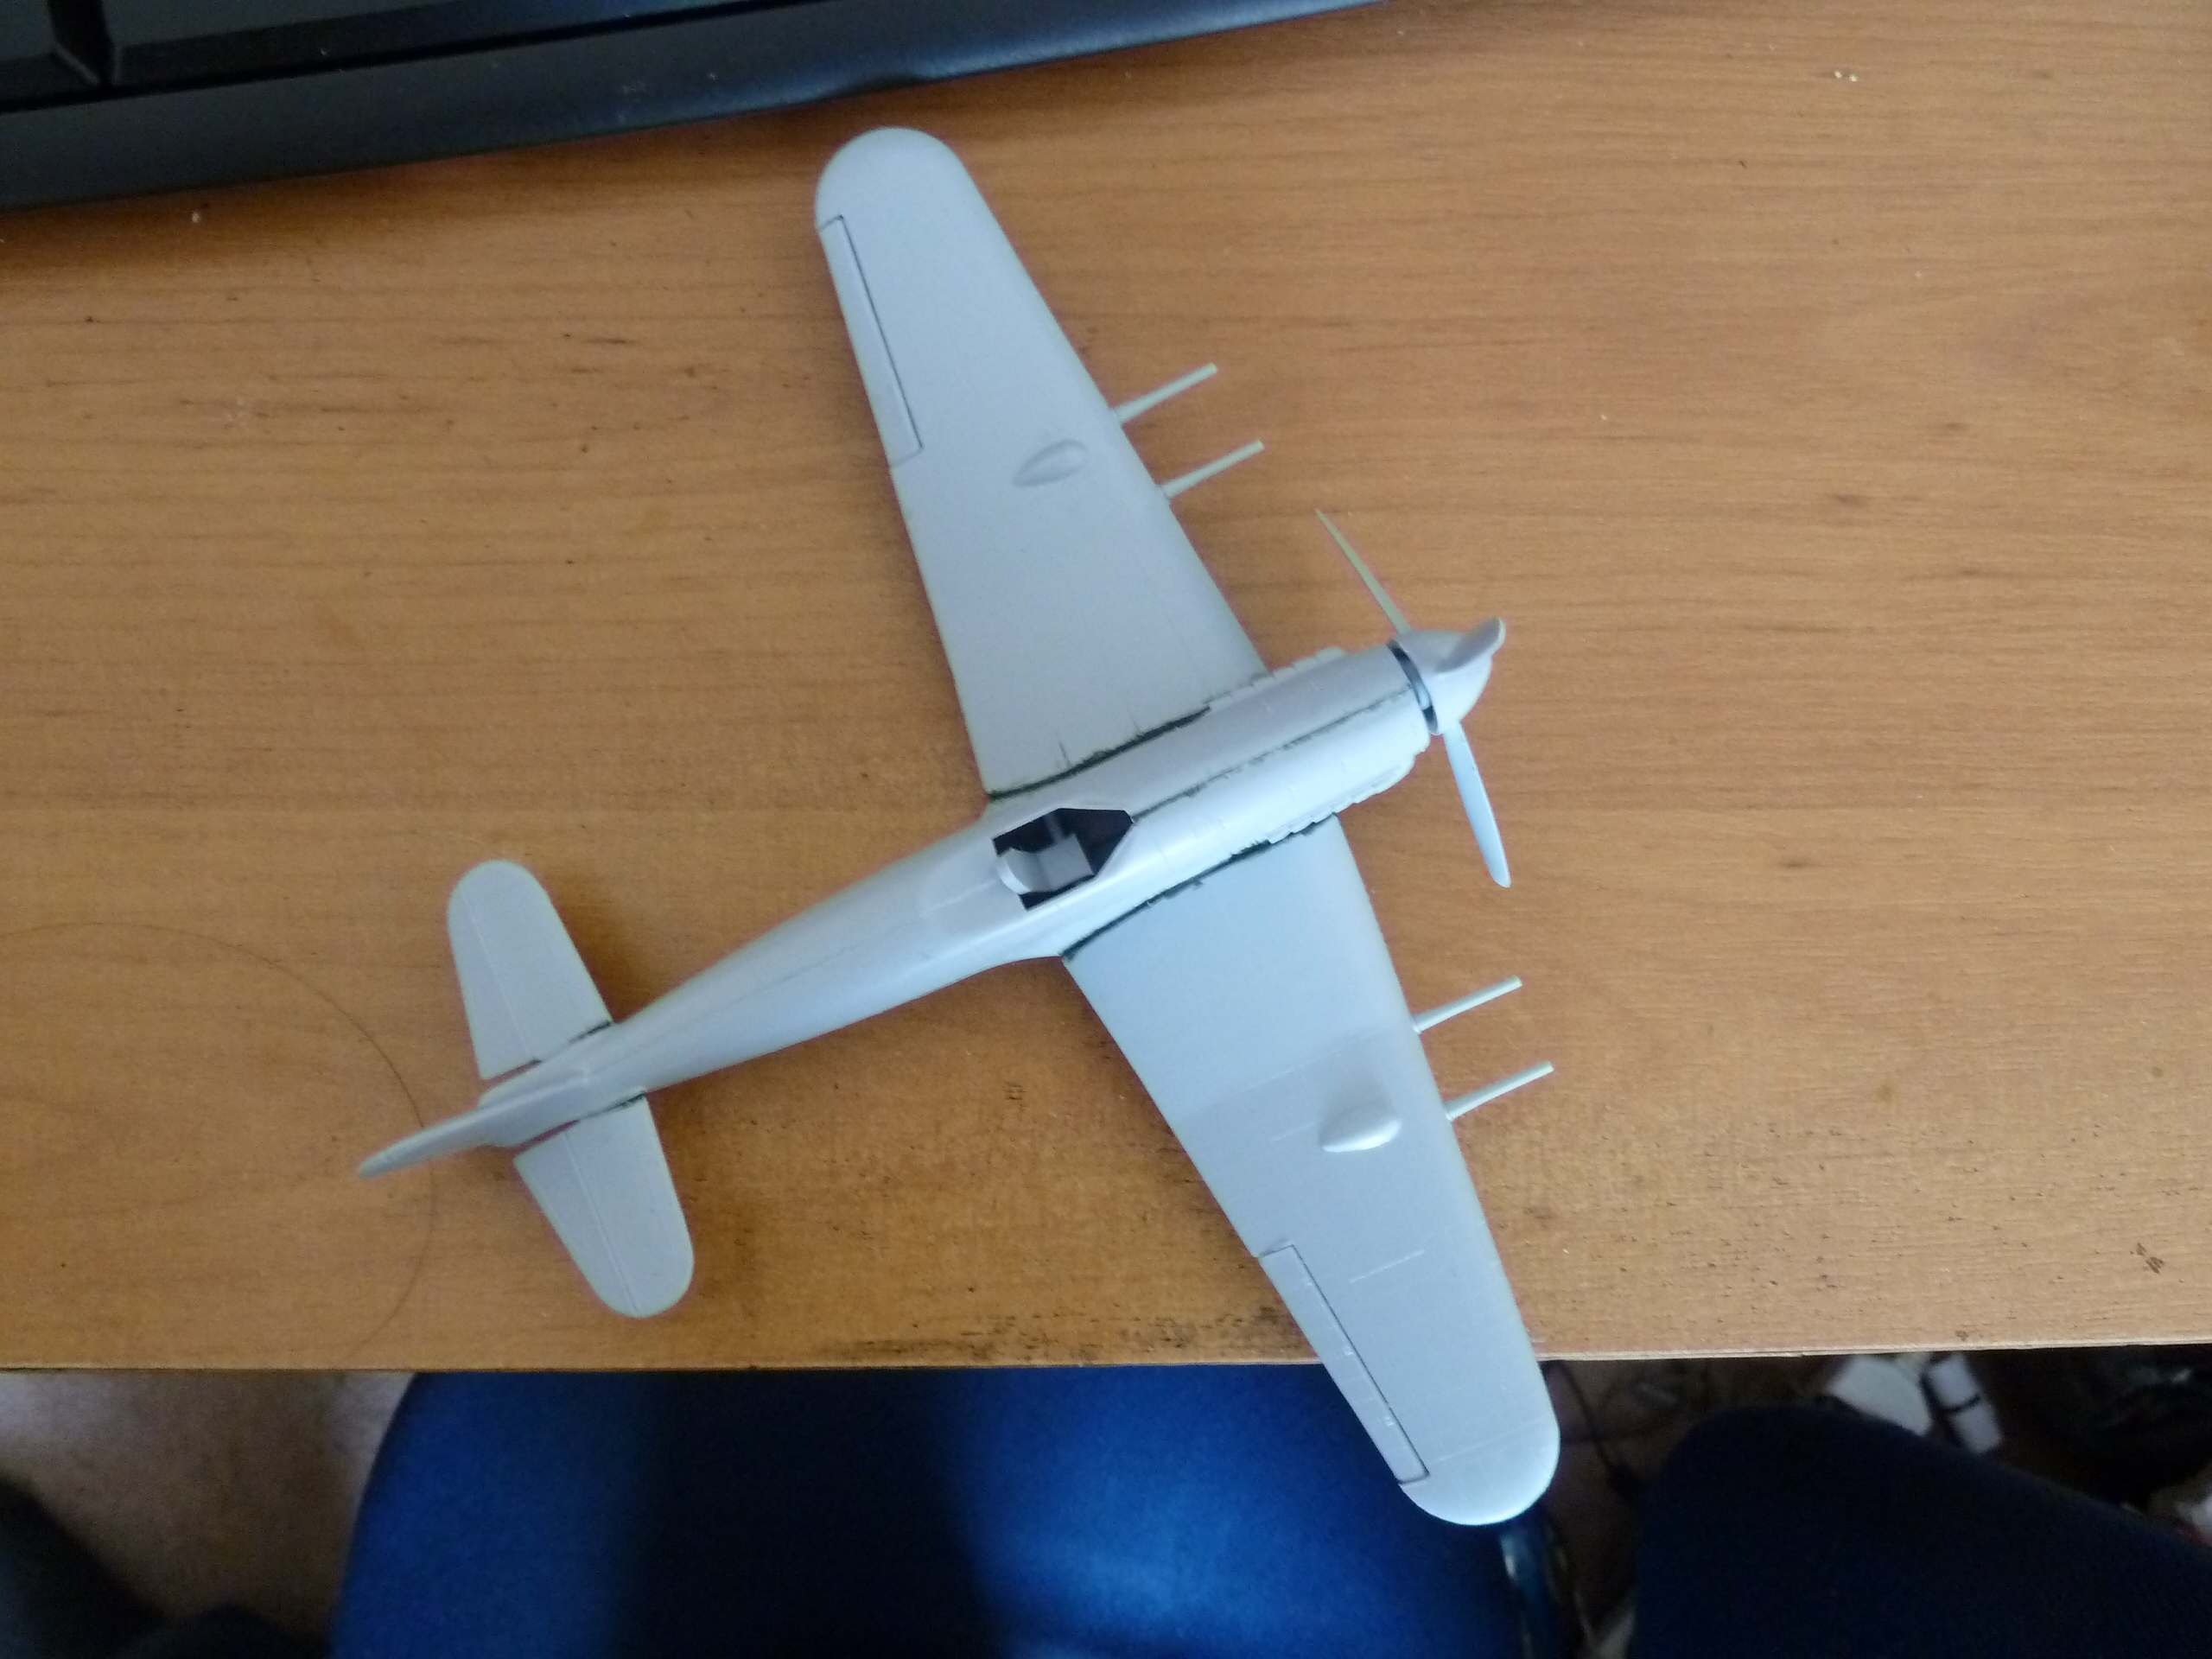
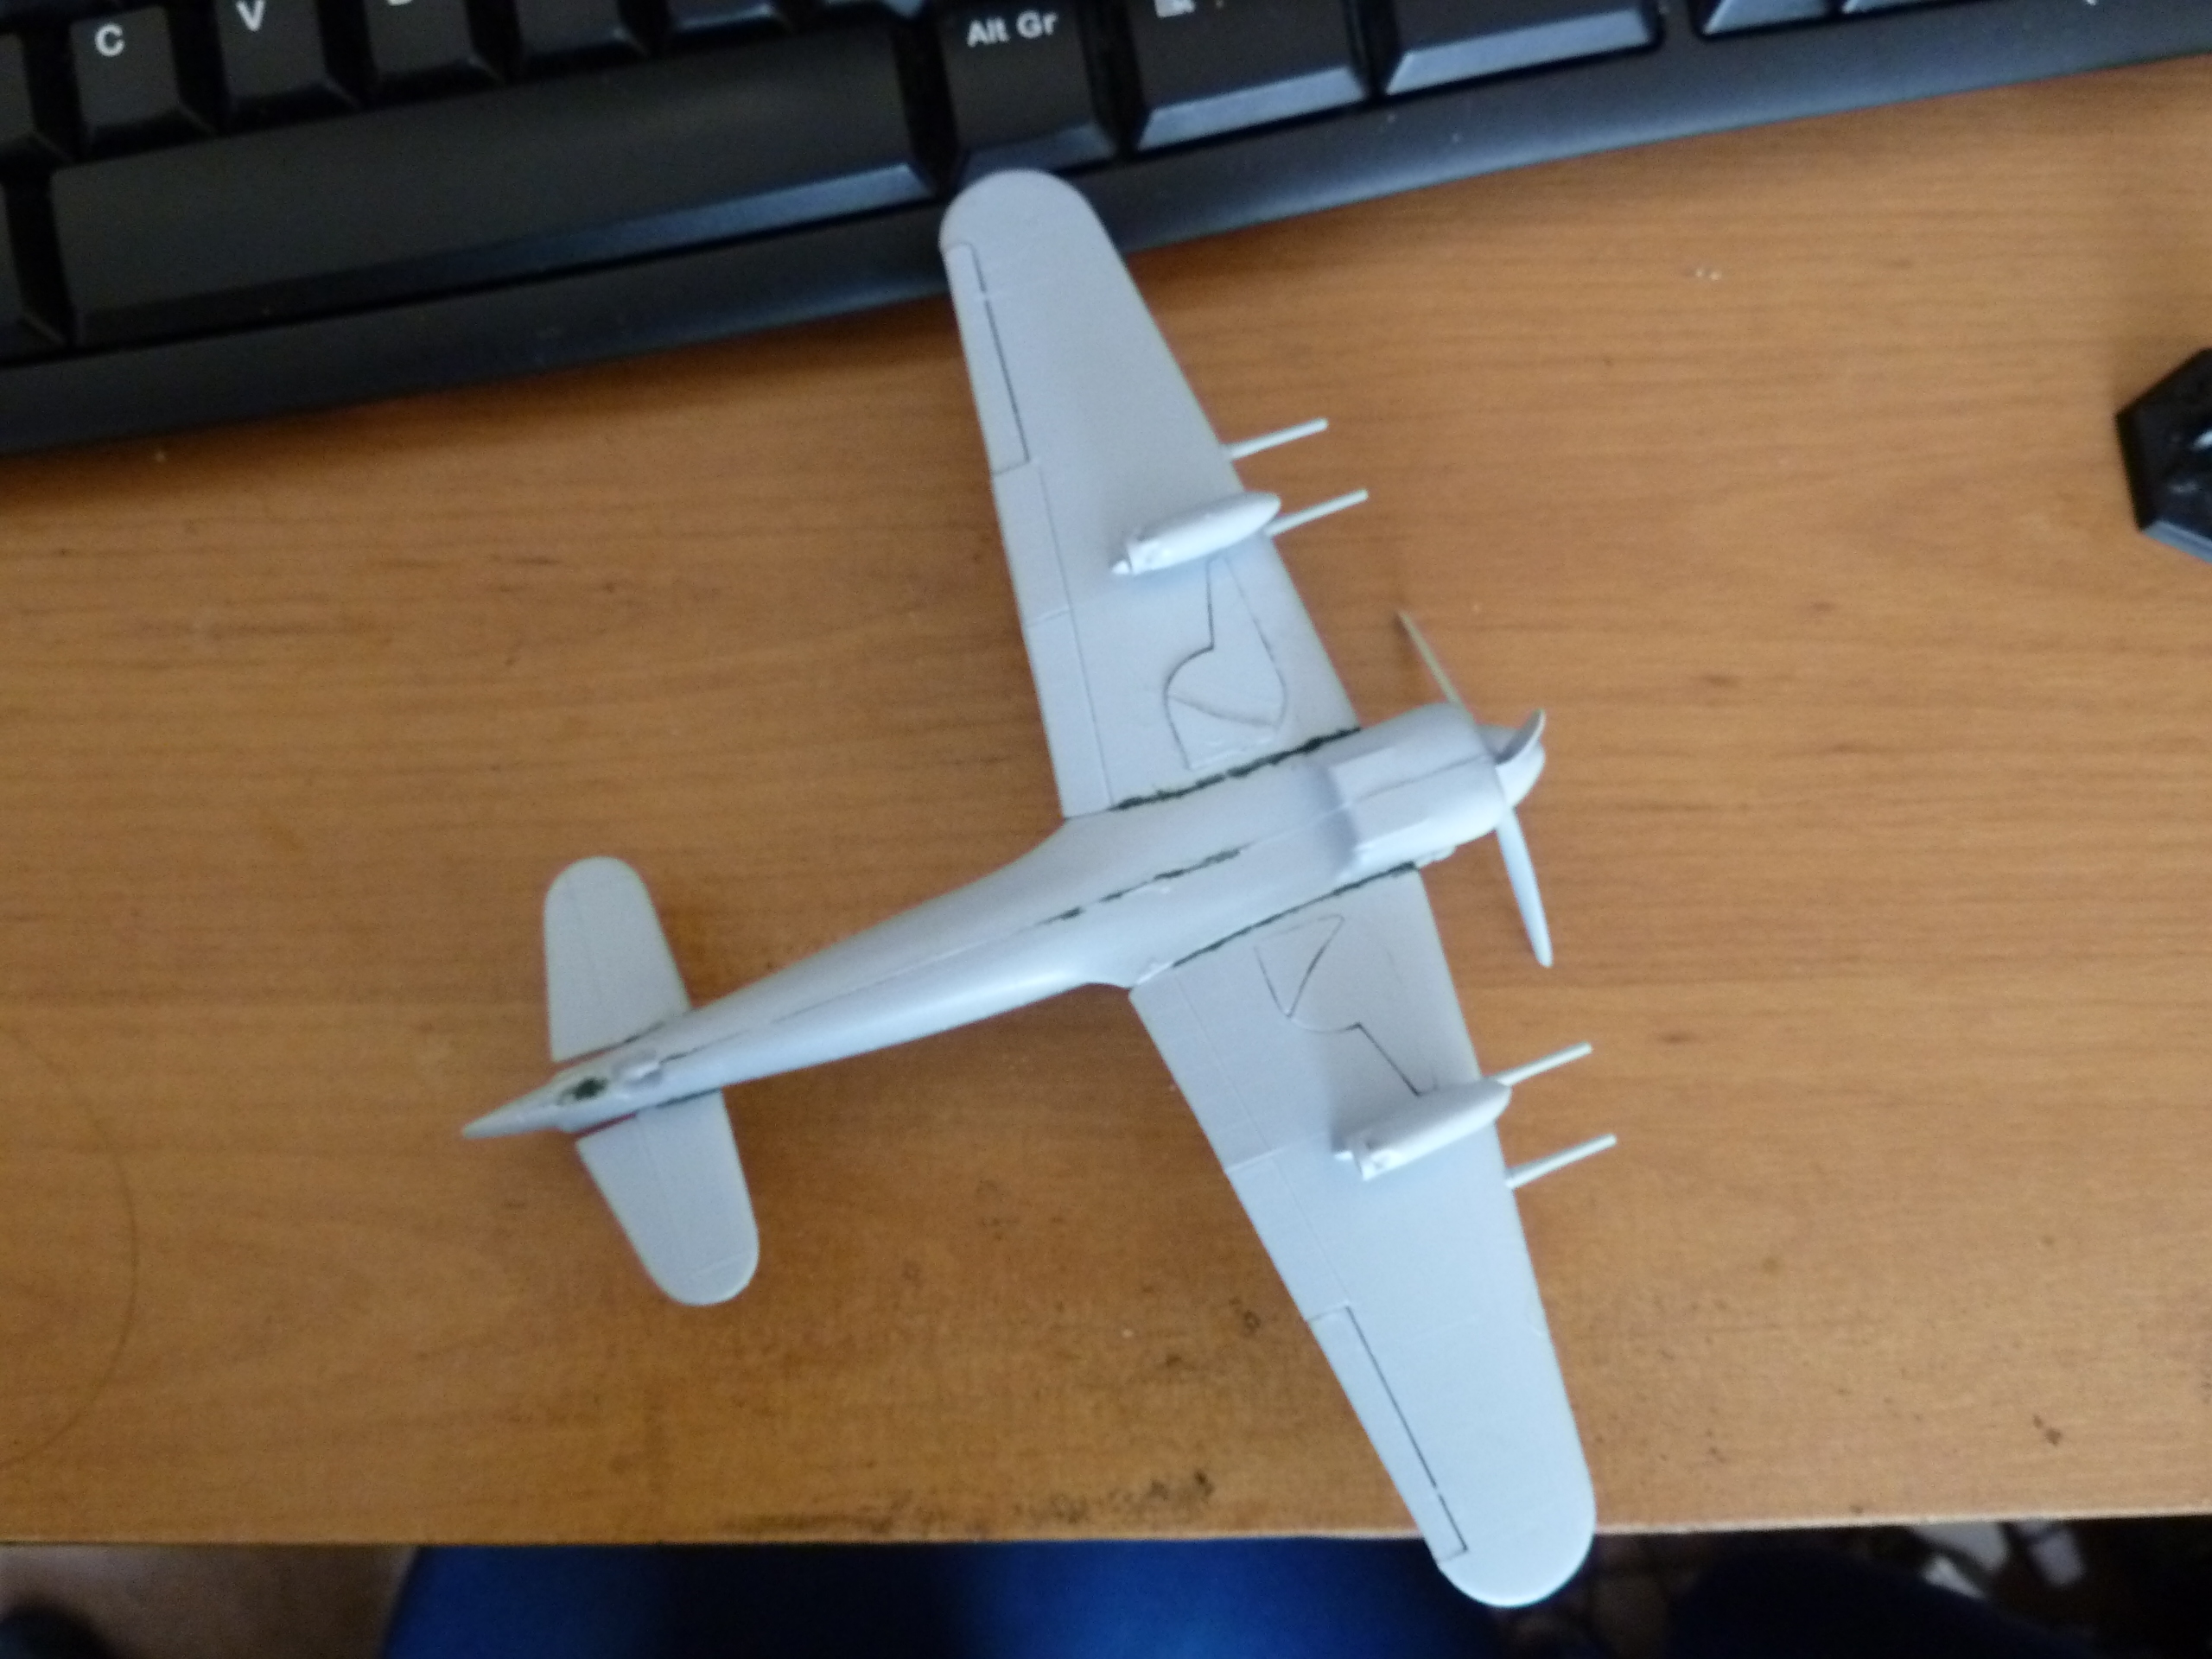 The green lines are splodges are GW's new "Liquid Greenstuff" filler. It works okay for this kind of thing, but for bigger jobs I'd have to go with the manual mix stuff. As you can see, the pilot and canopy are not attached yet. I'll be painting both seperately and gluing them on after the kit is ready for decals. The propeller is currently spinning but with a distressing wobble, so I might glue it into place later. I'm also not 100% happy with how the wing doors went together, and the right wing sticks up a bit more than I'd like so it may be filed down some more.
Friday, May 4, 2012
Day 2 of the Weatherbuild
So my estimate of about an hour's work would have been correct for a straight out of the box build but for a wheels up version with a fully painted pilot it'll take a bit longer. Closer to two hours at the moment and I still haven't worked out how to get the landing gear to fit into the body in a way that doesn't stick out all over the place or fall in too far. Another thing I noticed is that it's best to switch parts 11 and 12 from one wing to the other - either the instructions are mislabled or I was reading it totally wrong but the flaps just seem to fit better on the opposite wing. No pictures of progress, but here's the sprue anyway:

 You can clearly see that there are bugger all parts here.
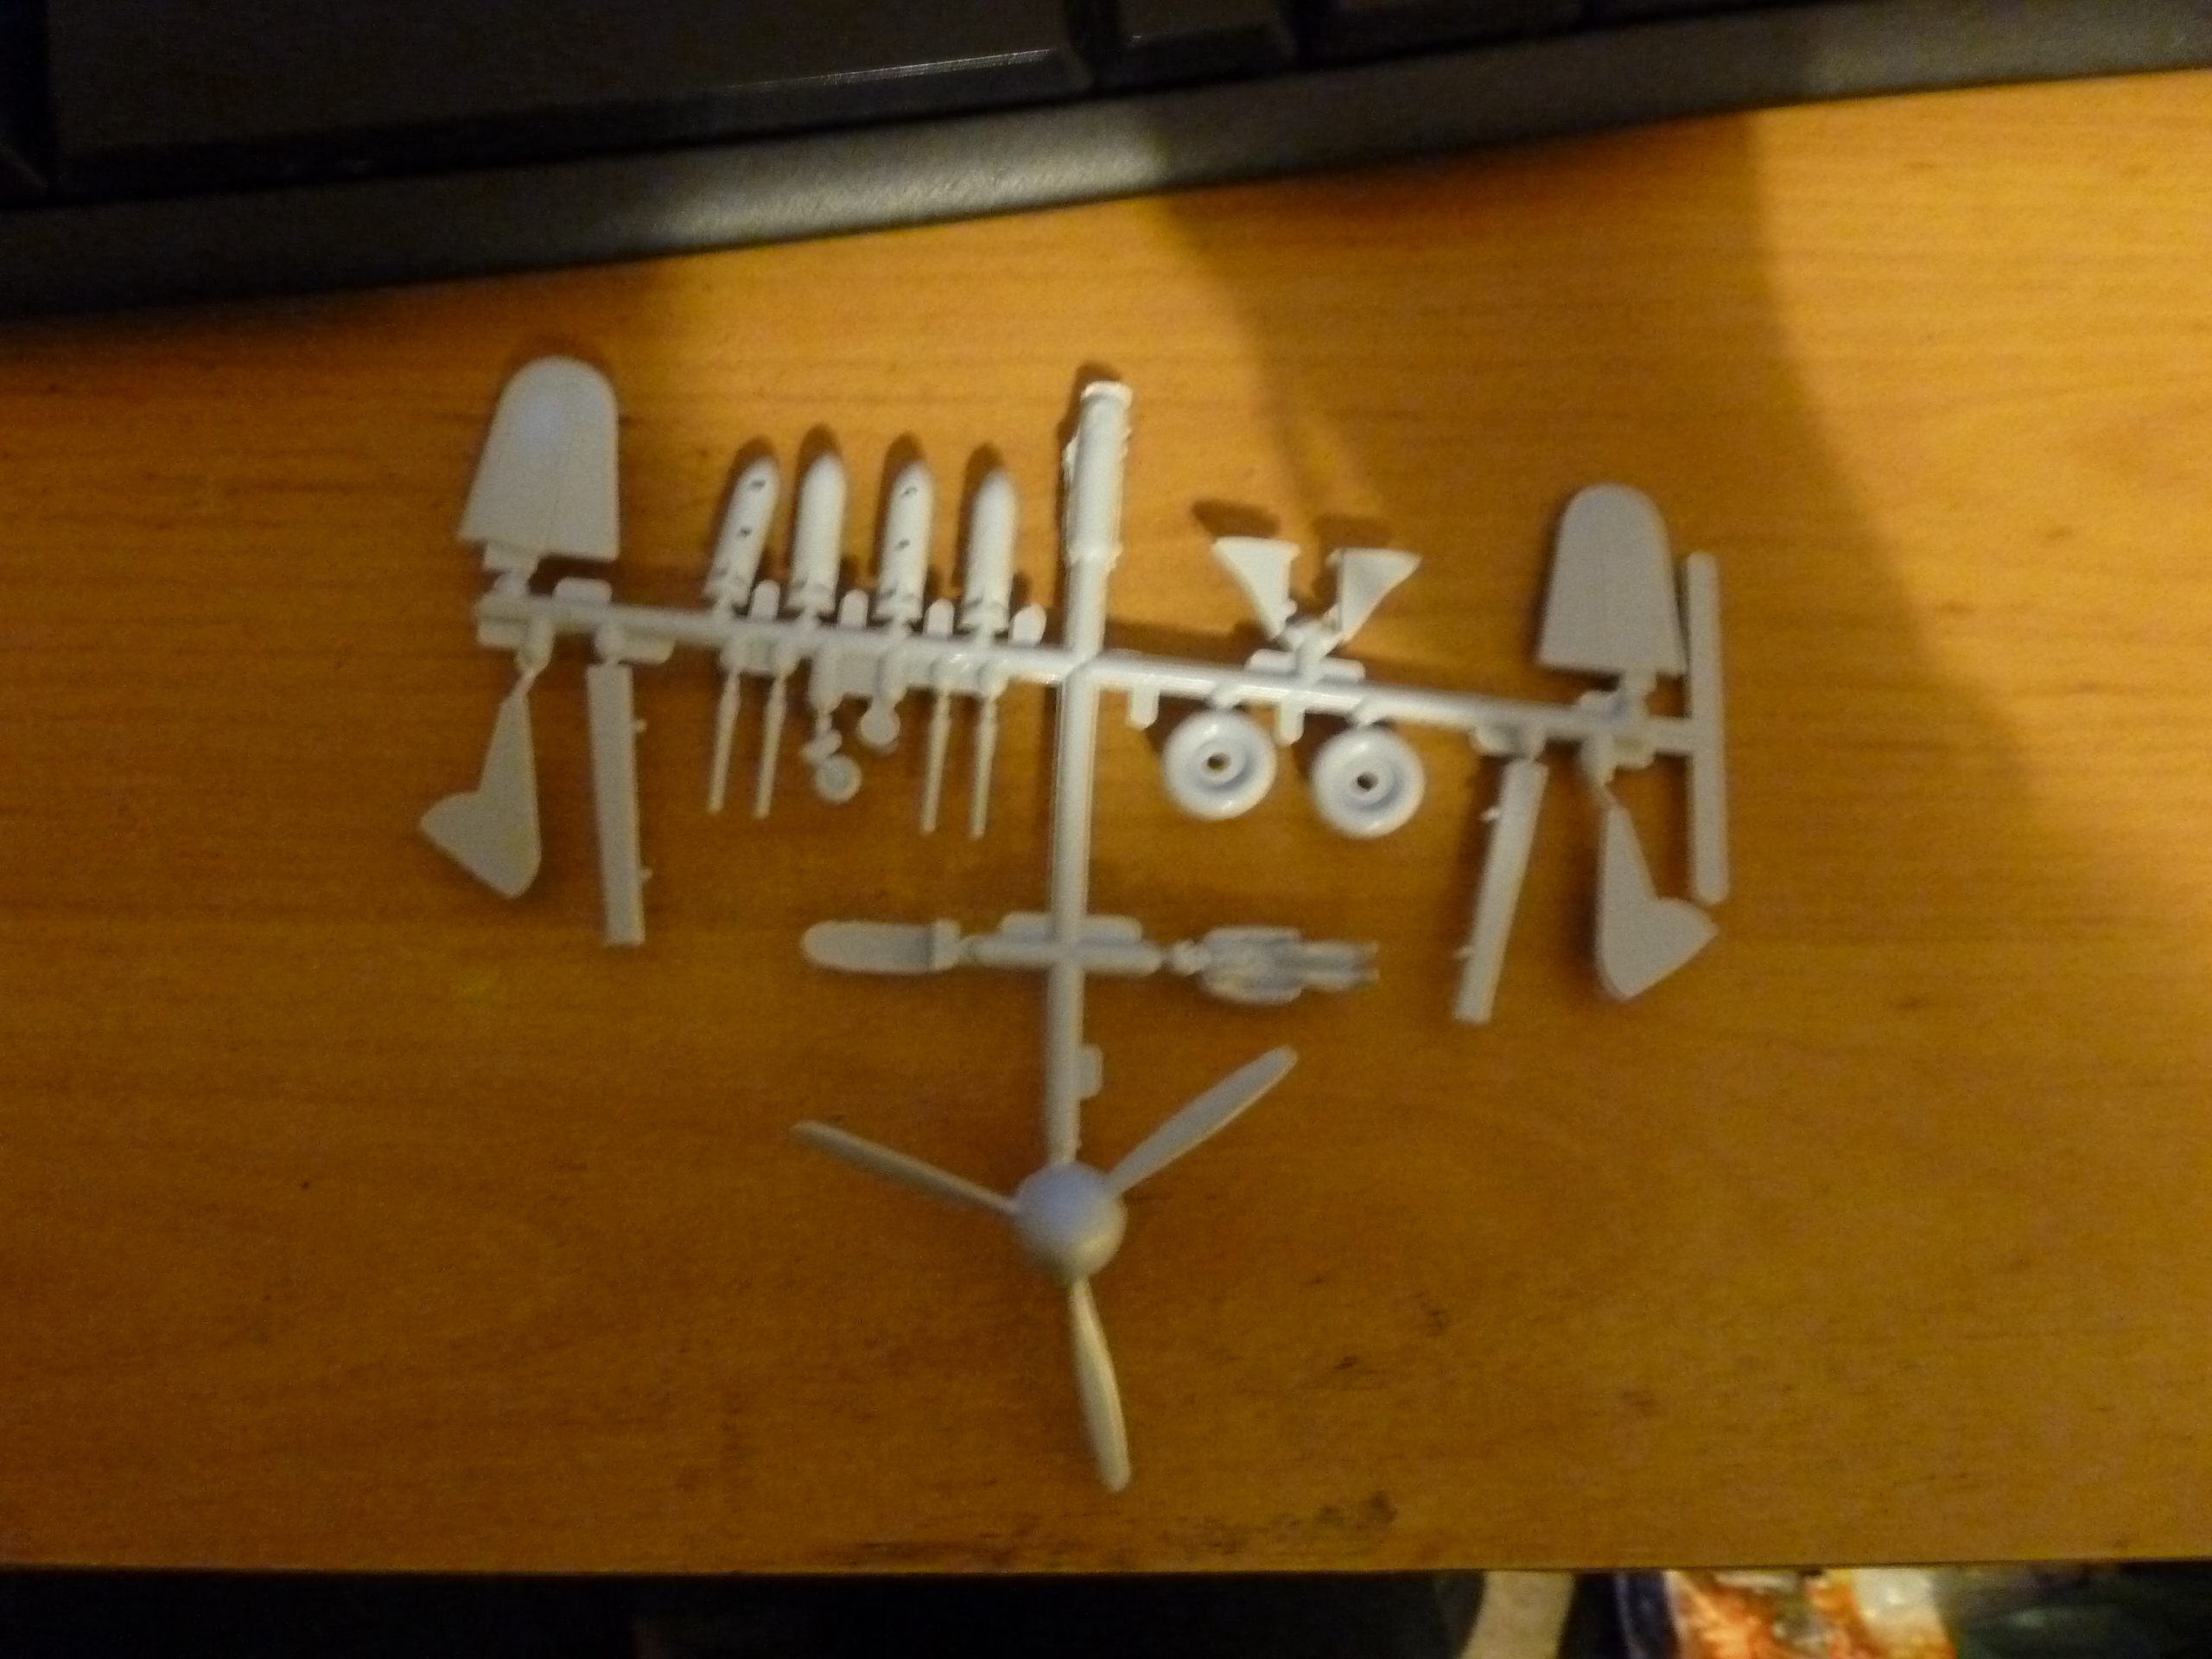
 You can clearly see that there are bugger all parts here.
Thursday, May 3, 2012
OH GOD A POST... I mean... Hawker Typhoon unboxing.
It's been ages since the last post. Sadly life got in the way of fun, and then it got MORE in the way of fun. Even though fun eventually got back on track, I haven't really bothered using that new camera for the purpose I bought it....
Anyway, to business! For the Hawker Weather event build I decided to get back to work and get cracking on an Airfix Typhoon 1b for some Allied air support (not that there was much, on the day). As usual, click for bigger.

The box is the usual Airfix affair. Good artwork but not a lot of clues as to what exactly is inside.


The sprues in the bag. The initial reaction of "that's not a lot of parts at all" turns out to be correct: there are just 30 pieces here. One of them is a pilot, which is a definite plus. It looks like this will be a quick build. I might time myself tomorrow evening and see if I can do it in under an hour (I am a superglue heretic). Then it's just a matter of figuring out which colours I have and which I need to do this bird justice.
Bonus in picture: part of "the stash" - an Airfix Cromwell awaiting assembly, even though I already have two more than I need built....
Anyway, to business! For the Hawker Weather event build I decided to get back to work and get cracking on an Airfix Typhoon 1b for some Allied air support (not that there was much, on the day). As usual, click for bigger.
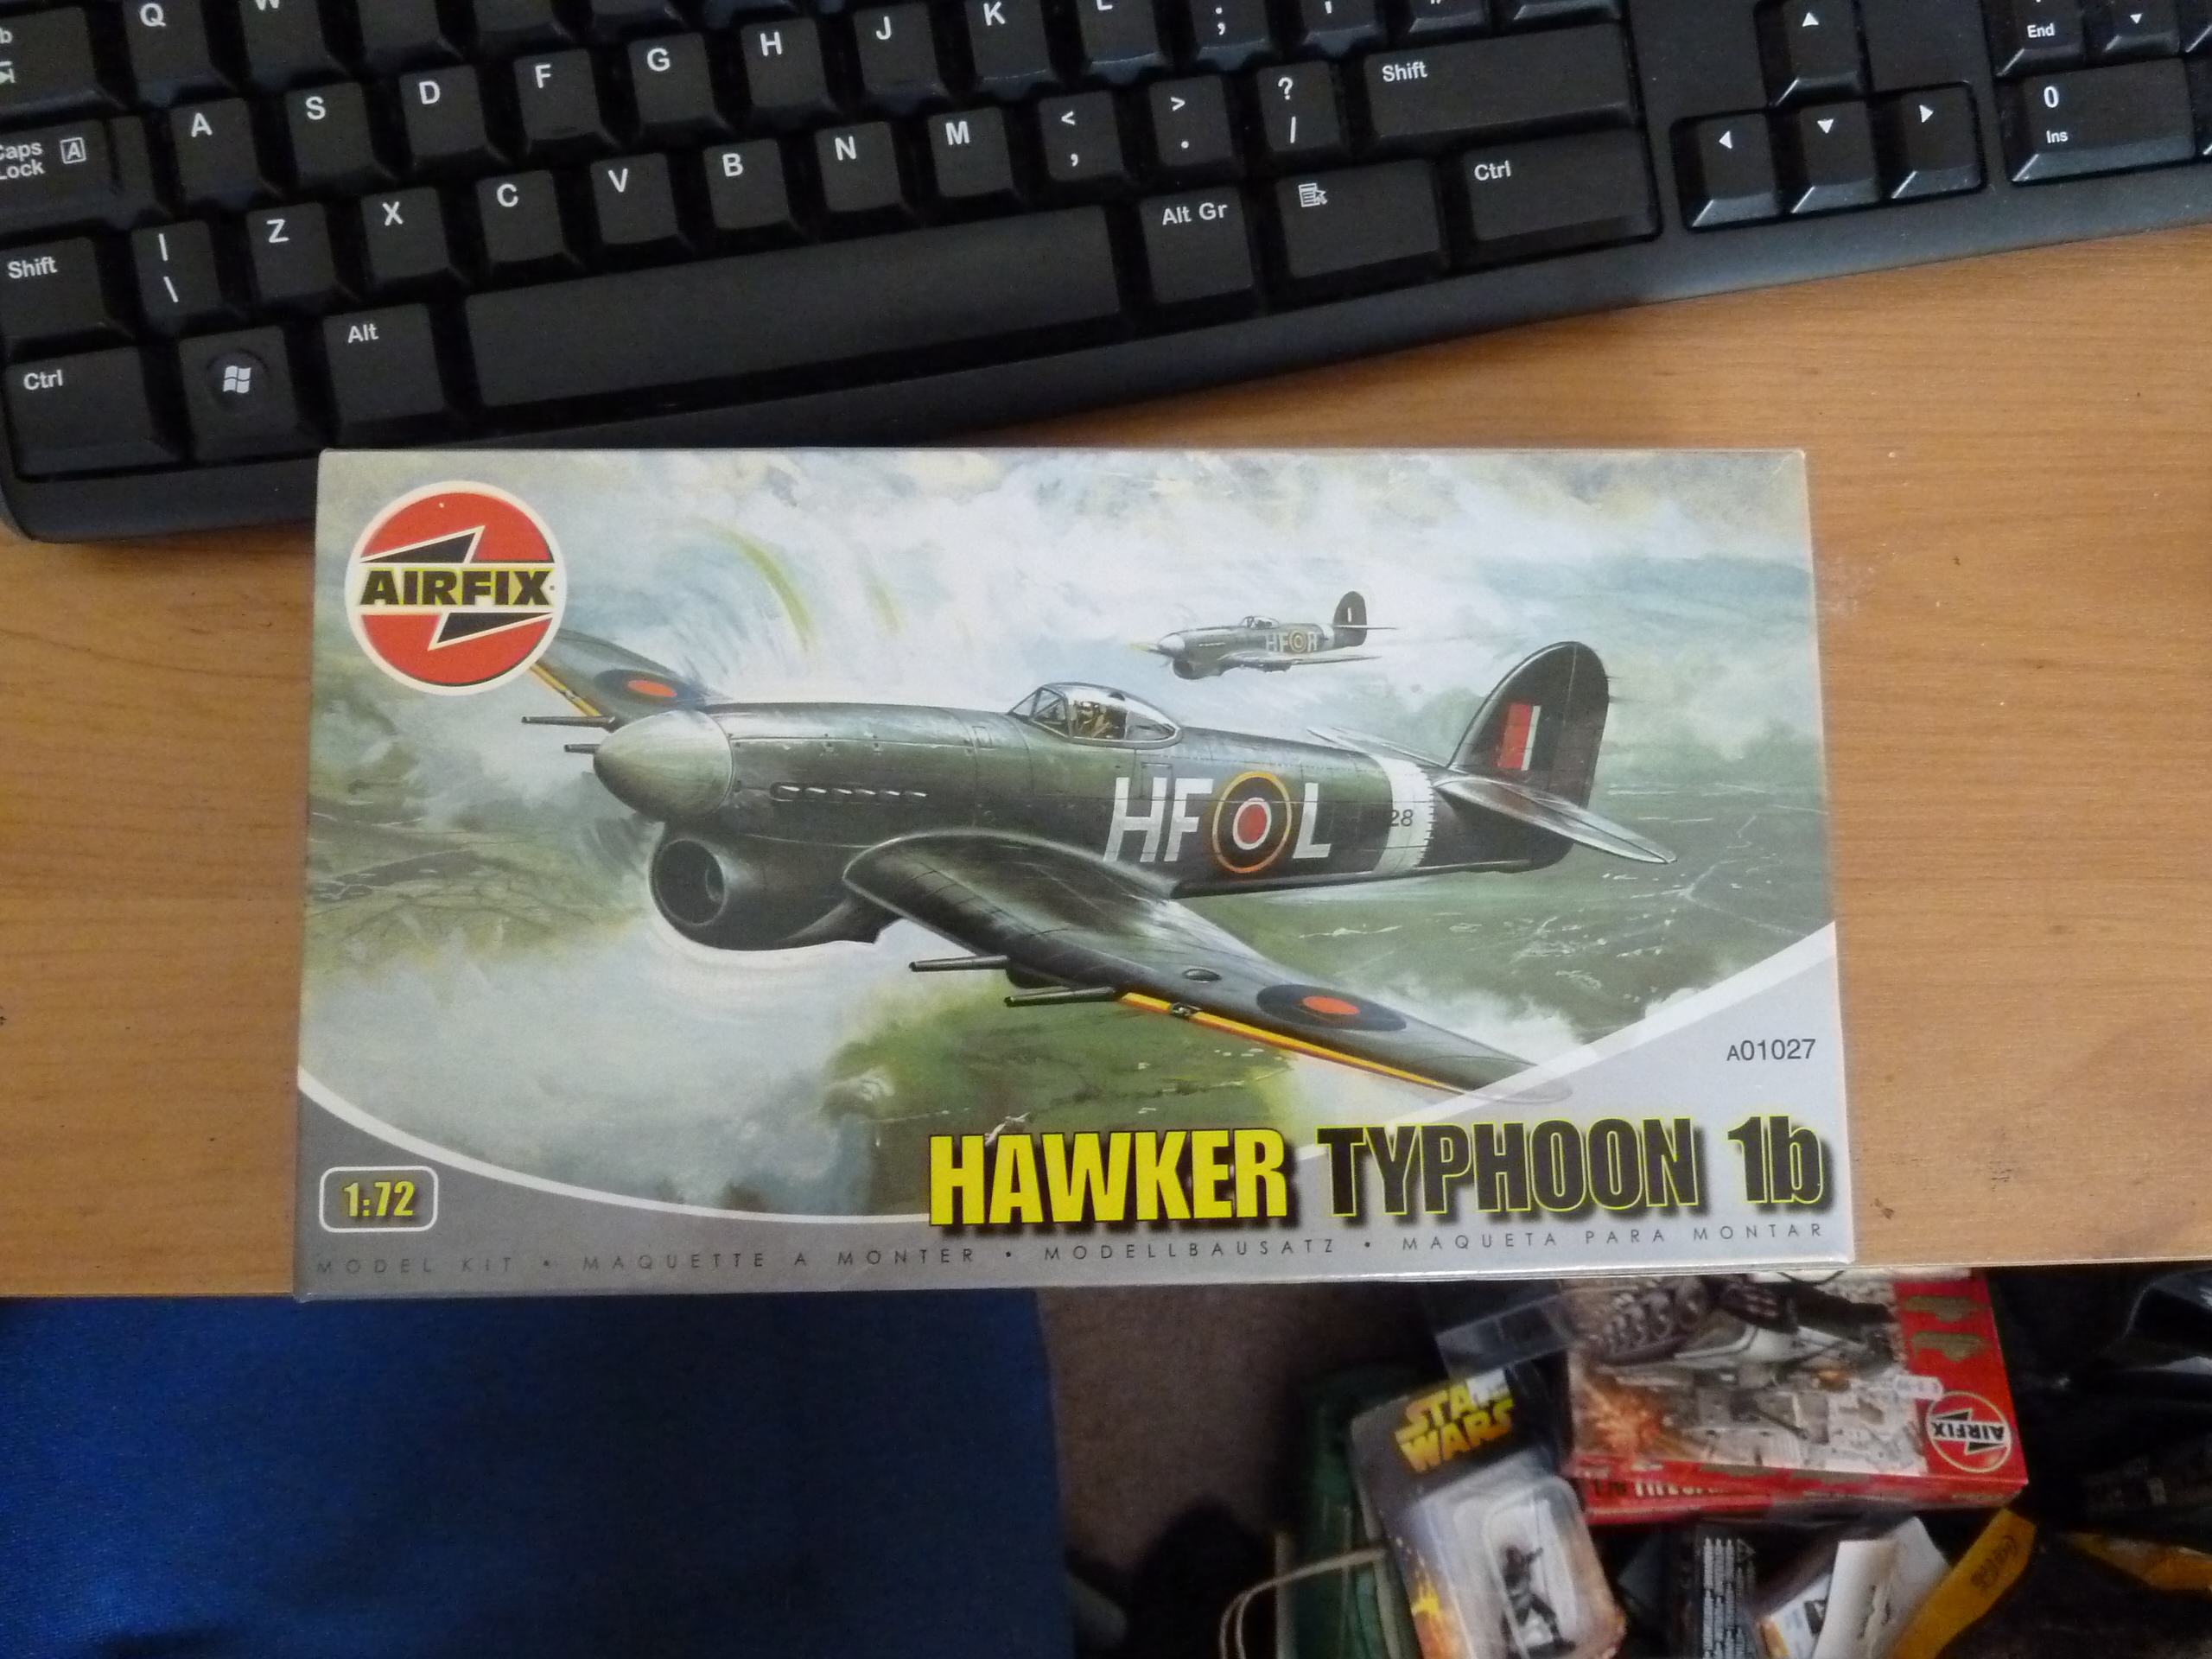
The box is the usual Airfix affair. Good artwork but not a lot of clues as to what exactly is inside.
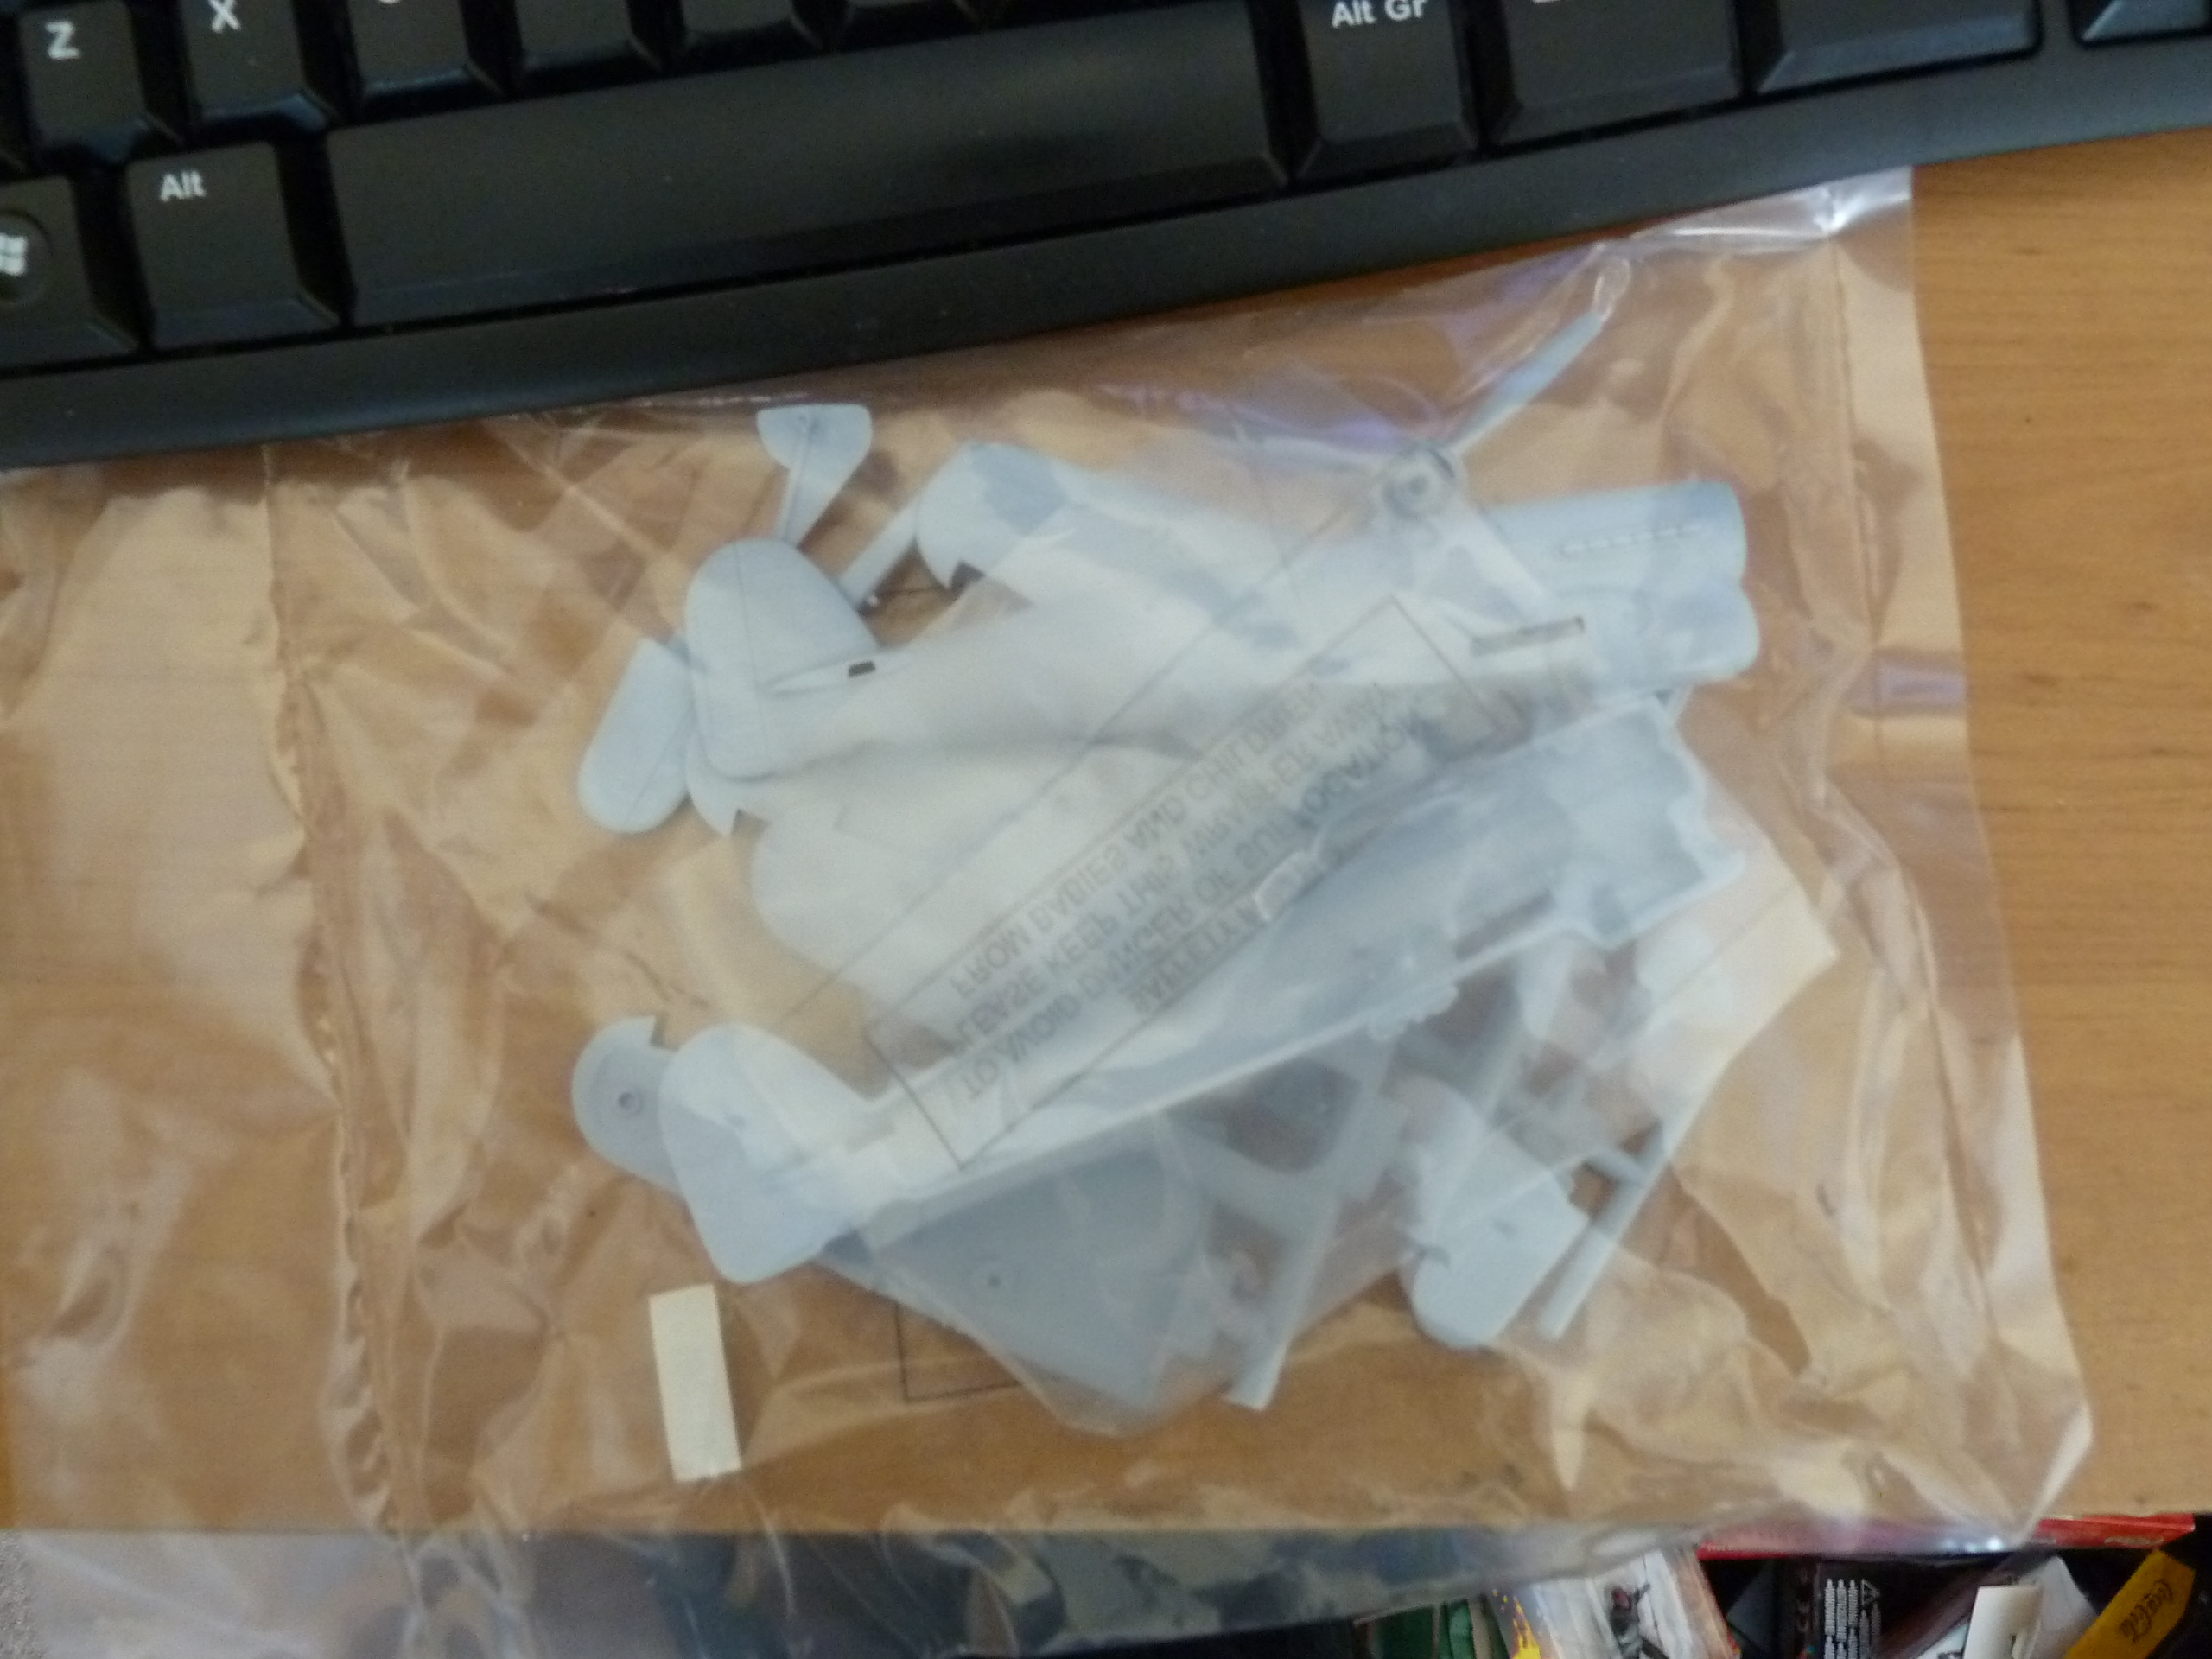
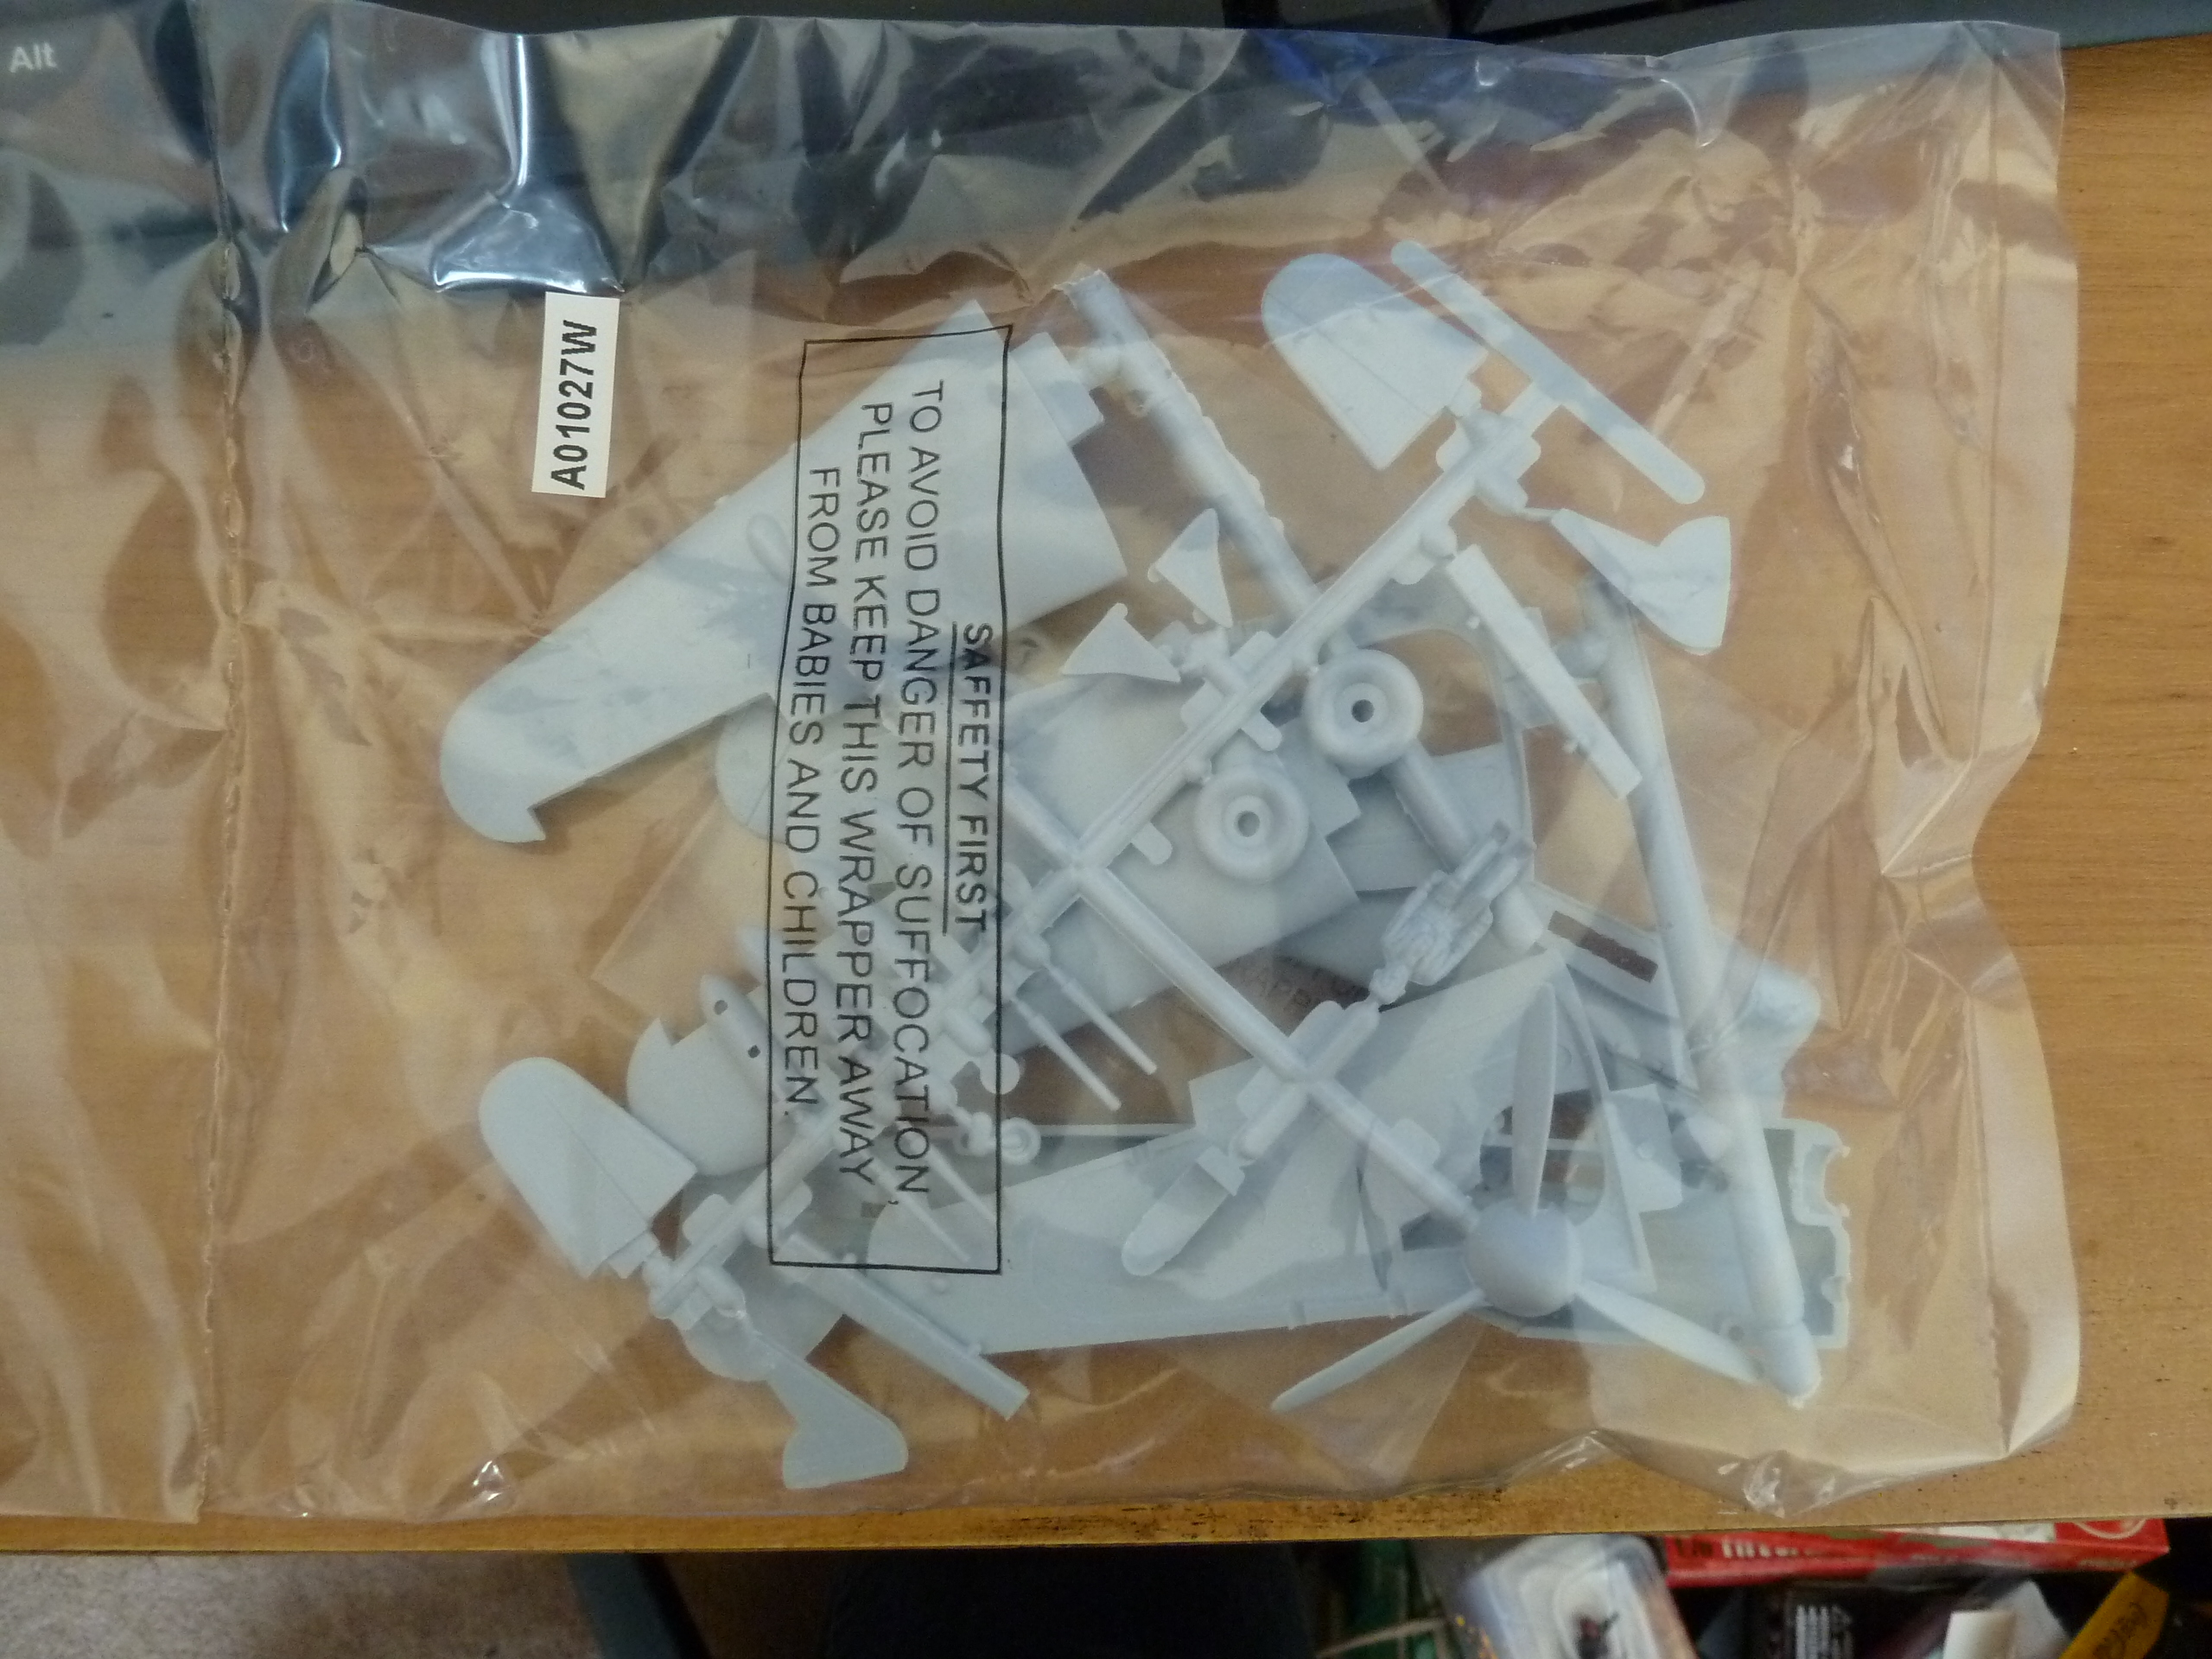
The sprues in the bag. The initial reaction of "that's not a lot of parts at all" turns out to be correct: there are just 30 pieces here. One of them is a pilot, which is a definite plus. It looks like this will be a quick build. I might time myself tomorrow evening and see if I can do it in under an hour (I am a superglue heretic). Then it's just a matter of figuring out which colours I have and which I need to do this bird justice.
Bonus in picture: part of "the stash" - an Airfix Cromwell awaiting assembly, even though I already have two more than I need built....
Friday, June 4, 2010
Kampfgruppe Gräbner assembled.
Not a lot to say here, the pictures mostly speak for themselves. They mostly fit into the frame of the post so no need to click (unless you *really* want to...).
Airfix Sd.Kfz. 222:


Nice little kit, comes with two identical SMG wielders and an officer type as well as a highly useful Kübelwagen to transport an OP team or officer around.
Fujimi Sd.Kfz. 250.

Only got one picture of this before the batteries died. I found this kit incredibly frustrating. Things refused to line up correctly and occasional details, like the driver's viewport just seemed to be seperate to up the part count. Furthermore, I now need to get an MG42 to replace the gun that came with it, as it was the wrong variant. On the plus side, I now have a slightly mismoulded BMW bike to use for something, and a model of Rommel to use for something (after the spectacular hole in his chest is filled...).
Finally, Hauptsturmführer Gräbner himself.


A simple conversion made by sticking the kneeling officer from Revell's German Infantry set into the commander's cupola of the Revell Humber Mk II. Looks pretty good to me, well happy with the result. You can see the glue residue on the front where I decided I didn't like the look of the spare wheel (and really, what're the chances of capturing a Humber II with all the spares?) and there's a few small gaps here and there. There's also the controvery over exactly what kind of Humber he used, but I decided this one made more sense from a gaming perspective, giving him a bit of personal firepower to add to the unit rather than just a simple leadership bonus.
Forgot to photograph the five infantrymen who hitch a ride in the Sd.Kfz. 250 and I still haven't got my hands on a Sd.Kfz.232 8-Rad which is the last vehicle needed. It's a really BIG recon Batallion... or I just got carried away with all the cool stuff he used (which is far more likely). This also marks the first named model for a historical participant.
Bonus image, only noticed this when processing the photos for posting. Perhaps some form of advance German spyplane? Click for original context.

Airfix Sd.Kfz. 222:
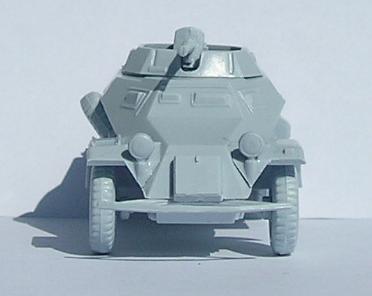

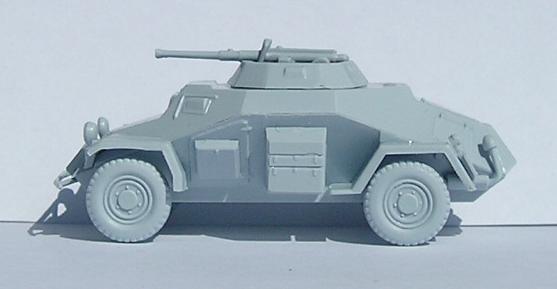
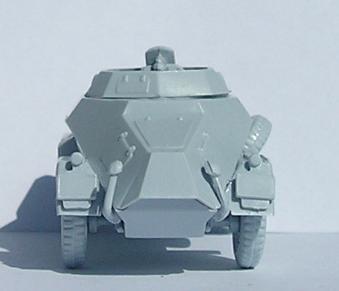
Nice little kit, comes with two identical SMG wielders and an officer type as well as a highly useful Kübelwagen to transport an OP team or officer around.
Fujimi Sd.Kfz. 250.

Only got one picture of this before the batteries died. I found this kit incredibly frustrating. Things refused to line up correctly and occasional details, like the driver's viewport just seemed to be seperate to up the part count. Furthermore, I now need to get an MG42 to replace the gun that came with it, as it was the wrong variant. On the plus side, I now have a slightly mismoulded BMW bike to use for something, and a model of Rommel to use for something (after the spectacular hole in his chest is filled...).
Finally, Hauptsturmführer Gräbner himself.
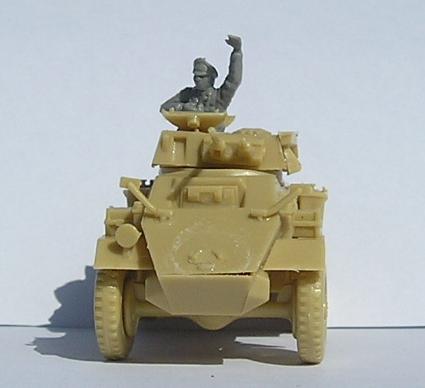
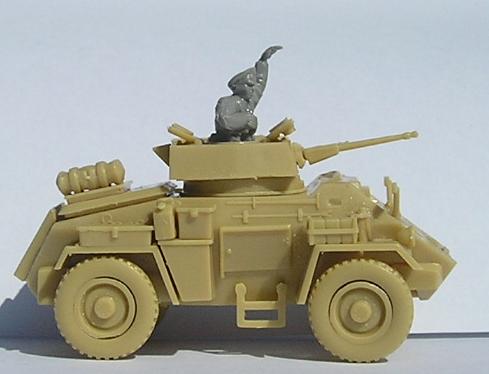
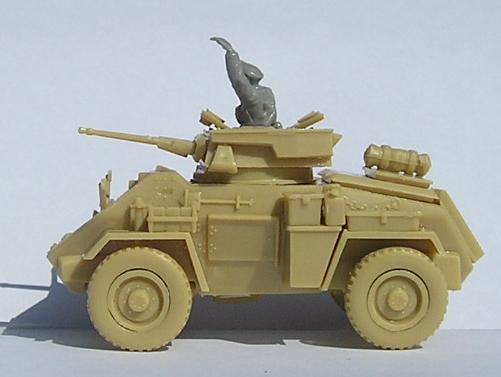
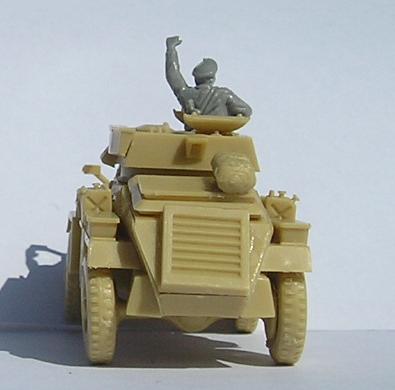
A simple conversion made by sticking the kneeling officer from Revell's German Infantry set into the commander's cupola of the Revell Humber Mk II. Looks pretty good to me, well happy with the result. You can see the glue residue on the front where I decided I didn't like the look of the spare wheel (and really, what're the chances of capturing a Humber II with all the spares?) and there's a few small gaps here and there. There's also the controvery over exactly what kind of Humber he used, but I decided this one made more sense from a gaming perspective, giving him a bit of personal firepower to add to the unit rather than just a simple leadership bonus.
Forgot to photograph the five infantrymen who hitch a ride in the Sd.Kfz. 250 and I still haven't got my hands on a Sd.Kfz.232 8-Rad which is the last vehicle needed. It's a really BIG recon Batallion... or I just got carried away with all the cool stuff he used (which is far more likely). This also marks the first named model for a historical participant.
Bonus image, only noticed this when processing the photos for posting. Perhaps some form of advance German spyplane? Click for original context.
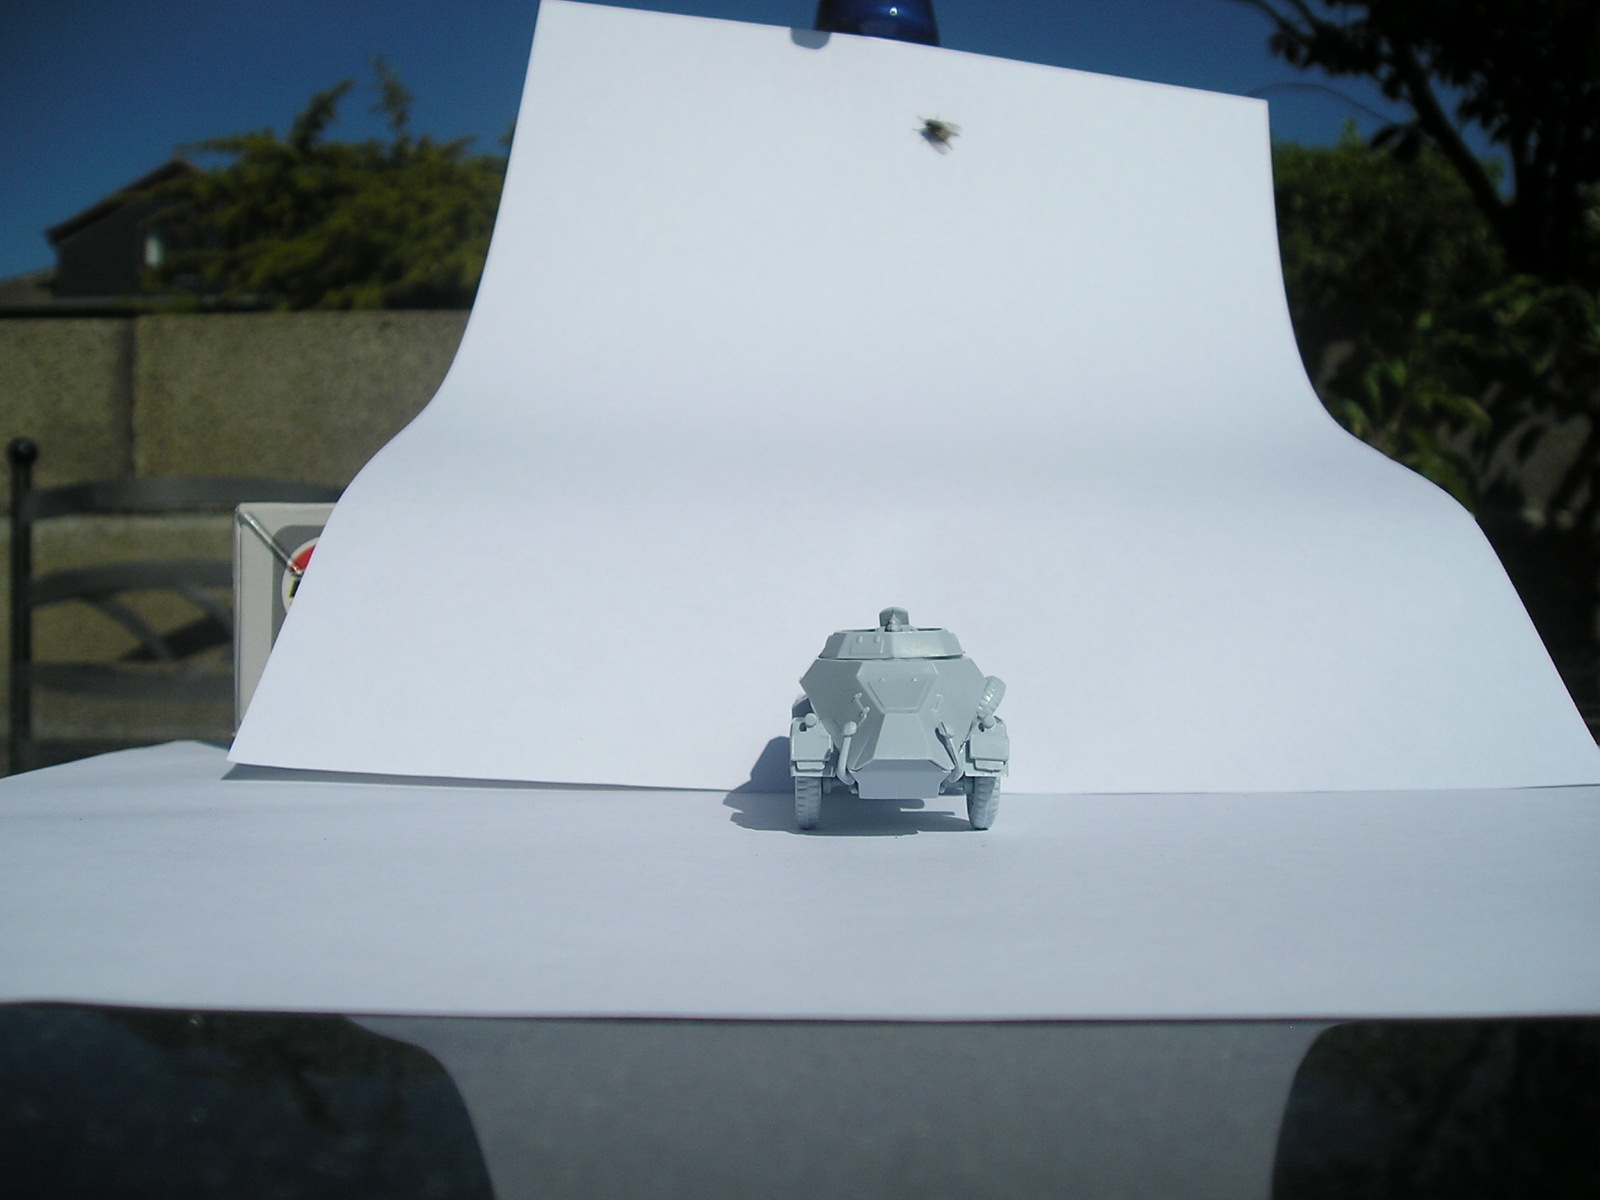
Wednesday, June 2, 2010
First day of good sun.
Today was the first day I had some spare time AND the sun to take pictures in with my dodgy camera. It didn't last long before deciding the battery was dying but I managed to get through a bit of backlog before it died.
Anyway, here's my latest build: A Revell Panzer III Ausf L for the Fallschirmjäger Ersatz und Ausbildungs Regiment 'Hermann Göring' which was operating in the region of Son on September 17th and pressed into combat. The equipment was mostly old Panzer III and IVs with some eStuG D and Es and I plan to include one of each in the unit. Anyway, on to the pictures. Click for larger as usual:


As you can see, the tracks are multipart plastic rather than a stretched vinyl like on Airfix or other Revell kits. It was a headache to do and took the build time from an hour or so to two full evenings of work. They didn't line up particularly well either, although looking at other people's efforts I suspect that's my fault rather than a flaw in the kit.

The last image shows the internal view of the modified turret. I'm rather proud of this little mod really. I've got a thing for being able to elevate and depress the gun barrels on tanks, so I spent a few minutes working out how to modify this tank. Unlike the Cromwells and Achilles SPG kits from HäT this was not a quick mod, and required quite a bit of brace and counter-weight building. The end result is a gun which can move up and down, wiggle from side to side (unintentional...) and, best of all, bounces realistically when pushed across a rough table surface.
I really didn't enjoy building this one. 100+ parts for a 1:72 kit is excessive. Now that it's finished I like the end result, but I'm glad I don't need to build another one (or four....).
Anyway, here's my latest build: A Revell Panzer III Ausf L for the Fallschirmjäger Ersatz und Ausbildungs Regiment 'Hermann Göring' which was operating in the region of Son on September 17th and pressed into combat. The equipment was mostly old Panzer III and IVs with some eStuG D and Es and I plan to include one of each in the unit. Anyway, on to the pictures. Click for larger as usual:


As you can see, the tracks are multipart plastic rather than a stretched vinyl like on Airfix or other Revell kits. It was a headache to do and took the build time from an hour or so to two full evenings of work. They didn't line up particularly well either, although looking at other people's efforts I suspect that's my fault rather than a flaw in the kit.
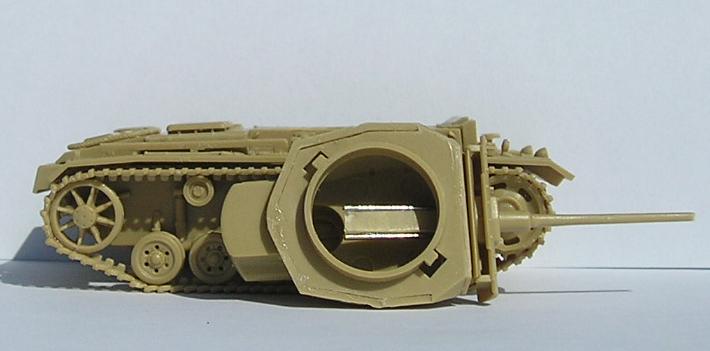
The last image shows the internal view of the modified turret. I'm rather proud of this little mod really. I've got a thing for being able to elevate and depress the gun barrels on tanks, so I spent a few minutes working out how to modify this tank. Unlike the Cromwells and Achilles SPG kits from HäT this was not a quick mod, and required quite a bit of brace and counter-weight building. The end result is a gun which can move up and down, wiggle from side to side (unintentional...) and, best of all, bounces realistically when pushed across a rough table surface.
I really didn't enjoy building this one. 100+ parts for a 1:72 kit is excessive. Now that it's finished I like the end result, but I'm glad I don't need to build another one (or four....).
Subscribe to:
Posts (Atom)


